As an Amazon Associate, we earn from qualifying purchases. Some links on this site are affiliate links at no extra cost to you. Our recommendations are based on thorough research and editorial judgment.
How to Use UV Nail Lamps Safely Step by Step
To use UV nail lamps safely, first set up on a stable surface away from water. Prepare your nails by cleaning with alcohol and buffing slightly. Apply sunscreen to hands and consider wearing UV-protective fingerless gloves before curing. Apply gel polish in thin layers, following manufacturer’s recommended curing times (usually 30-60 seconds per coat). Clean your lamp regularly with a dry cloth, and monitor for any skin reactions. Proper technique guarantees both beautiful results and minimized health risks.
Key Takeaways
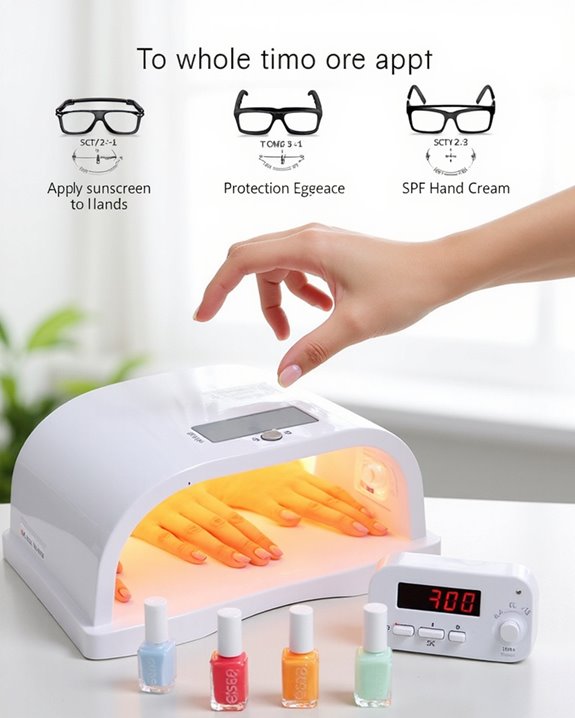
- Apply broad-spectrum SPF 30+ sunscreen to hands before each session to protect skin from UV exposure.
- Wear UV-protective fingerless gloves with UPF 50+ rating while curing to shield hands from radiation.
- Position the lamp on a stable, flat surface away from water sources to prevent accidents.
- Follow manufacturer’s recommended curing times (45-60 seconds for LED, 1-2 minutes for UV lamps).
- Use protective eyewear during sessions and monitor skin for unusual redness or discoloration afterward.
Understanding the Difference Between LED and UV Nail Lamps
When you’re choosing between LED and UV nail lamps for your at-home manicures, it’s crucial to understand their fundamental differences, as they can impact both your safety and satisfaction with the results. LED lamps cure gel polish in just 60 seconds or less, while traditional UV lamps require 8-10 minutes, meaning curing times can vary substantially between devices. I recommend LED light systems for their reduced UV exposure, which helps protect your skin from potential damage. LED technology emits less heat, making it ideal if you have sensitive skin, whereas UV lights generate more warmth during the curing process. While UV lamps offer greater versatility for curing different products, LED lamps provide energy efficiency with minimal increased skin cancer risk, eliminating the need for extensive protective measures. Additionally, modern LED lamps often feature advanced sensor technology, ensuring safer and more convenient operation.
Recommended Products

The Choice of 5 Million Professionals: SUNUV specializes in UV LED salon graded nail dryers, a brand trusted by over 5 million professionals and salons globally for its premium quality and ease of use

Quick Drying & Auto Sensor: SUNUV SUN9C nail dryer with UV+LED dual light source shortens curing time and cures all gels in 60s. Automatic sensor: no need to press any keys; works for 99s. Ideal for home and salon use, manicure and pedicure

Salon Quality UV Nail Lamp: SUNUV UV light for nails SUNone with 30 high-power UV LED beads is designed to cure all gel polishes in half the time
Setting Up Your Nail Lamp on a Safe Surface
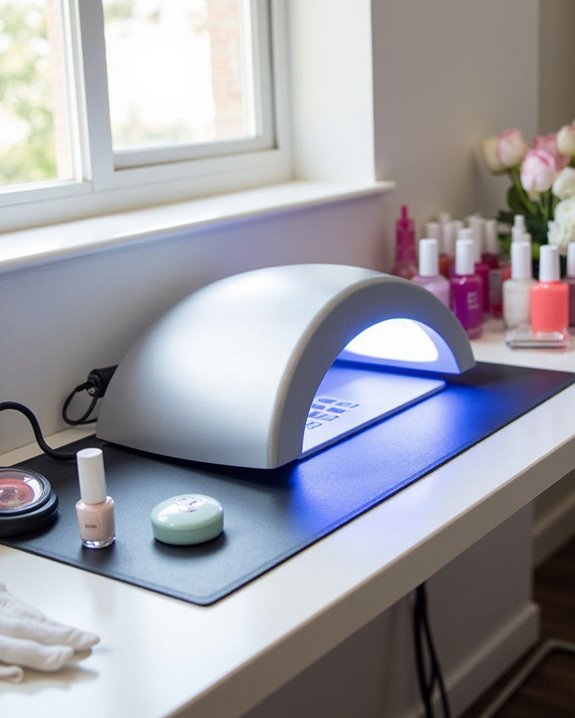
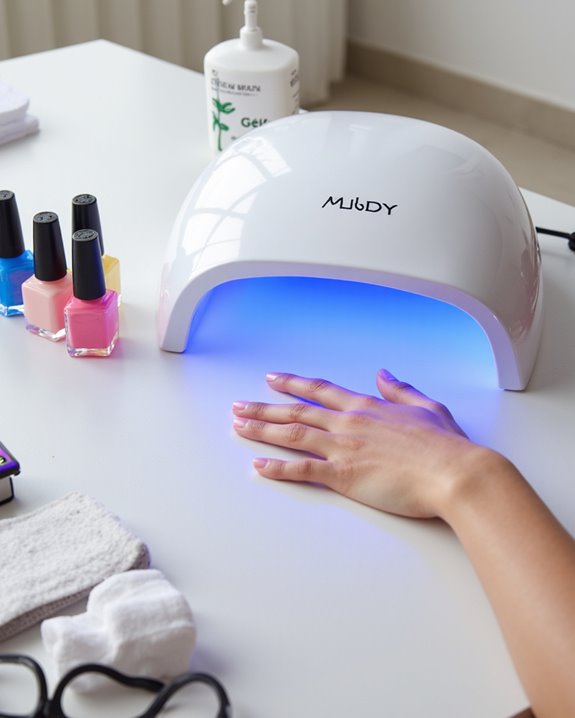
Before you begin your at-home gel manicure, finding the right location for your UV nail lamp is essential for both safety and best results. I always recommend selecting a stable, flat surface for your LED lamp that won’t tip or wobble during the curing process. Your UV/LED Gel needs consistent exposure to cure properly, which requires a secure setup.
Place your nail lamp in a clean, dry area away from water sources to prevent electrical hazards. When connecting your lamp, I suggest first plugging the adapter into the device’s port, then into a wall outlet once it’s safely positioned. Make sure your chosen surface is clutter-free and sturdy enough to support the weight of your LED nail lamp, particularly for heavier 36-watt models that might be less stable on uneven surfaces.
Recommended Products

Hands-Free UV Lamp Curing Experience: This uv lamp gel nail polish stand with your handheld UV light for easy, hands-free curing of gel nail polish/ builder gel/ nail glue/ extension gel etc. Simply place your hands beneath the UV LED light to start the curing process and let it evenly cure your nail art for a professional finish, complete your nail tips art with ease.

【USB Powered】AORAEM gel nail light with 3W LED lamp beads,gel light wavelength: 395, LED lamp for gel nails also equipped with a control switch, adjust 4 blighteness levels,gel lamp easy to use.

Minimum diameter: 0.59inch, maximum diameter: 0.79inch. Experience the ultimate convenience of hands-free operation with the handheld U V Light.
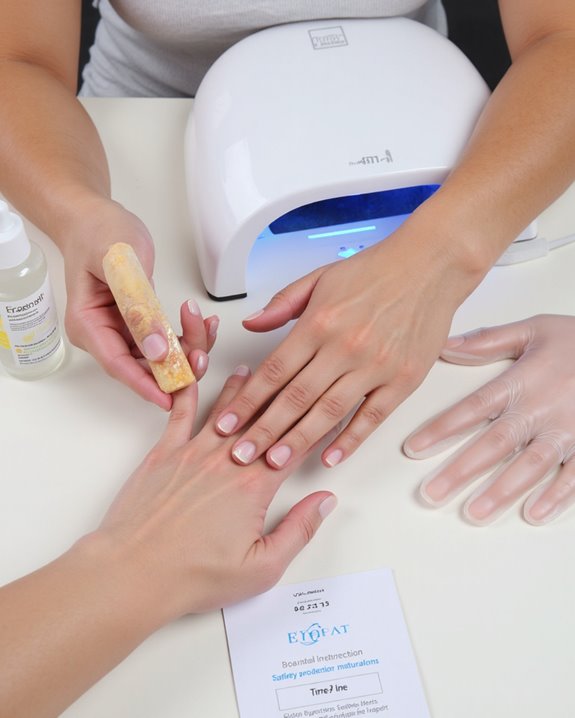
Preparing Your Hands and Nails Before Curing

The proper preparation of your hands and nails serves as the foundation for a long-lasting gel manicure, which can’t be overlooked if you’re seeking professional results. I recommend starting with bare, dry nails, cutting and filing them to your desired shape before thoroughly cleansing with a cotton pad soaked in polish remover or 99% isopropyl alcohol to remove oils and residue. Next, gently buff the nail surface until slightly dull, which creates texture for better adhesion, and avoid applying Cuticle Oil until after your manicure is complete. Apply a thin layer of nail primer to dehydrate the nail plate, followed by your Base Coat, ensuring each step is performed on completely clean nails to prevent lifting and peeling once cured under the lamp. Using a high-quality nail prep dehydrator can further improve adhesion and extend the longevity of your gel manicure.
Recommended Products

Enhance Adhesion: It is important to pre-treat your nail surface prior to any professional artificial nail application. As a reliable nail dehydrator, dehydrator nail prep can dehydrate the nail and remove nail oils, dust and moisture, prevents the creation of air bubbles, so that the color gel, nail gel polish and acrylic powder bonds the nail bed better and stronger, prevent lifting problem.
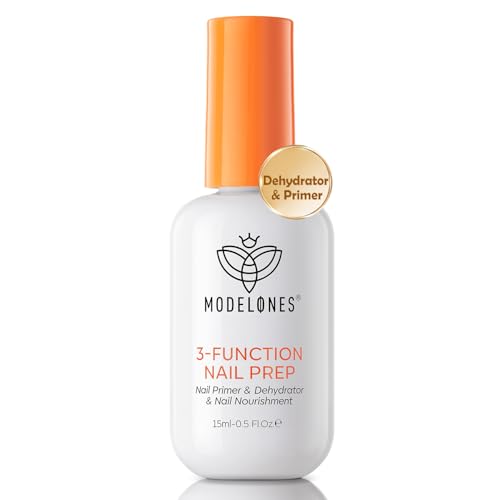
【3-in-One Nail Prep】: 1 Bottle with 3 functions of nail supplies primer, nail prep dehydrator and nail nourishment. It is saving your time for nail art. It cleans your nails, and enhances the stickiness of the nail surface that improves the durability of mani products. And the nutrients can effectively nourish and strengthen the nails, keeping your nail art for more than 28 days

GET STRONG ADHESION - This kit includes nail dehydrator and primer. It is important to pre-treat your nail surface prior to any professional artificial nail application. Use our set to create the best foundation for any gel nails! Protect your manicure for a long-lasting, non-peeling finish.
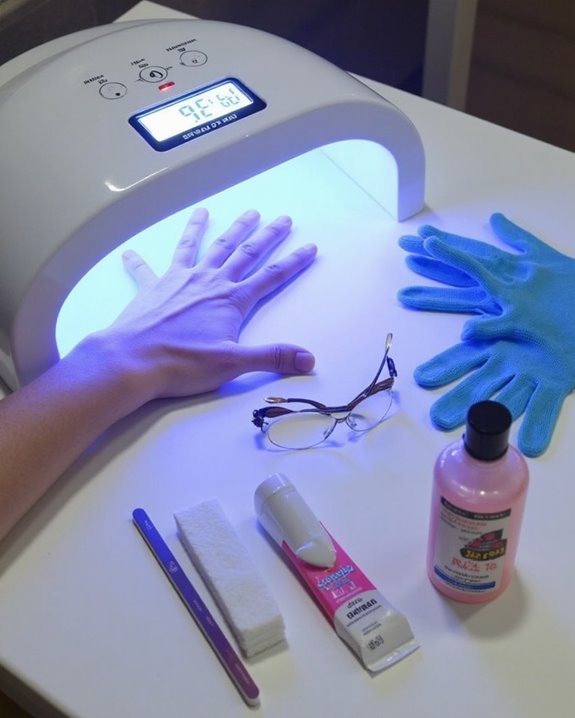
Applying Sunscreen and Protective Gear for Maximum Safety
Now that your nails are prepped and ready for polish application, protecting your skin from UV exposure becomes my next priority. Even LED lamps emit UV light during the curing process, so proper protection is essential while your hands are underneath the lamp.
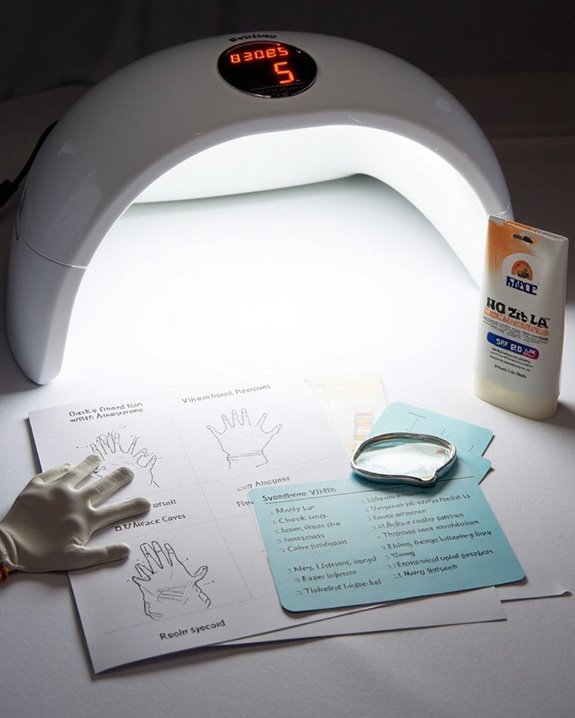
Apply a broad-spectrum SPF 30+ sunscreen liberally to your hands, carefully avoiding nail beds which could interfere with curing. For enhanced protection, I recommend using fingerless UV-protective gloves that shield your skin while keeping nails accessible. When using UV or LED lamps, combine both sunscreen and protective gloves to minimize exposure risks.
Remember to keep curing times to manufacturer-recommended durations, as extended exposure is unnecessary. Using a UV protection glove with an UPF 50+ rating can further reduce UV penetration during gel curing. These combined measures create a thorough safety approach that allows you to enjoy beautiful gel manicures while greatly reducing potential skin damage.
Recommended Products

【Why Should We Wear Gloves】Most nail curing lamps are UV lamps, UV causes damage of the DNA, which is a direct result of skin tanning. The high energetic lamp light also emit a harmful light, called High-Energy Visible Light, this type of light can lead to skin problems sometimes. Frequent use of nail lamps without protective measures will make your hand skin dark, dry, rough and aging.
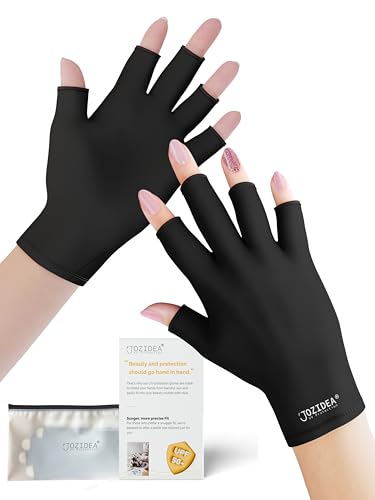
ESSENTIAL PROTECTION FOR HEALTHY MANICURES: Shield your hands from harmful UVA and UVB rays during gel manicures. Prioritize your health with our professional UV protection gloves

Shield Your Skin: AIRSEE Anti-UV Gloves block 99% of harmful UV rays, protecting your hands from sunburn, darkening, and aging caused by exposure to UV light during manicures
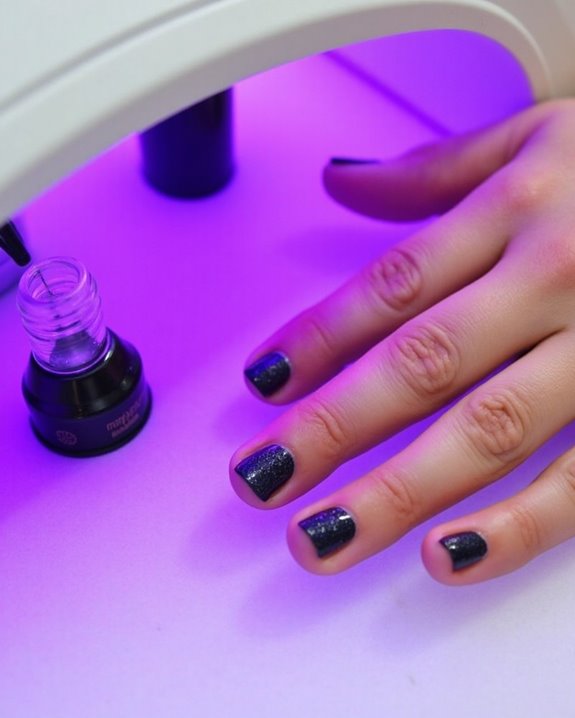
Applying Gel Polish in Proper Thin Layers
Applying gel polish correctly requires mastering the technique of thin, even layers, which I’ve found to be the foundation of a flawless, long-lasting manicure. When I apply gel polish, I always leave a small gap between the product and cuticle to prevent lifting and secure better adhesion.
I apply each thin coat evenly across the nail surface, capping the free edge by running my brush horizontally along the tip for enhanced durability. After curing the first thin layer for 30-60 seconds under the UV lamp, I add a second thin coat to achieve full pigmentation. The base coat, especially, must be applied thinly to create a strong bond with the natural nail. With proper application of these thin coats, your gel polish manicure can maintain its professional finish for up to two weeks.
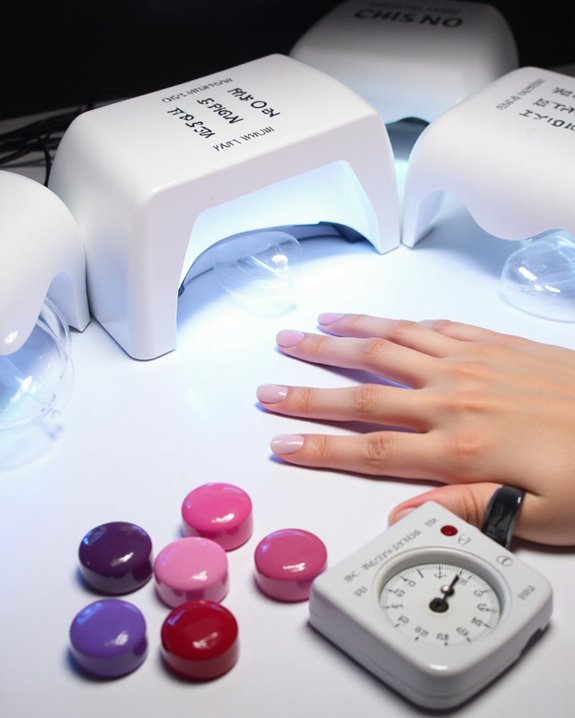
Proper Hand Positioning During the Curing Process
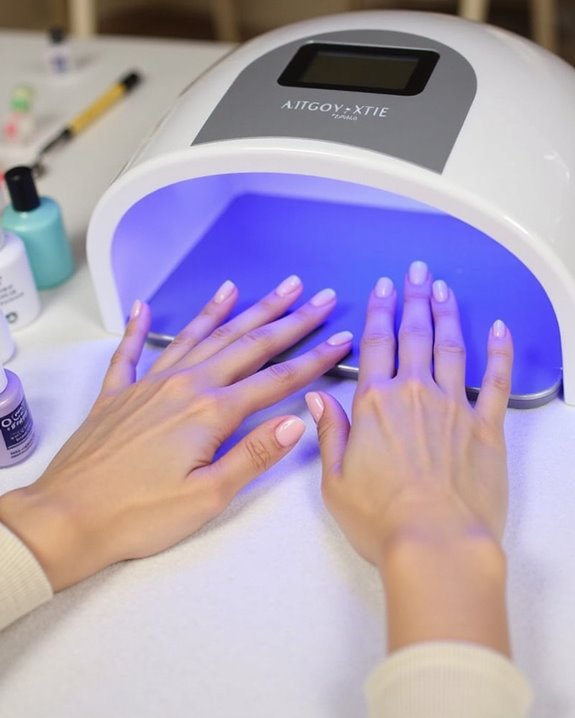
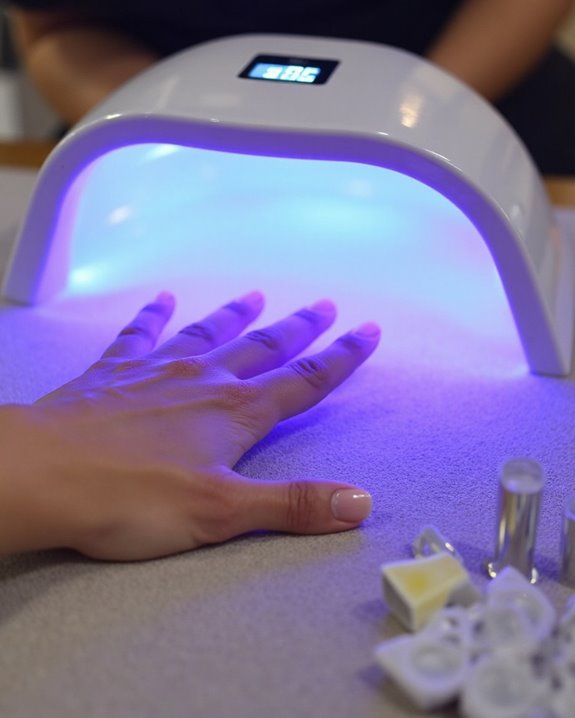
How you position your hands during the curing process greatly impacts the quality and durability of your gel manicure. I recommend placing your hand flat inside the lamp with fingers slightly spread apart, ensuring your gel nails face upward toward the light source. This position allows the UV rays to fully penetrate the polish, preventing shadowing that can lead to uneven curing.
Always cure each hand separately, even if you think both might fit, as one hand positioned correctly will yield better results than two hands cramped together. For proper Polish curing, remain completely still during the full timer cycle, typically 30-60 seconds per coat. Remember to cure each coat individually before applying the next, as rushing this step means your manicure won’t fully dry and could chip prematurely.
Recommended Curing Times for Different Gel Products
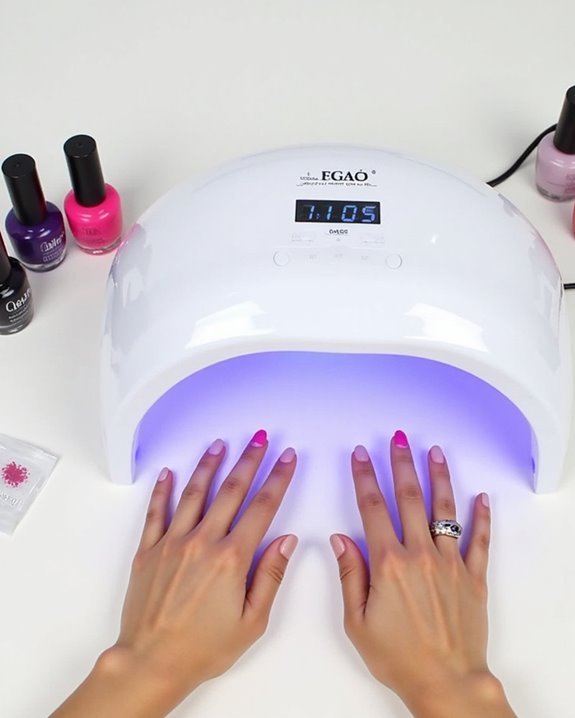
The correct curing time for gel nail products varies greatly depending on the specific formula and layer you’re applying, making it essential to follow product-specific guidelines for best results. I always cure my base gel polish coats for 45 seconds under an LED lamp, which guarantees proper adhesion to prevent lifting. For gel nail polish color layers, I extend the curing time to 60 seconds, preserving the pigment’s flexibility while achieving even coverage.
My gel top coat requires a full 60-second cure, never exceeding 90 seconds to avoid brittleness that complicates removal. When working with nail art, I adjust accordingly: 30 seconds for larger designs and just 10 seconds for small details. These specialized timings balance thorough hardening with minimal UV exposure, keeping both my manicure and hands safer.
Post-Curing Nail Care and Maintenance
Proper post-curing maintenance creates the foundation for extending your gel manicure’s life while protecting your natural nails from damage. After curing, I always wipe my nails with 99% isopropyl alcohol on a cotton ball to remove tacky residue, ensuring a flawless finish for best results. I apply cuticle oil daily to hydrate the nail plate and surrounding skin, which helps my manicure last longer—up to two weeks with proper care.
For weak nails, I recommend applying Builder Gel or Rubber Base Coat before your color to prevent bending and flaking. I’ve found wearing gloves during household chores protects my investment, and I regularly inspect my nails for lifting at the edges. If you notice any issues, don’t attempt to remove gel yourself—reapply cuticle oil and schedule professional maintenance.
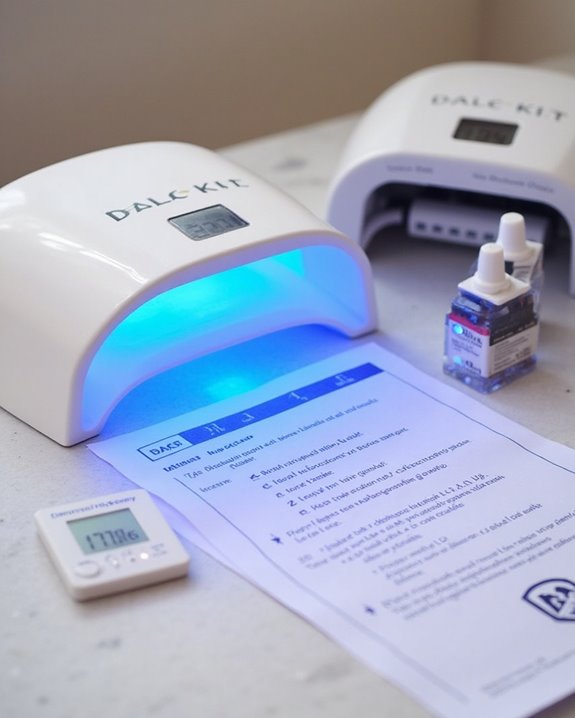
Cleaning and Storing Your UV Nail Lamp Properly
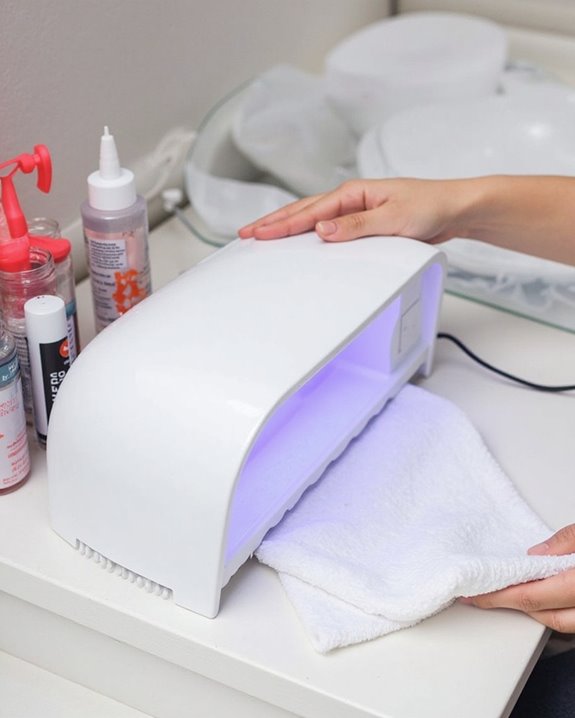
Maintaining your UV nail lamp’s performance begins with proper cleaning and storage practices after you’ve completed your manicure session. I recommend using a dry microfiber cloth to wipe down your salon-quality lamp once it’s cooled, removing any dust or gel polish residue that might affect its performance. For deeper cleaning, dampen the cloth with a mild cleaner, but always make sure it’s thoroughly dried afterward to prevent damage to the high-quality components.
Make sure you store your lamp in a dry, ventilated area between gel manicure sessions, as humidity can compromise its functionality and reduce how long it will last. During cleaning, I suggest inspecting for signs of wear that might affect performance. Following the manufacturer’s guidelines will help preserve your investment, making sure your UV lamp continues delivering professional results whether you’re using it at home or in a professional setting.
Recommended Products

The Professional Nail Lamp and Drying Almost All Nail Gel: including led gels, hard gels, sculpture gel, gem gel etc..

【High Power Dual Light Source】Our 268W UV LED Nail Lamp is designed with high power dual light sources, making gel polish cure faster and reducing drying time. With 57 evenly distributed UV+LED bulbs, this lamp ensures even drying of your nails. It is suitable for curing a variety of gels, including primer, topcoat, UV glue, building glue, gem glue, polyglue, and color polishing, providing professional results.We suggest do not let the lamp working continuously more than 2 hours.

20S/60S TIMING: mlogiroa uv light for nails button design, easy to operate; there are 2 gears countdown time, press the first time is 20 seconds countdown time, press the second time is 60s countdown time. Press twice to switch gears. The digital display screen does not need to be timed to view, the time is automatically turned off
Monitoring for Skin Reactions and When to Seek Medical Advice
Noticing changes in your skin after UV lamp sessions represents a critical part of safe gel manicure practices, particularly as research from Harvard Medical indicates minimal but real risks associated with repeated exposure. After APPLYING POLISH in thin, even coats of Gel Nail, it’s crucial to watch for redness, itching, or unusual discoloration within 24 hours of your session. If you experience persistent symptoms, it’s time to leave the self-treatment phase behind and consult a healthcare professional as your next step.
I recommend applying broad-spectrum sunscreen before each session and tracking your exposure times. When applying your Gel products, limit curing sessions to manufacturer recommendations, typically under 1 minute per coat for LED lamps, to minimize potential skin reactions while still achieving proper curing results.
Frequently Asked Questions
How to Use an UV Nail Lamp for Beginners?
Like a chef’s first soufflé, I was terrified of my UV lamp! For beginners: check Lamp Basics, follow the Setup Guide, verify Power Sources, practice Error Prevention, remember Maintenance Tips, and start with simple Usage Advice.
How to Do UV Gel Nails at Home Step by Step?
For DIY UV gel nails, I start with proper nail prep using alcohol. I apply base coat, gel colors (cure between layers), and finish with top coat. I’ve found application tips online help create amazing design ideas!
How Do I Protect Myself From UV Nail Lamp?
To shield from UV hazards, I’d recommend applying sunscreen on hands, wearing fingerless gloves for skin protection, using protective eyewear for eye safety, limiting exposure time to prevent negative health effects, and considering LED alternatives as preventive measures.
How Long Do You Put Your Nails Under UV Light?
I cure my nails under UV light based on the specific coat: 45 seconds for base, 60 seconds for color, and up to 90 seconds for top coat. Lamp wattage affects these ideal periods for proper gel hardening.