As an Amazon Associate, we earn from qualifying purchases. Some links on this site are affiliate links at no extra cost to you. Our recommendations are based on thorough research and editorial judgment.
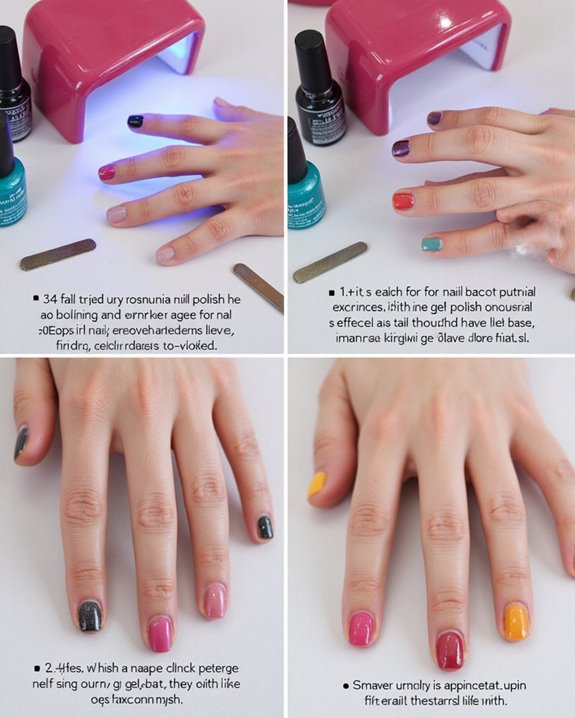
What Happens When You Use Normal Nail Polish With a UV Lamp?
Using regular nail polish with a UV lamp won’t achieve the desired curing effect because traditional formulations lack the photoinitiators necessary for UV-activated hardening. Instead of speeding up drying, UV exposure can disrupt the natural solvent evaporation process, potentially causing uneven drying, tackiness, and even discoloration. The heat from the lamp might slightly dry the surface layer, but underlying polish remains wet, leading to smudging and chipping. For better results, consider quick-dry topcoats or hybrid gel-regular polish alternatives.
Key Takeaways
- Regular nail polish lacks photoinitiators, so UV lamps cannot properly cure it like gel polish.
- UV lamps may slightly dry the surface due to heat, but leave underlying layers wet and tacky.
- Using UV lamps on regular polish disrupts natural solvent evaporation, potentially causing chipping and uneven finish.
- UV exposure can lead to discoloration of regular polish and prevent proper drying.
- For UV curing, use hybrid formulations or the gel sandwich method instead of regular polish.
The Science Behind Regular Nail Polish Formulations
The formulation of regular nail polish represents a carefully balanced chemical composition that works entirely differently from gel systems. I’ve found that regular nail polish primarily consists of nitrocellulose, which forms a film on your nails as solvents evaporate during the drying process. Unlike gel polishes, regular polish doesn’t contain photoinitiators that activate when exposed to UV light, making it impossible for a chemical reaction to occur under a lamp.
When you apply regular nail polish, its drying time of 5-10 minutes per coat depends entirely on solvent evaporation into the air. The mixture of resins provides adhesion, plasticizers add flexibility, and pigments deliver color—all designed to dry naturally without UV assistance. This fundamental difference explains why UV lamps can’t speed up regular nail polish drying time.
How UV Lamps Work With Gel Polish vs. Regular Polish
Why do UV lamps transform gel polish into a rock-hard finish while barely affecting regular nail polish? The answer lies in their fundamentally different formulations. Gel polish contains special photoinitiators that react when exposed to UV wavelengths, triggering a polymerization process that completely cures the product in about 120 seconds.
Regular polish, however, lacks these light-reactive components and is designed to dry through solvent evaporation, not UV exposure. When I place regular polish under UV lamps, only the surface layer may dry slightly faster due to the lamp’s heat, but the underlying layers remain wet and susceptible to smudging. The UV lamps are specifically designed to cure gel formulations through a chemical hardening process that regular polish simply cannot undergo, making the curing process ineffective for traditional lacquers.
Recommended Products

The Choice of 5 Million Professionals: SUNUV specializes in UV LED salon graded nail dryers, a brand trusted by over 5 million professionals and salons globally for its premium quality and ease of use
Fast & Even Curing with 30 High-Power LEDs: Scientifically arranged LED beads ensure full coverage with no dead spots for a perfectly cured. UV & LED dual light for long-lasting manicure.

Quick Drying & Auto Sensor: SUNUV SUN9C nail dryer with UV+LED dual light source shortens curing time and cures all gels in 60s. Automatic sensor: no need to press any keys; works for 99s. Ideal for home and salon use, manicure and pedicure
Effects of UV Light Exposure on Traditional Polish

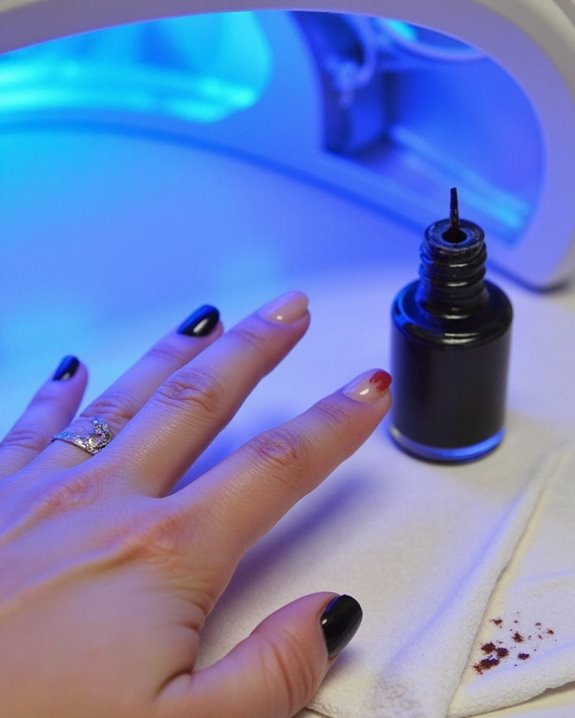
When I’ve placed regular nail polish under UV light, I’ve observed firsthand that it doesn’t respond the same way gel formulations do. While the heat from UV and LED lamps might speed up the evaporation slightly, regular nail polish cannot properly cure under a UV lamp because it lacks the photoinitiators necessary for chemical hardening. Instead of helping, this UV exposure often leads to an uneven finish with a tacky surface.
Attempting to dry under a UV lamp can actually disrupt the natural drying process, potentially making your manicure more prone to chipping. The polish may also discolor when subjected to UV light, and repeated attempts to cure regular nail polish this way can increase your risk of a damaged appearance. Additionally, you’ll waste your lamp’s lifespan on a process it wasn’t designed for.
Common Misconceptions About Curing Regular Polish
Despite what many beauty enthusiasts believe, regular nail polish simply cannot be cured with a UV lamp in the same way gel formulations can, which remains one of the most persistent misconceptions in nail care today. I often hear clients assume that exposing regular polish to UV light will speed up the drying process, when in reality, it may interrupt the natural evaporation of solvents, leaving only thin layers on the surface dry while the underneath remains tacky. Additionally, since regular polish is not formulated with the photoinitiators necessary for curing under UV light, attempting to do so can lead to uneven drying and potential damage to the polish or nails. Another widespread myth is that UV exposure will somehow transform traditional polish into gel-like durability. This simply isn’t possible because regular polish lacks the photoinitiators necessary to cure under a UV lamp. Many also believe the use of UV light won’t affect their polish, yet it can actually cause discoloration and prevent proper drying entirely.
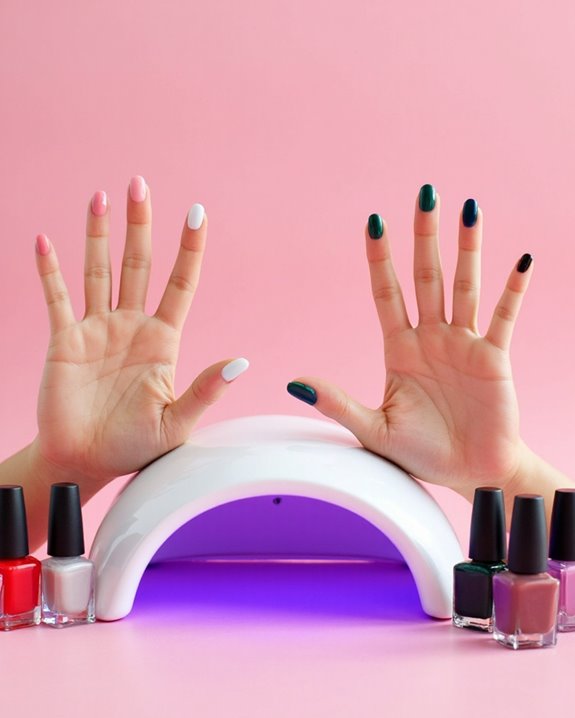
The Gel Sandwich Method: Combining Both Polish Types
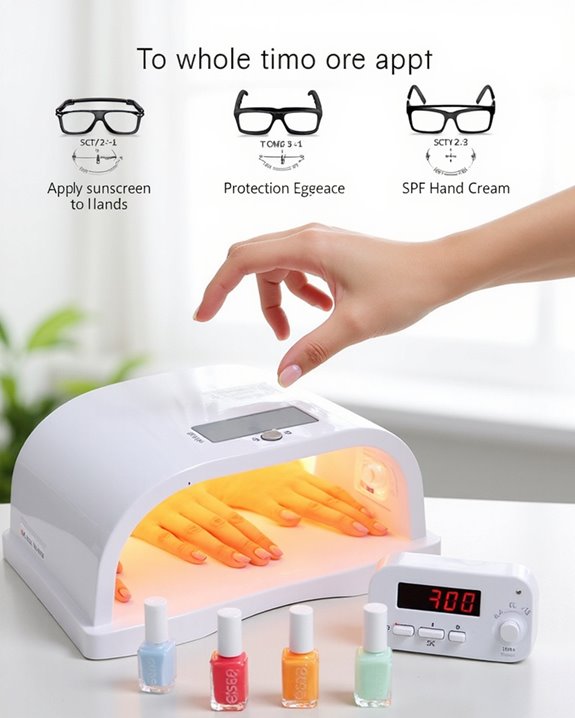
The gel sandwich method offers nail enthusiasts a clever compromise between traditional polish’s color variety and gel’s impressive durability. I start by applying a thin layer of gel base coat to my entire nail, then cure it under a UV or LED lamp for just 5-60 seconds. Next, I add 1-2 layers of regular polish for color, allowing them to dry completely—up to 24 hours is ideal to prevent bubbling. Using a UV or LED lamp with the right wavelength specifications ensures proper curing of both gel and regular polish layers. For enhanced performance, I sometimes mix equal parts regular polish with gel transformer on a mixing plate. The final step involves sealing with a gel top coat and curing again. During the gel manicure process, I cure in rotations, exposing four fingers at a time followed by thumbs, ensuring even exposure. Remember to protect your skin with SPF 30 sunscreen when using the lamp.
Potential Damage to Your Manicure and Equipment
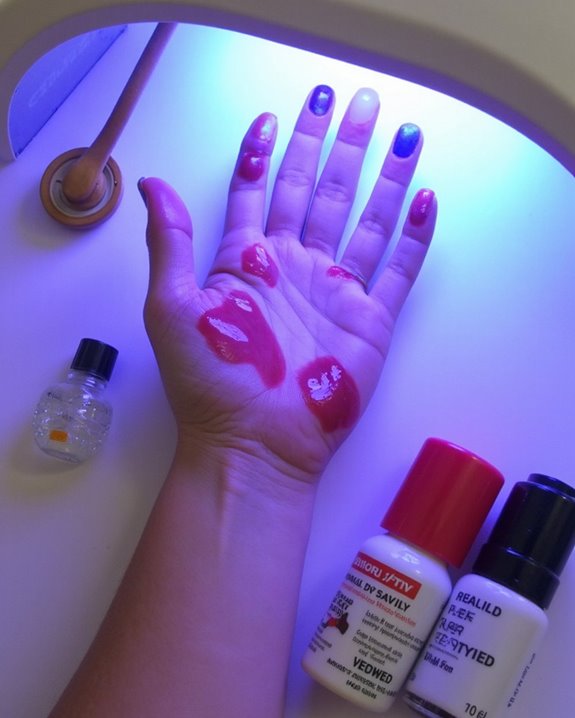
Why should you think twice before placing regular nail polish under a UV lamp? While UV lamps work wonderfully with gel formulations, they’re not designed for UV-incompatible regular polishes. When I expose traditional lacquers to UV light, I’ve noticed they often discolor and develop an uneven, blotchy appearance where the light hits most intensely. Even applying thin coats of regular polish won’t help, as the UV exposure interrupts the natural air-drying process.
Unlike gel products that properly coat and cure to last weeks without chipping, regular polishes might leave you with a tacky surface that won’t dry faster—in fact, they could take longer to set completely. This misuse not only compromises your manicure’s appearance but also reduces your lamp’s operational lifespan through unnecessary bulb wear, wasting the technology that should be preserving your perfect gel manicure.
Recommended Products

Beginner Friendly Gel Curing: Auto sensor turns the lamp on when you place your hand inside and off when you remove it, making gel curing easier for first-time users. With 4 preset timers, you can cure different nail steps with less guesswork during home DIY manicures and pedicures.

CURE ALL GELS – Professional 72W UV Nail lamp fast cure all gel nail polishes, base coat, top coat, color gel, hard gels, builder, acrylic, sculpture gel, gem glue etc. (not for regular nail polish) No bottom plate, suit for curing toenails.

Durability Metts Dependability: Our LED UV Gel Light for Nails has an astonishing 50,000 hours of LED and UV bulb life. Backed by a 1-year warranty and our unwavering customer support for nail perfection. Unleash your inner beauty
Better Alternatives for Drying Regular Nail Polish
Since UV lamps won’t help with regular polish, I’ve discovered several effective alternatives that’ll save you time and frustration. Quick-dry top coats are my Best Alternative, creating a protective layer that speeds up drying time from 20 minutes to just 5-10 minutes per coat. Always wait at least until each layer of polish is touch-dry before adding another to prevent smudging. Using a quick-dry formula can further reduce drying time and improve durability. For even faster results, try quick-dry sprays or drops that dry polish in under 5 minutes. The amount of time you’ll save is significant, especially when applying multiple coats. If you’re looking for durability without switching completely to gel, use hybrid polishes instead—they combine regular polish’s ease with UV-curing capabilities, lasting up to two weeks with proper application.
Recommended Products

EASY TO USE - Apply 1 coat over dry nails for a shiny finish

Seals and protects nail polish, natural or artificial nails

This color covers in just 1 coat, brilliantly
Professional Techniques for Mixed-Media Manicures

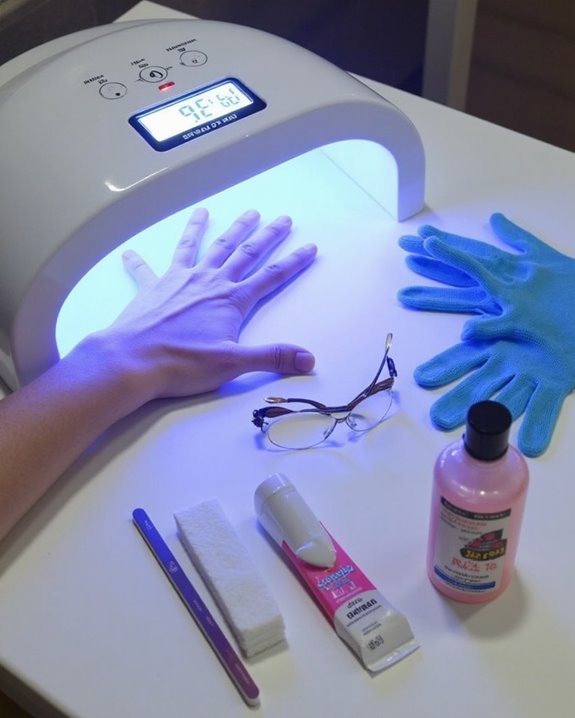
Mastering mixed-media manicures requires a calculated approach that combines traditional polish with gel techniques for superior durability and shine. I start by buffing the nail surface and cleansing with 91% isopropyl alcohol to remove oils, ensuring ideal adhesion for my gel products.
Next, I apply a thin layer of gel base coat, carefully capping the free edge, and cure under an LED or UV lamp for 5-60 seconds. For creative nail art, I mix equal parts regular polish with gel transformer on a mixing plate, applying 1-2 layers and curing each under the light for 30-60 seconds. Finally, I seal my design with a gel top coat, curing for 30-120 seconds for long-lasting results.
For safe use of UV or LED lamps, I always protect surrounding skin with SPF 30 sunscreen or fingerless gloves.
Recommended Products

Beetles 32 Colors Gel Set: With the Beetles gel nail polish Set, you get 32 5ml classic and fashionable colors , 4 x 7.5ml No Wipe Base and Glossy & Matte & Holographic Glitter Top Coat, to suit all occasions and seasons. Whether it's for casual wear or a special event, these beetles gel polish colors will make you stand out from the crowd.

Beetles 44pcs Gel Nail Polish Kit - Includes 36 mini gel polish colors, 4 essential coats, 1 nail buffer, 1 nail file, 1 nail clipper and 1 cuticle stick. A complete gel polish kit for DIY manicures, seasonal nail art and salon-style looks at home.

[Fashion Jelly Gel Nail Kit] Beetles brings 6 trendy nude jelly gel shades. The sheer nude tones blend with your natural nails for a refined “your-nails-but-better” look, ideal for French tips, gradients, glitter, and nail art
Hybrid Polish Options for UV Lamp Users
The evolution of hybrid polishes has transformed the landscape for UV lamp enthusiasts seeking professional results at home. These specialized gel nail polishes are uniquely designed to combine regular polish with the durability of gel nails while offering a variety of colors that cure perfectly under UV or LED light. I’ve found that hybrid formulations eliminate the need for separate base and top coats, making your manicure process more efficient.
You can create your own hybrid by mixing regular polish with a gel transformer in a 50-50 ratio, curing each layer for 30-60 seconds under your lamp. LED Nail Lamps Safer than traditional UV Gel options, these modern devices cure hybrid polishes in just 15-60 seconds while providing up to two weeks of chip-resistant wear.
Recommended Products

HyBa Beauty has perfected the art of combining the best qualities of acrylic and hard gel to create a hybrid product that offers unmatched flexibility and control: HyGEL. This innovative formula is more flexible than acrylic, stronger than hard gel, and lighter than both, making it a true hybrid solution for nail professionals. HyGEL provides an endless working time, only hardening when cured under an LED/UV light, offering precision and ease for nail technicians of all skill levels.

✦Premium Quality✦:UV Gel Nail Brush made of advanced nylon hair, they are mainly used to UV nail and French Nails, drawing exquisite 3D painted patterns, plaid and flowers etc.

BIG VOLUME: 2.12oz (60g) natural nude poly gel. Lasts for approximately 30 sets of full hands poly gel manicure.
Frequently Asked Questions
What Happens if You Use Regular Nail Polish With an UV Light?
Like moths to a flame, I’ll warn you: regular polish under UV light risks polish yellowing, color fading and surface bubbling. You’ll get tacky, smudged results without proper curing—wasting your lamp’s lifespan too.
Can You Put Regular Nail Polish Over UV Gel?
Yes, I can put regular polish over UV gel! For best polish compatibility, I’ll apply thin layers and seal with gel topcoat. Without proper layering techniques, I’ll face adhesion issues affecting durability. The gel sandwich method works wonderfully!
How Long Does It Take Regular Nail Polish to Dry Under UV Light?
Like watching paint dance, I’ve noticed regular polish under UV takes 5-10 minutes per coat. Temperature effects speed things up, but thickness impact matters—it’s just surface drying, not true curing like gel. Experiment results vary!
What Happens if I Use Gel Polish Without UV Light?
If I use gel polish without UV light, I’ll face Gel Failure because No Curing means it’ll stay tacky. You’ll experience Durability Loss, Product Incompatibility, and possible Safety Concerns from uncured chemicals contacting your skin.