As an Amazon Associate, we earn from qualifying purchases. Some links on this site are affiliate links at no extra cost to you. Our recommendations are based on thorough research and editorial judgment.

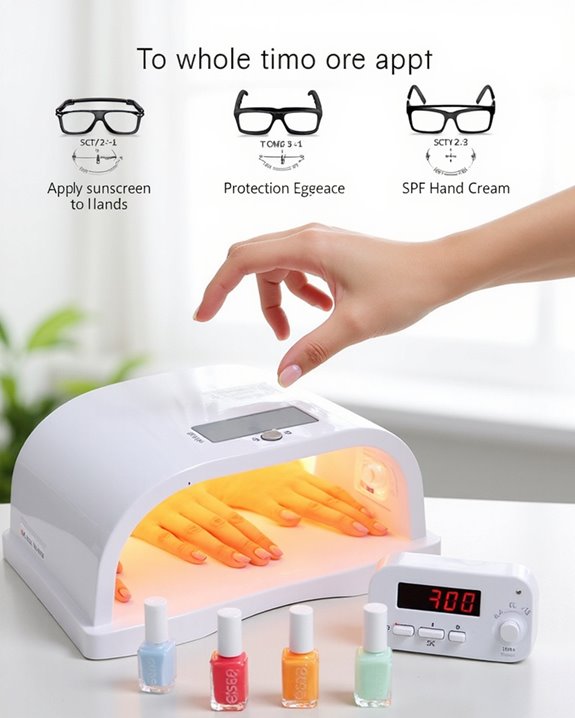
How to Safely Use a 120W Nail Lamp Step by Step

To safely use a 120W nail lamp, first remove all protective films and connect the power cord to a switched-off outlet. Apply sunscreen or wear UV-protective gloves before starting. Position your hand flat inside the lamp, keeping fingers slightly spread about 2 inches from the light source. Select the appropriate timer setting: 10 seconds for small designs, 60 seconds for regular gel coats, or 99 seconds for low-heat mode. The following steps will guarantee your gel manicure cures perfectly every time.
Key Takeaways
- Set up the 120W nail lamp on a flat surface, connect to power, and remove all protective films before first use.
- Apply SPF 30+ sunscreen or wear UV-protective gloves before inserting hands or feet into the lamp.
- Position nails facing upward about 2 inches from light source with fingers slightly spread for even curing.
- Select appropriate timer settings: 10-30 seconds for small designs, 60 seconds for regular polish coats.
- Never exceed 90 seconds per curing session and turn off immediately if the lamp overheats.
Unpacking and Setting Up Your 120W Nail Lamp
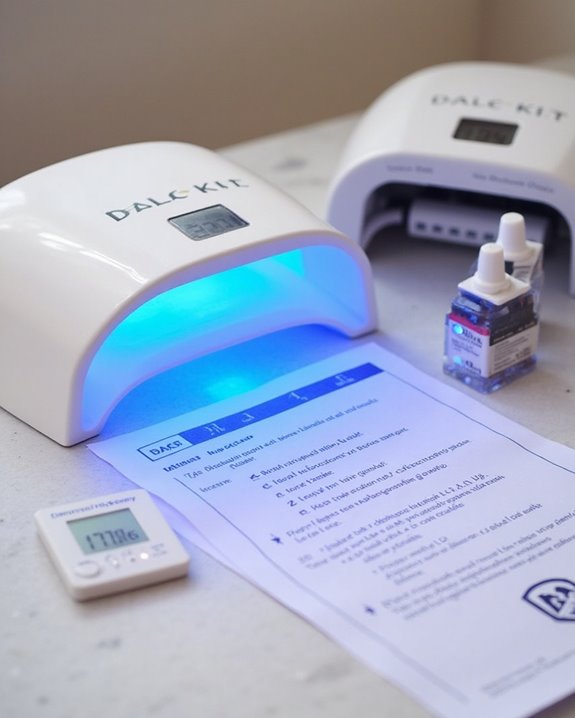
Three simple steps will get your 120W Gelous UV/LED Gel Nail Lamp ready for use. First, carefully unbox your LED nail lamp and DC Adaptor, making sure not to damage any components during removal. I recommend setting aside all packaging materials until you’ve verified everything works properly.
Next, remove the protective films from both the base plate (blue film) and the timer display (clear film), ensuring all surfaces are clean before operation. This step is essential for best performance of your UV lamp.
Finally, connect the power cord to your LED lamp, then plug it into a switched-off power outlet. Only turn the power on after everything is properly connected to prevent electrical issues. For the Travel version, use a USB-A to USB-C connection for portable convenience.
Recommended Products

Spacious Design for Hands & Feet: Wide opening fits both hands or feet at once. Great for salon professionals or at-home gel nail lovers looking for an efficient nail dryer or UV nail lamp. Note: This Nail lamp is corded only, no built-in rechargeable battery and must be plugged in during use.

Spacious Design for Hands & Feet: Wide opening easily fits both hands or feet simultaneously, making it perfect for salon professionals and at-home gel nail enthusiasts alike. It delivers efficient curing performance, saving you time whether you’re doing a quick touch-up or a full set of nails. Note: This Nail lamp is corded only, no built-in rechargeable battery and must be plugged in during use.
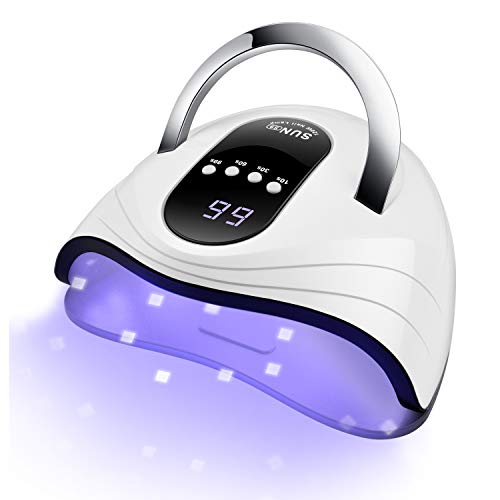
【UPGRADED DUAL LIGHT SOURCE & FAST CURING NAIL】- Using advanced LED double light source bulb technology to cure all kinds of nail gels without distinguishing nail polish gels type. A whopping 120 watts of power offers 80% faster curing speeds than lower wattage UV nail lamp. Enjoy ideal professional salon nail art easily and freely at home with our gel nail light.
Understanding the Various Timer Settings and Their Purposes
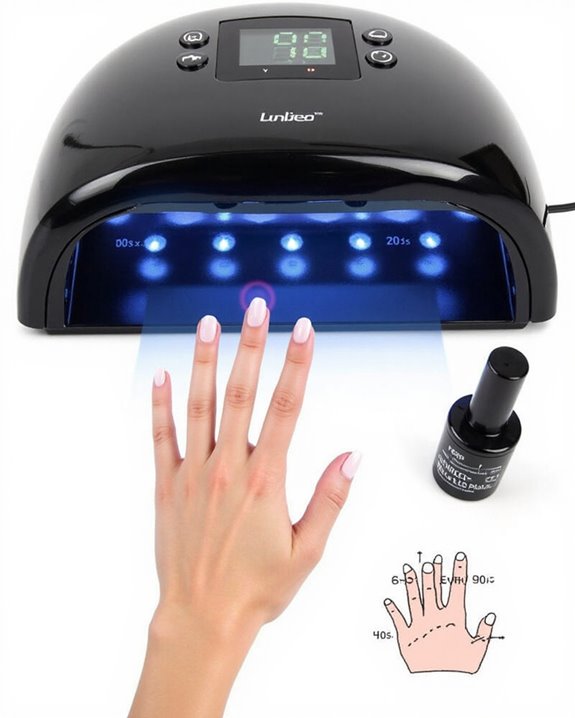
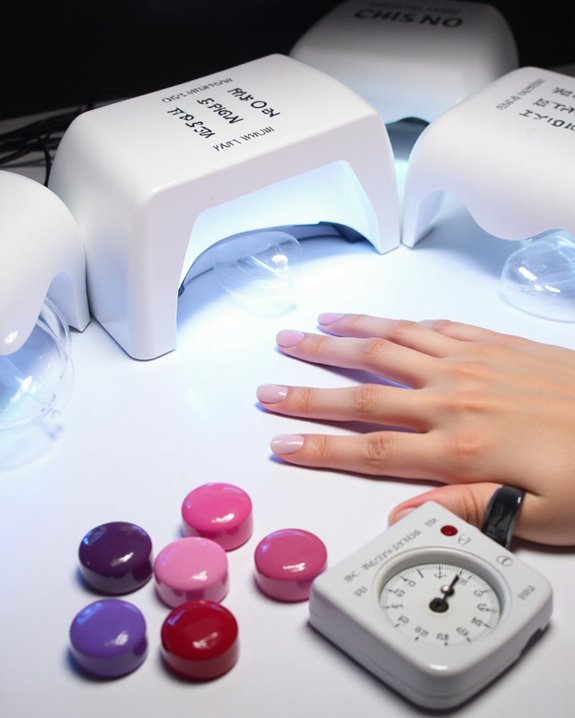
With your lamp now properly connected and ready for use, let’s explore the various timer settings that make your 120W nail lamp so versatile. The LED light offers different curing times tailored to specific needs: 10 seconds for small nail art designs, 30 seconds for larger designs, and 60 seconds for regular gel polish coats. Each setting optimizes the curing process for different applications.
For sensitive nails, I recommend the 99-second low heat mode, which begins at 12W for 50 seconds before increasing to 24W, minimizing discomfort while ensuring proper curing. The smart timer feature provides automatic curing for up to 120 seconds when you insert your hand or foot, offering customizable flexibility. Understanding these settings will help you achieve professional results while protecting your nails from unnecessary light exposure during the curing process.
Recommended Products

The Choice of 5 Million Professionals: SUNUV specializes in UV LED salon graded nail dryers, a brand trusted by over 5 million professionals and salons globally for its premium quality and ease of use

The Professional Nail Lamp and Drying Almost All Nail Gel: including led gels, hard gels, sculpture gel, gem gel etc..

💡 SMART SENSOR & AUTO ON/OFF – Enjoy effortless, hands-free curing. This UV LED nail lamp automatically powers on when you place your hand or foot inside and turns off when removed — perfect for quick, professional manicures or pedicures at home.
Proper Hand and Nail Positioning for Even Curing
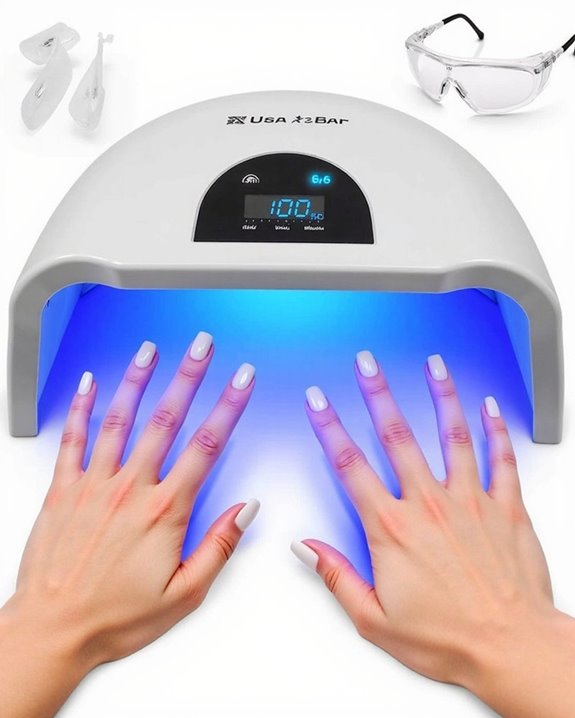
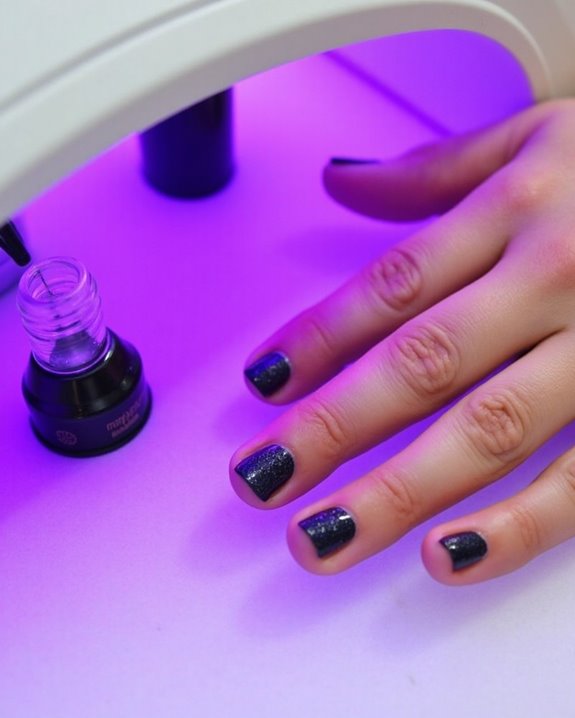
How you position your hands under your 120W nail lamp can dramatically affect your gel manicure results. I recommend placing your painted nails facing up with fingers slightly spread apart to guarantee the LED lamps distribute light evenly across all surfaces. When curing gel polish, keep your hand or foot flat inside the device, maintaining approximately 2 inches between your nails and the light source for ideal polish curing.
I always suggest curing one hand at a time, guaranteeing fingers don’t overlap, which allows each nail to receive the full 120W power. For thumbs or larger nails, position them separately under the lamp to cure gel effectively without creating shadows. This careful positioning guarantees uniform hardening of your manicure, preventing issues like peeling or premature chipping that often result from uneven exposure to your lamp to cure gel.
Recommended Products
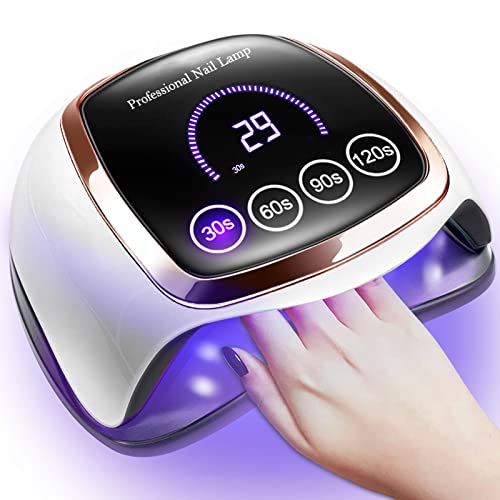
[POWERFUL FOR FAST DRYING] Gugusure led nail lamp has a 180W High Power rating that lights 42 durable light beads outpouring most LED or UV/LED nail lights. The Nail Lamp operates on a narrow spectral band and high light intensity which activates photoinitiators in the gel and cures the nail incredibly fast. It makes curing easier even for those with hard gels or multiple layers of thick polish gel. The 42pcs lamp beads cover all the nails making nail curing twice faster than its competition.

Protected Gloves: The package also includes a pair of black protective gloves to use with UV nail light. They can effectively prevent the fingers from turning black during the irradiation process.

【High Power Dual Light Source】Our 268W UV LED Nail Lamp is designed with high power dual light sources, making gel polish cure faster and reducing drying time. With 57 evenly distributed UV+LED bulbs, this lamp ensures even drying of your nails. It is suitable for curing a variety of gels, including primer, topcoat, UV glue, building glue, gem glue, polyglue, and color polishing, providing professional results.We suggest do not let the lamp working continuously more than 2 hours.
Base Coat Application and Curing Techniques
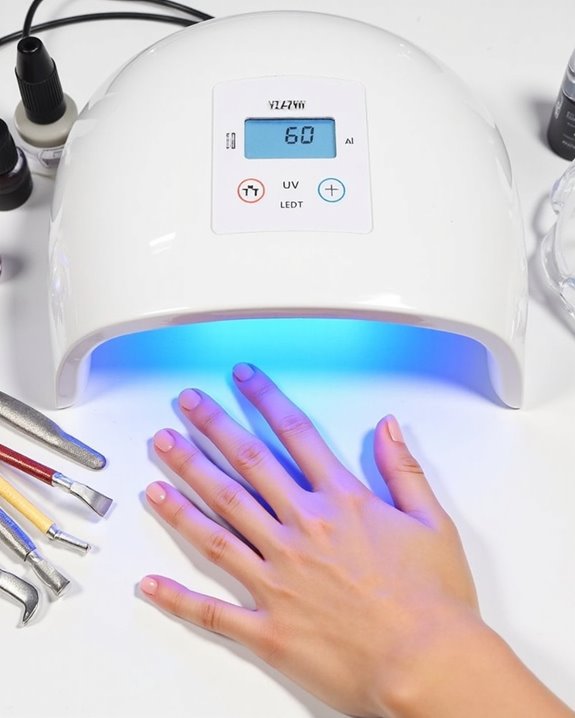
Now that you’ve mastered positioning your hands correctly, let’s focus on the foundation of every lasting gel manicure: the base coat. I recommend gently buffing your nails and cleaning them with polish remover first, creating the perfect surface for adhesion. For best results, apply Nail Primer before your base coat to dehydrate the nail surface.
When applying the base coat, I always use thin layers, leaving a small gap around the cuticle area and capping the free edge by brushing horizontally. This technique prevents lifting and enhances durability. Place your hand flat inside the LED light and cure for precisely 45 seconds using either the 30S or 60S timer options. This specific curing time guarantees proper polymerization without over-curing, creating the perfect foundation for subsequent layers of gel polish.
Recommended Products
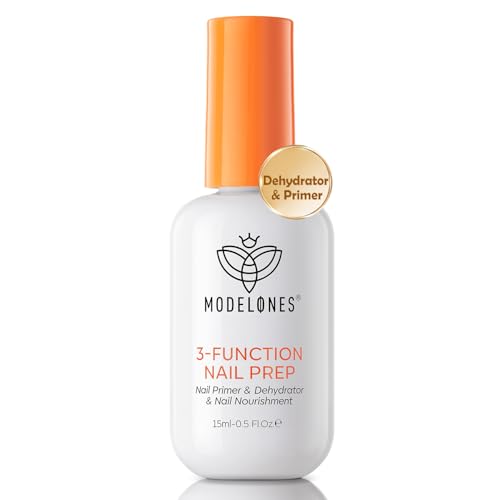
【3-in-One Nail Prep】: 1 Bottle with 3 functions of nail supplies primer, nail prep dehydrator and nail nourishment. It is saving your time for nail art. It cleans your nails, and enhances the stickiness of the nail surface that improves the durability of mani products. And the nutrients can effectively nourish and strengthen the nails, keeping your nail art for more than 28 days
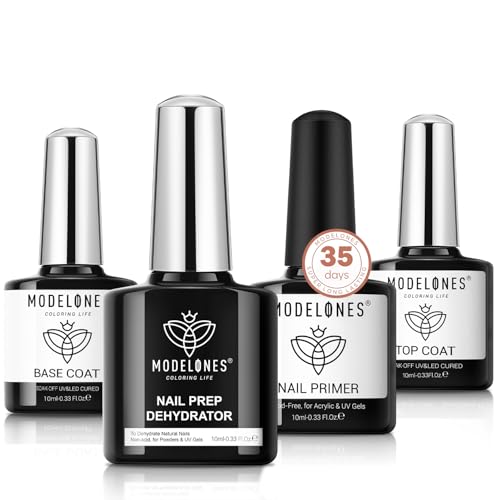
The basic set of 35 days nail thickening solution art: Package include 1pc of 10ml nail dehydrator + 1pc of 10ml nail primer + 1pc of 10ml gel base coat + 1pc of 10ml gel top coat. To create a foundation, using this nail prep kit to prepare the nail plate is the most crucial step in any professional manicure! The dehydrator nail prep can clean the nail surface. The gel nail polish primer can enhance the stickiness of the nail surface, and help the mani products not lift and be long-lasting for more than 35 days.

Nail Dehydrator: Get rid of the oil and dry up the whole cuticle in the nail bed area
Color Coat Application and Optimal Curing Times
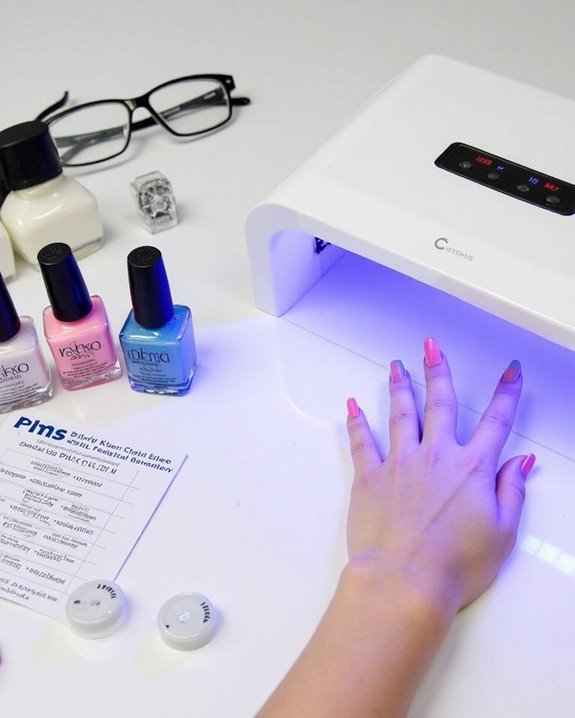
The perfect color coat application begins with preparation and patience, as rushing through this critical step often leads to disappointing results. When applying gel nail polish, I always work in thin, even layers, leaving a small gap from the cuticle to prevent lifting. I cap the free edge by brushing horizontally over the nail tip, guaranteeing complete coverage before curing. For my 120W UV lamps, I set the timer to exactly 60 seconds for ideal polymerization of each coat of gel nail polish. If you have sensitive nails, select the 99S low heat mode, which operates at lower wattage initially to minimize discomfort. When it’s time to dry gel polish, place your hand flat inside the lamp with fingers separated to guarantee even exposure and consistent curing throughout, resulting in a durable finish that lasts up to two weeks. Using the correct lamp wattage ensures efficient curing and prevents under- or over-curing your gel polish.
Recommended Products
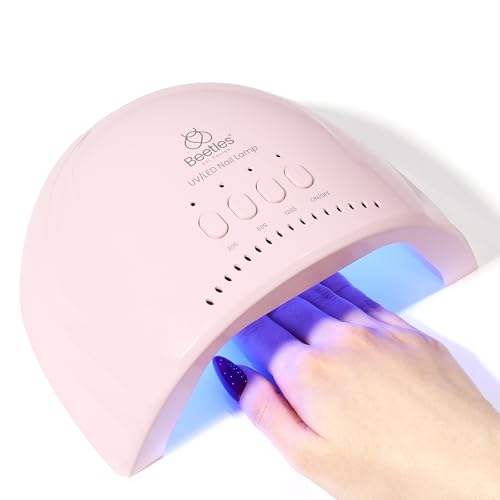
Fast & Even Curing with 30 High-Power LEDs: Scientifically arranged LED beads ensure full coverage with no dead spots for a perfectly cured. UV & LED dual light for long-lasting manicure.

Quick Drying & Auto Sensor: SUNUV SUN9C nail dryer with UV+LED dual light source shortens curing time and cures all gels in 60s. Automatic sensor: no need to press any keys; works for 99s. Ideal for home and salon use, manicure and pedicure

[48W Power 24pcs Durable light Beads] Featured with 24pcs Light beads and 48W power. Our UV LED nail lamp protects your skin from getting sun burnt and does no harm to your eyes. With 24pcs UV Nail Lamp beads full cover, 180 degree all round baking gule
Top Coat Application and Final Curing Process
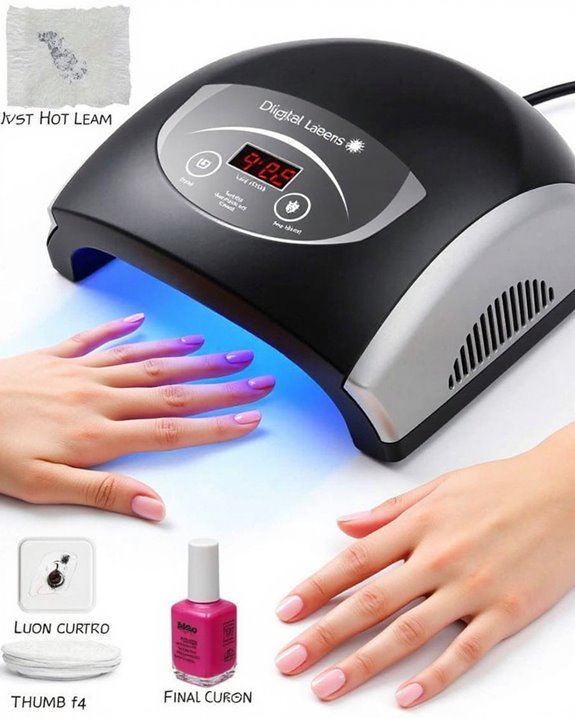
Once you’ve completed your color application, applying the top coat becomes the essential finishing step that will seal and protect your manicure for weeks to come. I recommend using a thin, even layer of top coat rather than thick layers, which guarantees proper curing and prevents bubbling in your gel manicure. Don’t forget to cap the free edge by running your brush horizontally across the nail tip for maximum durability.
When drying gel nail polish, place your hand flat inside your 120W lamp and set the timer for 60 seconds, which is typically sufficient for curing the top coat properly. If you have sensitive nails, utilize the low heat mode (99S option), which starts at 12W and gradually increases. After curing, gently wipe away any tacky residue for that perfect, glossy finish.
Safety Precautions and Skin Protection Measures
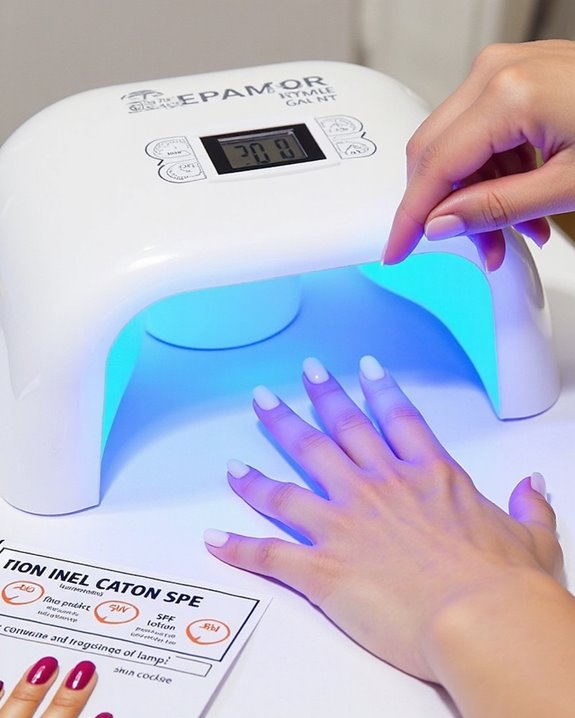
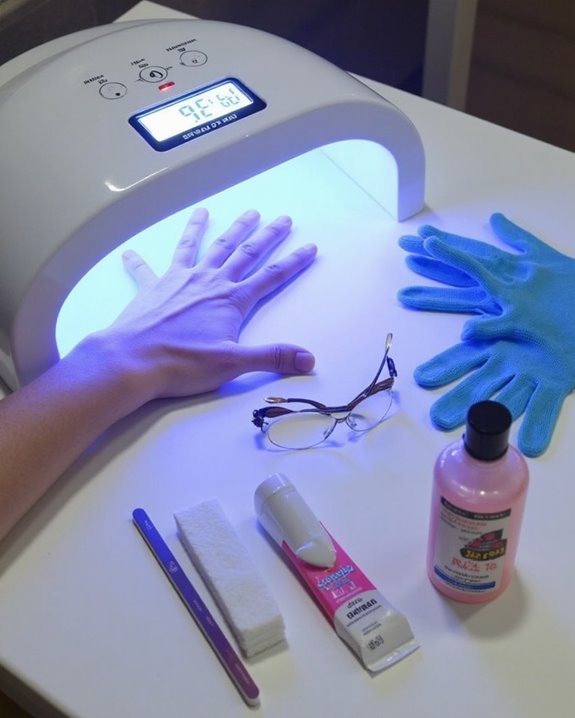
Why would anyone risk skin damage when proper protection is so easy to implement? As a responsible Nail Lamp User, I always apply broad-spectrum sunscreen with SPF 30 or wear UV-absorbent gloves before pressing the power button on my 120W lamp. I make sure to position my hands carefully to avoid direct UV light exposure to surrounding skin, which prevents irritation and potential burns during the curing process. When applying the final coat, I strictly adhere to manufacturer guidelines, never exceeding 90 seconds of curing time per session. I keep my lamp away from water or wet areas to prevent electrical hazards, and if my skin is particularly sensitive, I utilize the low heat mode (99S at 12W) initially. These simple precautions effectively minimize risks while achieving perfect curing results. Additionally, choosing a lamp with automatic sensor technology further reduces unnecessary UV exposure.
Maintenance and Cleaning of Your Nail Lamp
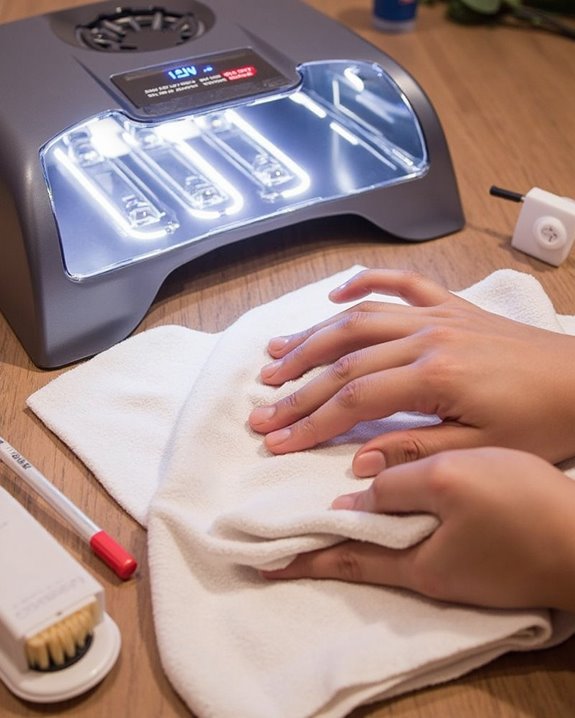
Keeping your 120W nail lamp in pristine condition isn’t just about aesthetics, it’s essential for both safety and performance longevity. After your lamp is used to dry gel polishes, I recommend wiping the interior with a soft cloth to prevent residue buildup that could interfere with curing your nails thoroughly. Proper UV light maintenance is crucial to ensure consistent curing performance and extend the lifespan of the device. Always disconnect your device from power when not in use, which extends its lifespan and prevents electrical hazards. If you notice sensor issues affecting the automatic activation, clean the sensor area meticulously. Keep your lamp away from water at all times, and make sure it’s operating in a well-ventilated space. Should you detect overheating, turn it off immediately.
Following these maintenance methods for drying gel equipment will help you enjoy flawless results while maximizing your investment’s longevity and safety.
Troubleshooting Common Curing Problems
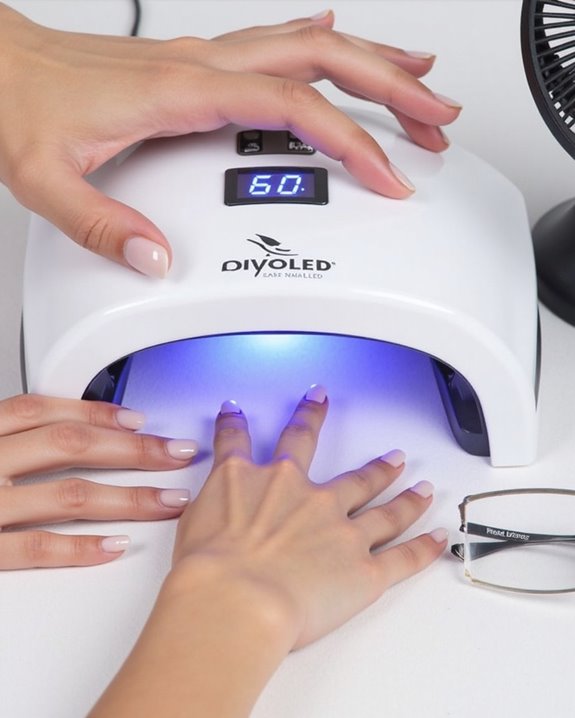
Even a perfectly maintained nail lamp can sometimes encounter issues when curing gel polish. When painting your nails, if you notice the polish remains tacky after the timer beeps, position your hands about 2 inches from the lamp’s bulbs to guarantee even coverage across each nail plate. The curing process typically takes at least 10 seconds for small designs, though regular nail applications need longer exposure.
If problems persist, verify your 120W lamp emits the correct UV frequency—insufficient power prevents proper polymerization. Clean the lamp’s interior to prevent sensor malfunctions, and check that your hands are positioned correctly during operation. Should the lamp overheat while curing, turn it off immediately and allow proper ventilation before resuming use, as excessive heat causes inconsistent results and potential damage to your gel layers.
Frequently Asked Questions
Is 120W LED Nail Lamp Safe?
Like a shield for beauty, I believe 120W LED nail lamps are generally safe. However, I recommend prioritizing eye safety, minimizing skin effects, understanding UV dangers, considering health impacts, and dispelling safety myths during use.
How to Use a Nail Lamp for Beginners?
I’ll share my beginner tips for nail lamps! First, set up your lamp on a flat surface. Place your fingers flat and separated inside. Select appropriate timer settings for your gel. Establish a regular maintenance routine.
How Do You Do UV Gel Nails Step by Step?
Who needs professionals? I’ll help you master Gel Techniques! First, prep nails by buffing, then apply base coat and cure. Add color (loving those pastel Color Trends!), cure, then seal with top coat. Don’t forget proper Removal Methods!
What Wattage Is Safe for UV Nail Lamp?
I’d recommend UV lamps between 36W-120W as safe wattages for effective curing. Remember standard guidelines suggest limited exposure times and always using eye protection to minimize health impacts during your manicure sessions.