Proper fingernail trimming follows five essential steps. First, soak nails in warm water for 5-10 minutes to soften them. Second, select high-quality stainless steel clippers with sharp blades. Third, cut straight across in small increments, leaving 1-2mm of white tip. Fourth, file in one direction using gentle strokes to smooth edges. Finally, apply moisturizer or nourishing oil to replenish hydration. Following this routine guarantees healthy, well-maintained nails and prevents common trimming complications.
Key Takeaways
- Soak fingernails in warm water for 5-10 minutes to soften them before cutting.
- Use high-quality stainless steel clippers with sharp blades for clean cuts without splitting.
- Cut straight across in a series of 3-4 smaller cuts, leaving 1-2mm of white tip.
- File in one direction only, from sides toward center, using a fine-grit emery board.
- Apply moisturizer or nourishing oils after trimming to replenish hydration and prevent flaking.
Prepare Your Nails for Trimming
Proper preparation creates the foundation for successful nail trimming, preventing damage while ensuring precise cuts. Begin by soaking your fingernails in warm water for 5-10 minutes, which initiates the softening process and makes them more pliable for cutting. After soaking, wash hands thoroughly with soapy water to eliminate dirt and debris that might interfere with the trimming process or introduce bacteria.
Dry nails completely after the cleaning process, achieving ideal moisture balance that prevents slipping during cutting while reducing the risk of breakage. Many experts recommend timing your nail maintenance routine shortly after showering, when nails are naturally softened, but avoid trimming immediately after extended bathing sessions, as excessive softening your nails can lead to tearing or irregular cuts during the trimming process.
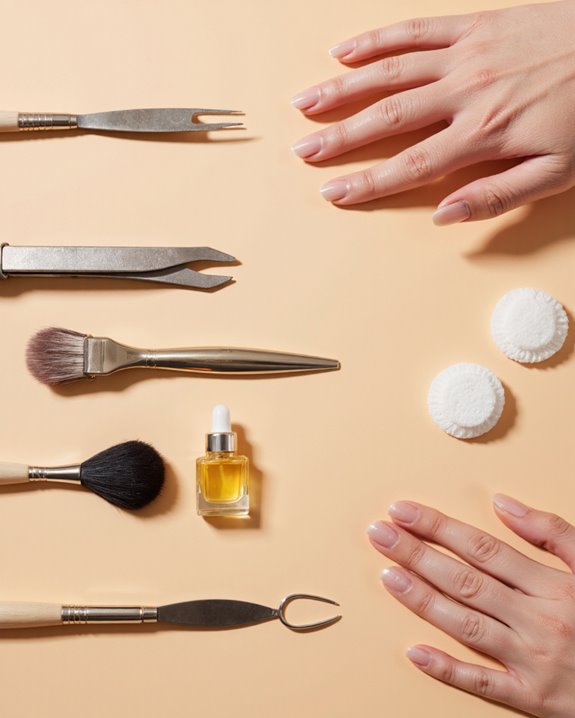
Choose the Right Tools for the Job
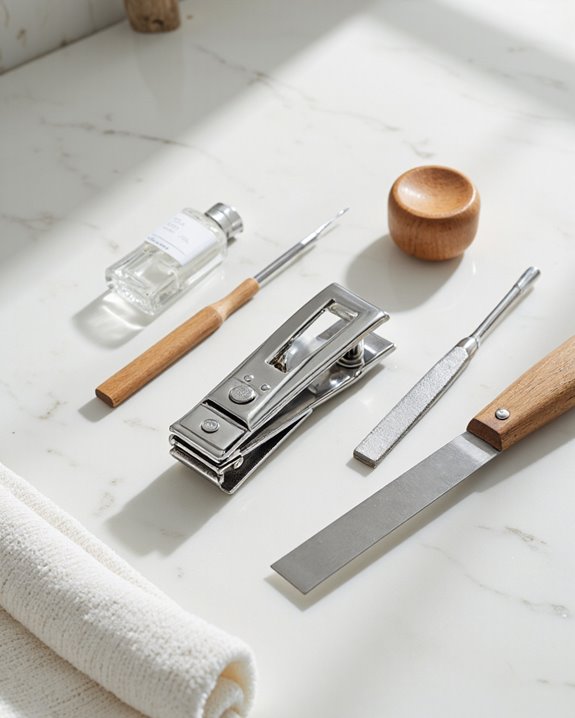
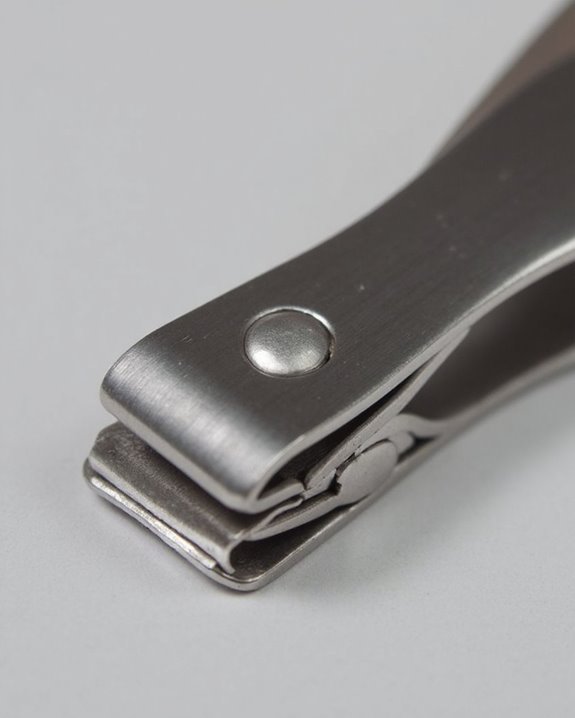
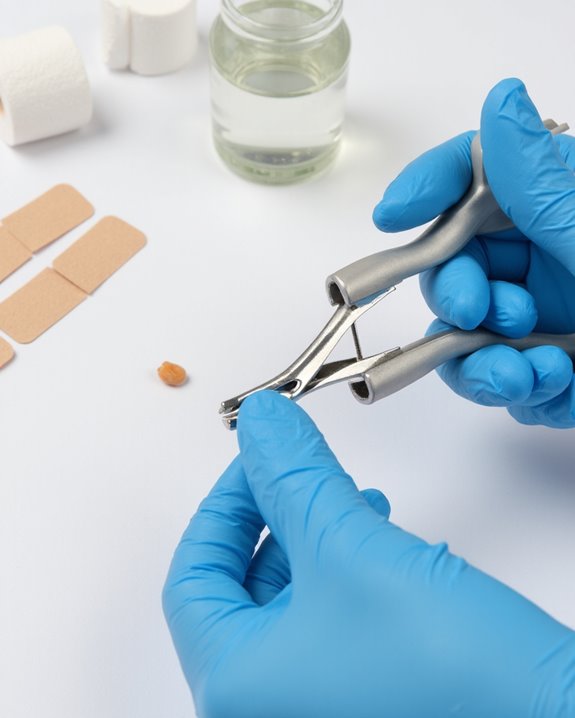
The right tools serve as the foundation for proper nail care, making the selection process essential for achieving ideal results. When examining types of nail clippers, experts recommend high-quality stainless steel options with sharp blades that deliver clean cuts without splitting or tearing the nail. Fingernails benefit specifically from smaller clippers with rounded blades that match their natural curvature, enabling precise trimming with minimal effort. Using disinfectants for nail tools regularly ensures the tools remain hygienic and free of harmful pathogens. Hygiene remains paramount when selecting nail tools, necessitating separate implements for fingers and toes to prevent cross-contamination. After each use, clean the clippers thoroughly with 70% to 90% isopropyl alcohol, which effectively eliminates bacteria that could lead to infections. This simple disinfection practice not only promotes safety but also extends the lifespan of the tools, maximizing the value of investing in quality stainless steel clippers.
Master the Proper Cutting Technique
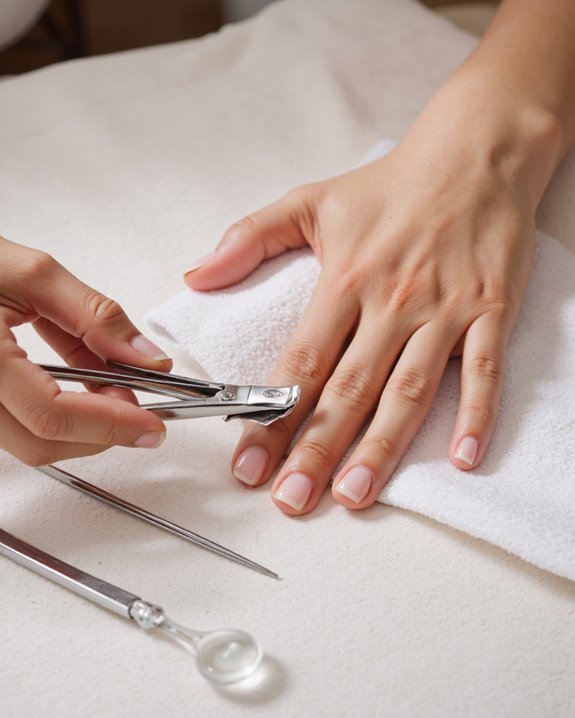
With quality tools in hand, one can proceed to the execution phase of nail maintenance: the cutting technique itself. Proper nail trimming begins by making straight, horizontal cuts across the nail using sharp clippers, never angling the cuts which can lead to problematic ingrown nails. When you clip your nails, experts recommend using a series of 3-4 smaller cuts rather than attempting to trim the entire nail in one motion, as this methodical approach prevents splitting and maintains structural integrity. Additionally, using high-quality manicure tools ensures clean cuts and reduces the risk of nail damage or injury. To achieve best results, one should cut straight across while leaving approximately 1-2 millimeters of white tip beyond the nail bed, protecting the sensitive skin underneath. Position your finger over a waste receptacle during the process to catch clippings, ensuring a clean, controlled procedure that minimizes mess and potential for injury.
Shape and File for Smooth Edges

Once the initial cutting phase concludes, shaping and filing become critical steps that transform roughly-cut nails into professionally finished fingertips. Using a fine-grit emery board, individuals should file in one direction only, working from the sides toward the center to prevent splitting and achieve a polished appearance. Incorporating dual grit designs allows for versatile shaping and smoothing, streamlining the nail care process. The nail file technique involves two distinct phases: beginning with the coarse side to remove rough edges, then switching to the finer side for smoothing the surface. When individuals shape their nails, experts recommend slightly ovular or triangular designs, which distribute pressure more evenly across the nail structure and minimize breakage risk. Apply gentle, consistent strokes without excessive force, which could compromise nail integrity. This weekly maintenance routine eliminates sharp corners that might catch on clothing or skin, ensuring both aesthetic appeal and functional durability.
Apply Aftercare for Healthy Nails
Proper aftercare immediately following nail trimming serves as the foundation for maintaining healthy, resilient fingernails that resist breakage and splitting. After clipping, file your nails using long, gentle strokes in a single direction from the sides toward the center, which prevents weakening the nail structure while smoothing rough edges.
Following filing, apply a ceramide and hyaluronic acid-enriched moisturizer to replenish hydration and enhance flexibility. Instead of cutting cuticles, which may lead to infection, gently push them back to protect the nail root. For ongoing maintenance, incorporate a daily application of nourishing oils, such as olive oil or specialized cuticle oil, which seals moisture into the nail plate, prevents flaking, and promotes overall nail health. This simple aftercare routine transforms basic nail maintenance into effective long-term nail care.
Frequently Asked Questions
What Is the Proper Procedure for Filing Fingernails?
Like a sculptor refining marble, filing fingernails requires directional precision. One should file from edge to center using gentle strokes. Understanding Nail Shapes, selecting quality File Materials, and mastering Buffing Techniques guarantees professional-looking results.
How to Do Your Nails Step by Step?
Modern nail artistry begins with base coat application, followed by chosen colors reflecting current design trends. Nail polish selection ranges from classic neutrals to bold hues. Finish with topcoat to seal personalized color choices.
Is It Better to Cut Fingernails Wet or Dry?
Imagine nails shattering like glass or becoming paper-thin! Wet Cutting promotes flexibility and minimizes splitting. While Dry Advantages include precision, excessive Moisture Risks include nail softening and potential tearing. Slightly damp is ideal.
How to Cut Elderly Fingernails?
Elderly Nail Care demands softening brittle nails in warm water before trimming straight across. For those with arthritis, adaptive cutting methods include using specialized clippers with larger handles. Afterwards, gentle filing prevents tears.