Proper dog nail trimming requires five essential steps: selecting appropriate clippers for your dog’s size, gradually desensitizing your pet to the tools, positioning the trimmer perpendicular to each nail, cutting in small increments to avoid the quick, and establishing a consistent maintenance schedule. When trimming, hold each paw firmly, cut straight across in 1-2mm segments, and keep styptic powder nearby for accidents. Following these techniques guarantees safe, stress-free nail care that prevents mobility issues and maintains paw health.
Key Takeaways
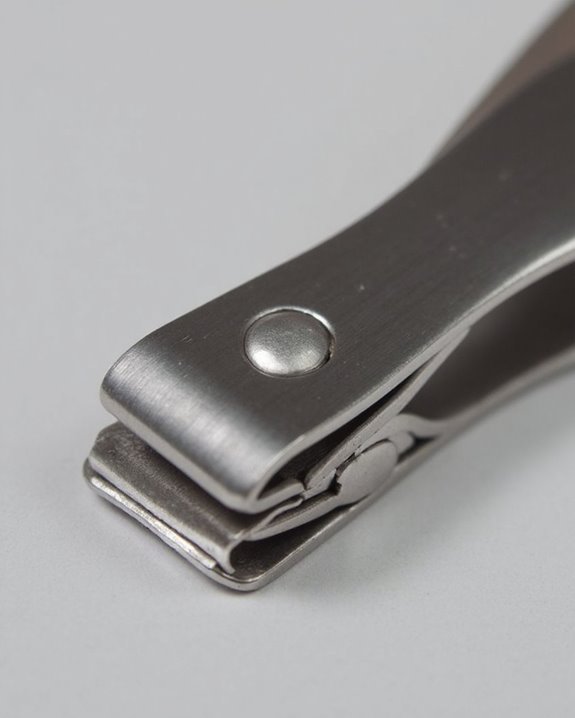
- Select the right clippers for your dog’s size, with stainless steel U-shaped or guillotine styles for different breeds.
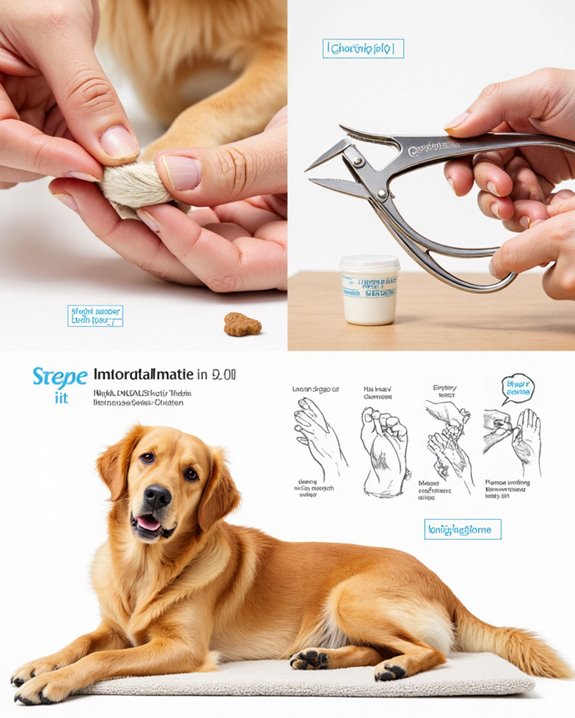
- Prepare your dog through gradual desensitization, using treats and distractions like peanut butter on lick mats.
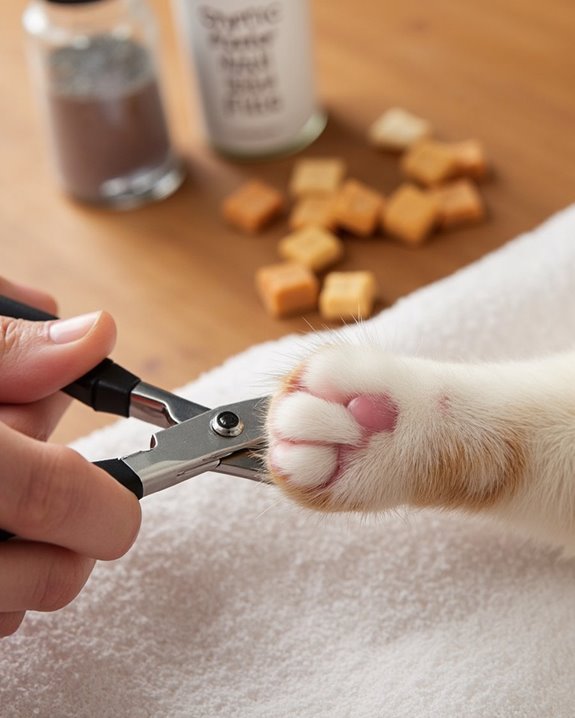
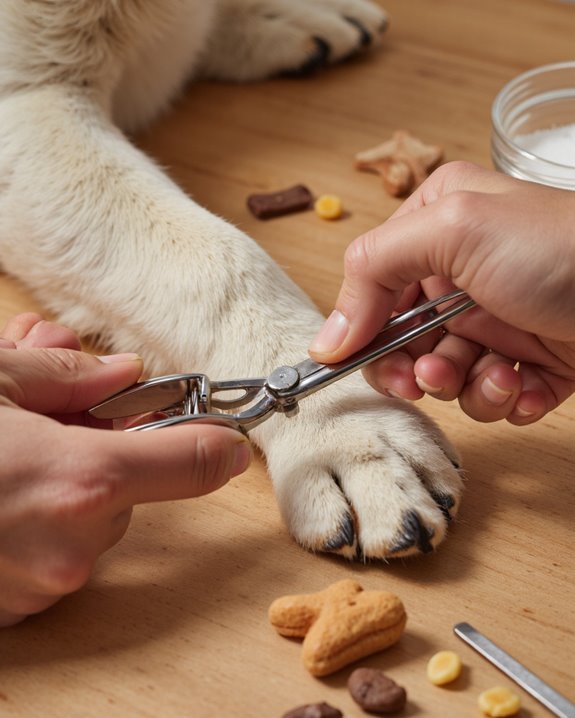
- Hold each toe firmly with thumb on pad and forefinger above, positioning the trimmer perpendicular to the nail.
- Cut in small 1-2mm increments to avoid hitting the quick, watching for white rings in dark nails.
- Establish a regular trimming schedule every 2-4 weeks to maintain proper nail length and help the quick recede.
Selecting the Right Tools for Effective Nail Trimming
Equipping oneself with the appropriate nail-trimming tools stands as the foundation for successful dog grooming. When trimming your dog’s nails, selecting specifically designed nail clippers that match the animal’s size and nail thickness guarantees both safety and precision during the process. Professional nail trimmers typically come in several types, with U-shaped plier-style options providing excellent conformity to dog nails, delivering clean cuts without crushing. For smaller breeds, guillotine-style nail trimmers offer better control through their built-in nail-holding area. Additionally, choosing models with adjustable speeds can make the process more comfortable and safe for pets. The necessary supplies should include stainless steel clippers, as these tools maintain sharpness and resist slipping during use. Pet owners should avoid human nail clippers or flat-blade scissors, which can damage nails and cause discomfort. To keep your dog’s nails healthy, heavy-duty clippers may be required for larger breeds with thicker nails.
Preparing Your Dog for a Stress-Free Experience
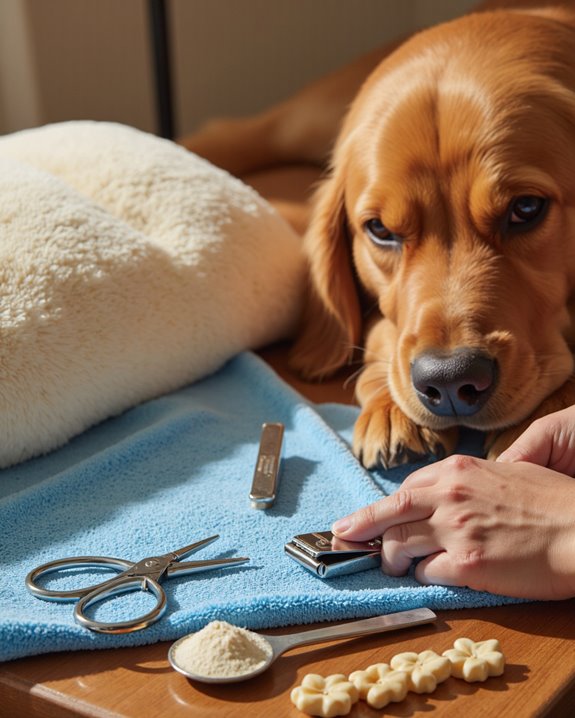
Before tackling the nail trimming procedure itself, pet owners must establish a foundation of trust and comfort for their canine companions. Effective Nail Care requires systematic desensitization, allowing dogs to sniff the nail clippers while receiving high-value treats to prevent any negative association. Daily paw handling from puppyhood helps in keeping your dog comfortable during future grooming sessions, while owners should pay attention to subtle signs of anxiety like yawning or paw pulling to avoid creating a hard time during the process.
Pet owners who make the process gradual—first touching clippers to paws without attempting to start trimming—build confidence in dogs having difficulty with nail maintenance. Strategic distractions, such as peanut butter on a lick mat, can greatly improve the dog grooming experience when preparing to trim your dog’s nails.
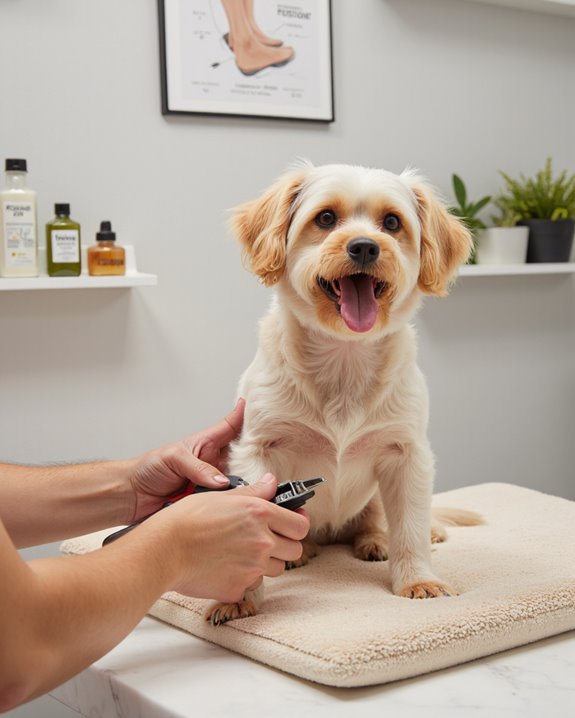
Mastering the Proper Trimming Technique
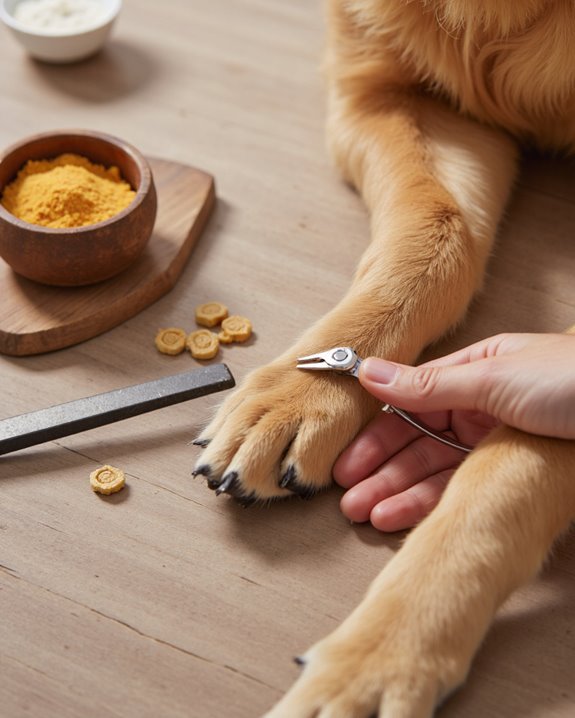
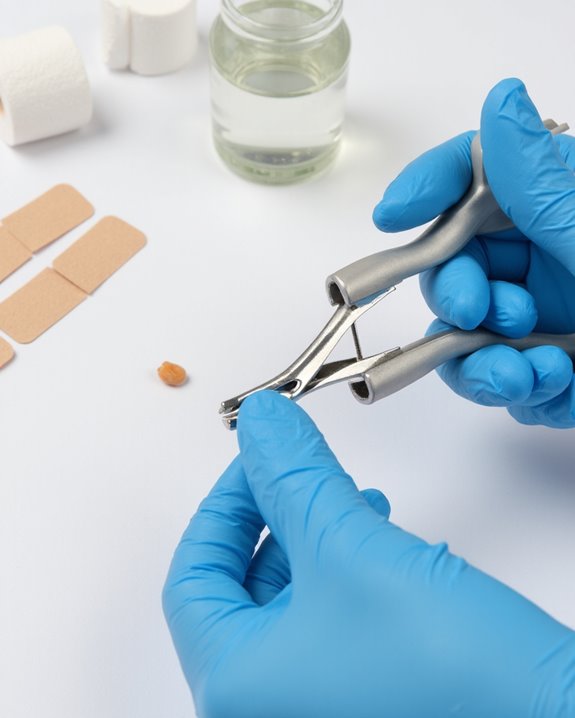
Successful nail trimming hinges on mastering the correct technique, which ultimately determines both safety and comfort for canine companions. When performing dog nail trimming, position the Safari Professional trimmer perpendicular to the nail, holding the dog’s toe firmly with thumb on pad and forefinger above, ensuring stability during the procedure. Proceed by cutting the nail in small, controlled increments of 1-2 millimeters to avoid cutting the quick, which contains sensitive nerves and blood vessels.
For dogs with dark nails where one cannot easily see the quick, look for a chalky white ring or dark spot in the freshly cut surface as indicators to stop trimming. Remember to maintain consistent pressure across all nails, including often-forgotten dewclaws, trimming straight across to prevent uneven growth that may cause discomfort or mobility issues.
Avoiding the Quick and Handling Accidents
Why does the quick pose such a challenge in nail trimming? The quick contains sensitive blood vessels and nerves that, when cut, cause pain and bleeding. To avoid the pink quick, trim each nail at a time in small increments of no more than 1/8 inch, checking for a chalky white ring in dark nails or a dark spot at the clipped edge after each cut.
Proper handling technique is essential to avoid accidents. Hold the paw securely with your thumb on the pad and forefinger positioned above the nail to maintain control. If you accidentally cut the quick, immediately apply styptic powder to stop bleeding. Press firmly for up to five minutes. If bleeding persists, bandage the nail for four to 12 hours and make sure to monitor your dog closely to prevent infection.
Establishing a Regular Nail Care Routine
Consistency forms the foundation of effective canine nail maintenance, creating lasting benefits for both the dog’s health and the owner’s peace of mind. Veterinary experts recommend examining a dog’s nails every two weeks, establishing a schedule where trimming occurs every two to four weeks depending on the dog’s activity level and environment. This routine helps keep the quick receding naturally, making future trimmings less stressful and reducing the risk of painful complications that affect overall health.
Monitoring nail length regularly prevents the clicking sounds that indicate overgrowth, while establishing this practice during puppyhood yields significant long-term health and hygiene benefits. Owners should incorporate nail checks into general grooming sessions, using quality U-shaped clippers to maintain good health through proper nail length, which prevents altered gait and musculoskeletal issues over time.
Frequently Asked Questions
What Is the Correct Way to Use Dog Nail Clippers?
Proper dog nail clipper usage requires appropriate tool selection, regular clippers maintenance, secure grip techniques, and attention to blade sharpness. Professional insights emphasize safety features, proper dog handling, usage tips, brand options, and frequency advice.
How to Trim Your Dog’s Nails Step by Step?
Like a gentle dance, trimming begins with Nail Preparation and Dog Calming. Inspect paws, identify the quick, maintain proper Trimming Angle, and reward after cutting. Monitor Growth and establish a regular maintenance schedule appropriate for the breed.
Is It Better to Clip Dog’s Nails Wet or Dry?
In the wet vs dry nail hydration debate, experts favor clipping dogs’ nails dry. Dry advantages include better visibility and control, while wet effects include slipping risks. Moisture impact reduces clipping precision—dry benefits outweigh wet drawbacks.
What Not to Do When Cutting Dogs’ Nails?
When cutting dogs’ nails, avoid cutting the quick to prevent bleeding risks and pain. Don’t use dull tools, force holding, neglect rewards, ignore hygiene, make breed-specific errors, trigger anxiety, or mistime trimming frequency.