As an Amazon Associate, we earn from qualifying purchases. Some links on this site are affiliate links at no extra cost to you. Our recommendations are based on thorough research and editorial judgment.
7 Steps to Clean Nail Drill Bits Properly
To clean nail drill bits properly, I recommend a seven-step approach: First, brush away surface dust after each use with a soft brush. Second, prepare a cleaning solution with mild soap and warm water. Third, soak bits in acetone for 5-10 minutes to dissolve product buildup. Fourth, use a wire brush on flutes and crevices. Fifth, sanitize with proper disinfectants. Sixth, dry completely with lint-free cloth. Seventh, inspect bits for dullness or damage to determine if replacement is needed. The following detailed process will transform your maintenance routine.
Key Takeaways
- Brush away surface dust after each use with a soft brush to prevent performance issues and maintain disinfection effectiveness.
- Prepare a cleaning solution with mild liquid soap, warm water, and bleach for effective disinfection of nail drill bits.
- Soak bits in acetone for 5-10 minutes to dissolve acrylic or gel product buildup and kill bacteria.
- Use a specialized wire brush on flutes and crevices after soaking to remove trapped residue from hard-to-reach areas.
- Dry bits with a lint-free cloth and store in a designated container away from humidity after thorough cleaning.
Brushing Away Surface Dust After Each Use
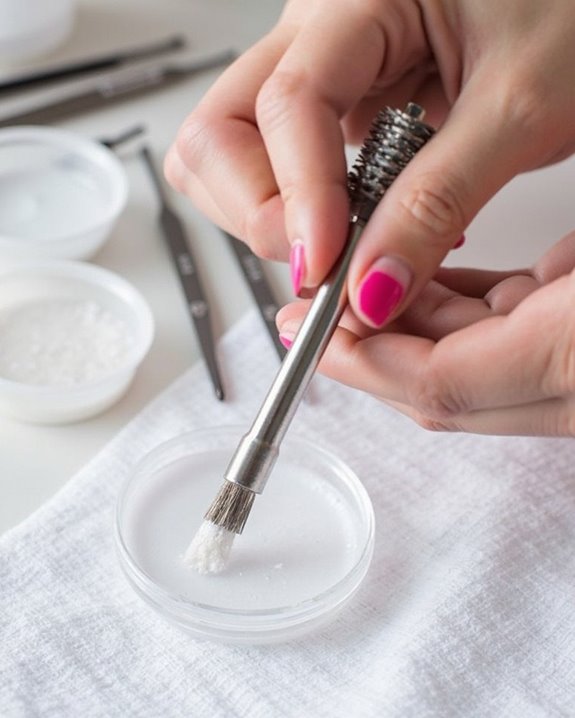
When I’ve finished working with a client, I always make it a priority to brush away surface dust from my nail drill bits, as this simple step prevents performance issues during future manicures. I use a soft brush or cloth to gently remove the accumulated particles that naturally build up during the filing process, which cannot be eliminated through other cleaning methods. Regular brushing also helps maintain the disinfection process’s effectiveness by reducing debris that could harbor bacteria or fungi. This thorough brushing immediately after use is essential for maintaining proper tool hygiene between clients, ensuring that my bits remain in ideal condition. The quick cleanup targets visible dust effectively, preparing the bits for their next application without residue interference. I’ve found that implementing this basic maintenance step greatly extends the life of my bits while providing a cleaner starting point for each new manicure.
Preparing Your Soapy Water Cleaning Solution
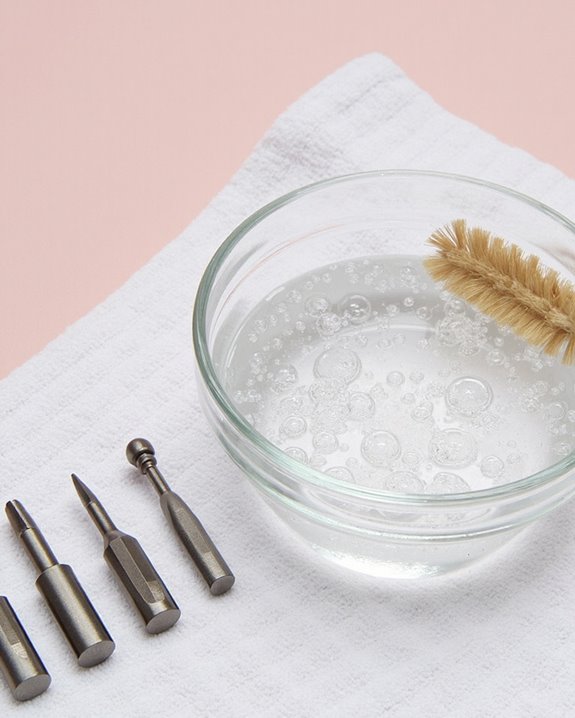
Three essential components form the foundation of my effective nail drill bit cleaning solution: mild liquid soap, warm water, and a touch of disinfectant. I combine 1-2 tablespoons of liquid soap per quart of warm water in a clean bowl, ensuring the temperature isn’t hot enough to damage your bits. The warm water helps dissolve oils while the soap creates the necessary suds for effective cleaning. For proper disinfection, I add approximately 1 teaspoon of bleach per quart of water, which kills bacteria without corroding the bits. Gently stir the mixture until bubbles form, as these bubbles help lift embedded debris during the cleaning process. Choose a container large enough to fully submerge all your drill bits without crowding, allowing the solution to reach every surface for thorough cleaning. Additionally, using a container with ergonomic design can make handling and cleaning your bits more comfortable and efficient.
Recommended Products

【You Will Get】 1pcs white sterilizing box for nail art accessories tools in size of 3.22 x 3.22 x 2.75 inches. Please note only empty box, not included drill bits .
Soaking Bits in Acetone to Dissolve Product Buildup
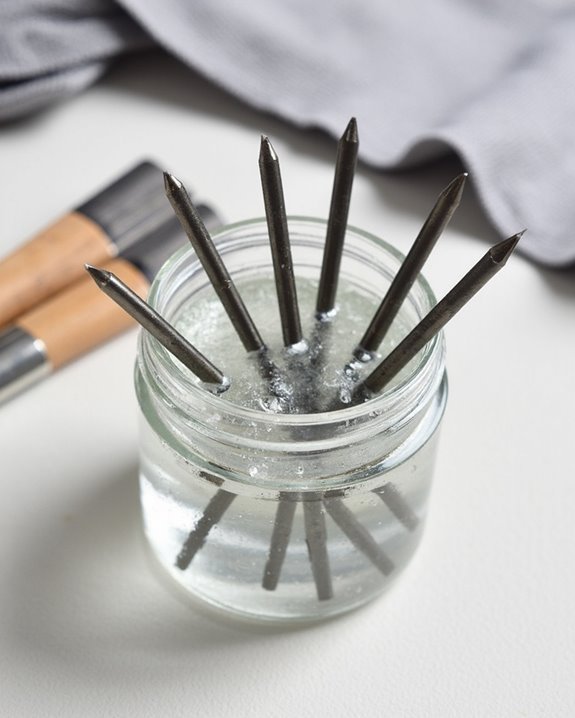
Tackling stubborn product buildup requires a stronger approach than soap and water alone, which is why I rely on acetone soaking as my go-to method for deep cleaning nail drill bits. I’ve found that immersing bits in acetone for five to ten minutes effectively dissolves residue from acrylic, dip powder, and gel polish that often clings stubbornly to the metal surfaces.
You’ll notice the acetone turning milky as it works to break down accumulated product, which is a clear sign the cleaning process is working. This method not only removes buildup that might be mistaken for bit dullness but also disinfects by killing bacteria and germs simultaneously. I’m careful not to exceed the ten minutes soaking time, however, as prolonged exposure can potentially damage the metal through rust or erosion.
Deep Cleaning Flutes and Crevices With a Wire Brush
The acetone soak prepares your bits for the next critical step – addressing those tiny, hard-to-reach areas where product can still hide. I recommend using a specialized wire brush designed specifically for small tools, as these brushes can effectively reach into the indented cutting flutes where bacteria and debris accumulate.
Before brushing, I dip my wire brush in isopropyl alcohol or acetone, which enhances the cleaning power and helps sanitize simultaneously. When cleaning, I use gentle, targeted motions along the crevices and flutes of each bit, ensuring I’m removing all trapped residue from these indentations. This meticulous attention to the bit’s recessed areas is vital for maintaining both the sharpness of your tools and proper hygiene standards between clients. The wire brush technique effectively removes what soaking alone cannot reach.
Sanitizing Drill Bits With Appropriate Disinfectants
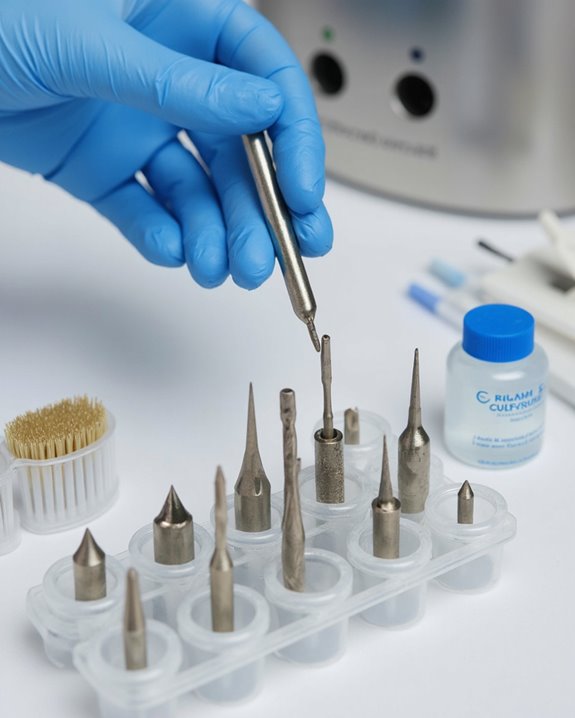
Proper sanitization represents the most critical step in your nail drill bit maintenance routine, ensuring both the safety of your clients and the longevity of your tools. I recommend acetone as your primary cleaning and disinfecting agent, as it effectively kills bacteria while dissolving product residue from acrylics, dip powder, and gels. Additionally, using disinfectants that meet health standards guarantees effective germ elimination. For best results, soak your bits in acetone for five to ten minutes—never longer, as extended exposure can cause rust and erosion. If you’re concerned about potential damage, isopropyl alcohol or Barbicide offer excellent alternatives that provide similar sanitization benefits while reducing rust risk. After soaking, I’ve found that combining disinfection with mechanical cleaning yields superior results. Use a wire brush to target the flutes and crevices of your bits, removing any trapped residue the disinfectant may have loosened.
Proper Drying Techniques to Prevent Rust
Why do so many nail technicians overlook the essential drying stage when cleaning their drill bits? Metal bits made from steel are particularly vulnerable to moisture, making thorough drying vital for preventing rust and extending tool life.
After disinfection, I always wipe each bit with a lint-free cloth immediately, removing any water droplets that could lead to corrosion. Next, I place them on a clean absorbent towel in a well-ventilated area, ensuring all surfaces can dry properly. The recommended time for complete drying is 10-15 minutes minimum, or until no visible moisture remains. I’ve found that rushing this step often leaves hidden dampness that causes premature rusting.
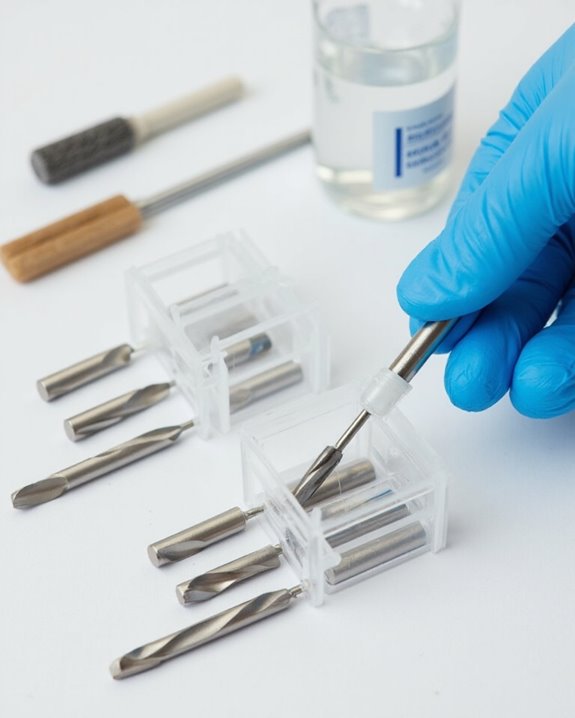
Once completely dry, I store my bits in a designated container away from humidity, which greatly extends their usable lifespan.
Recognizing When to Replace vs. Clean Your Bits

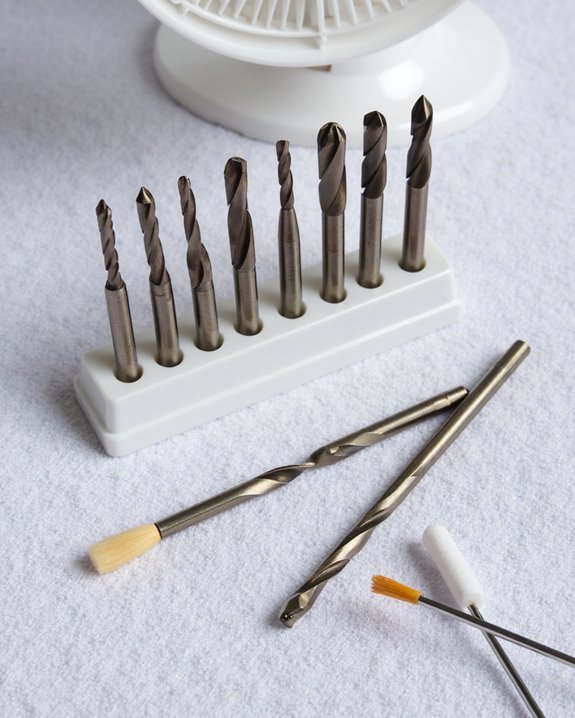
How can you determine whether your nail drill bits simply need cleaning or have reached the end of their useful life? I’ve found that drill bits clogged with product residue often just need a quick 1-2 minute soak in acetone to restore performance. When your bits require considerably more pressure during use, that’s a clear indication of genuine dullness rather than just buildup.
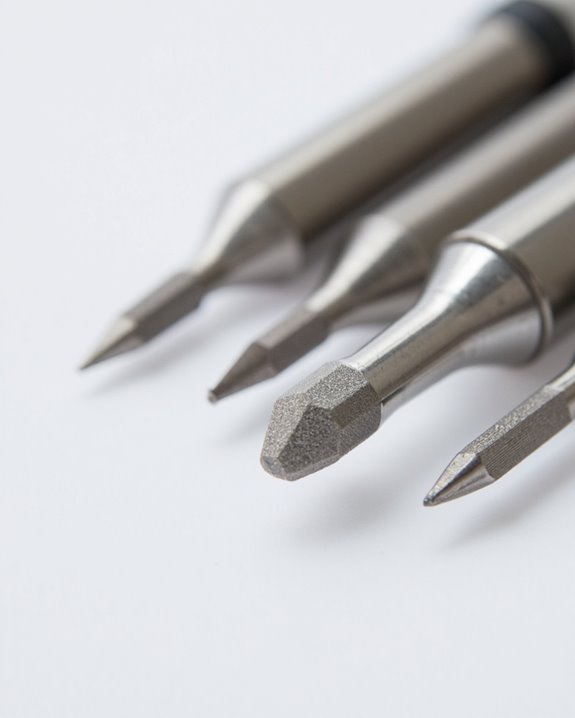
Try this simple test: compare how a potentially dull bit performs against a new one. If cleaning doesn’t improve efficiency, it’s replacement time. Watch for bits that generate excessive heat or cause discomfort during use, as these symptoms typically won’t resolve with cleaning. Also, note when bits that once handled multiple materials now work effectively only on softer substances like gel instead of acrylic – this degradation signals it’s time for new drill bits.
Frequently Asked Questions
How to Properly Clean Nail Drill Bits?
I’d start with ultrasonic cleaning to remove stubborn debris from my nail drill bits. After that, I’ll rinse them in soapy water, disinfect with acetone, and let them dry completely before storing.
What Are the Steps in Cleaning Nail Care Tools and Equipment?
An ounce of prevention is worth a pound of cure! I always wipe my nail care tools first, then wash with soapy water, soak in acetone for Tool Disinfection, scrub crevices, and air dry completely.
How Would You Effectively Clean File Bits Between Clients?
For inter client care, I’d wipe my bits with a soft brush first, then soak them in acetone for 1-2 minutes. I’ll clean flutes with a wire brush, wash with soapy water, and let them air dry completely.
How Do You Keep Drill Bits Clean?
I keep my drill bits clean through preventive storage. After thorough cleaning, I store them in a dry, dust-free container. I’ll also do quick wipe-downs between clients and deep clean with sanitizing solutions weekly.