While I don’t recommend self-removal, if you choose to proceed, proper sterilization is essential. Soak clippers in isopropyl alcohol for 10 minutes, clean the area with rubbing alcohol, and let dry completely. Pinch the tag at its base, position clippers flush against the skin, and make one decisive cut. Clean immediately with mild soap, apply antibiotic ointment, and cover with a sterile bandage. The following techniques will greatly reduce your risk of complications.
Key Takeaways
- Sterilize nail clippers in isopropyl alcohol for 10 minutes before use to prevent infection.
- Clean the skin tag area thoroughly with hydrogen peroxide or rubbing alcohol using a sterile cotton swab.
- Pinch the base of the skin tag between thumb and index finger to create tension for a cleaner cut.
- Execute a single, decisive cut at the base of the skin tag to minimize discomfort and bleeding.
- Apply antibiotic ointment after removal and cover with a sterile bandage, changing it daily during healing.
Proper Preparation and Sterilization Techniques
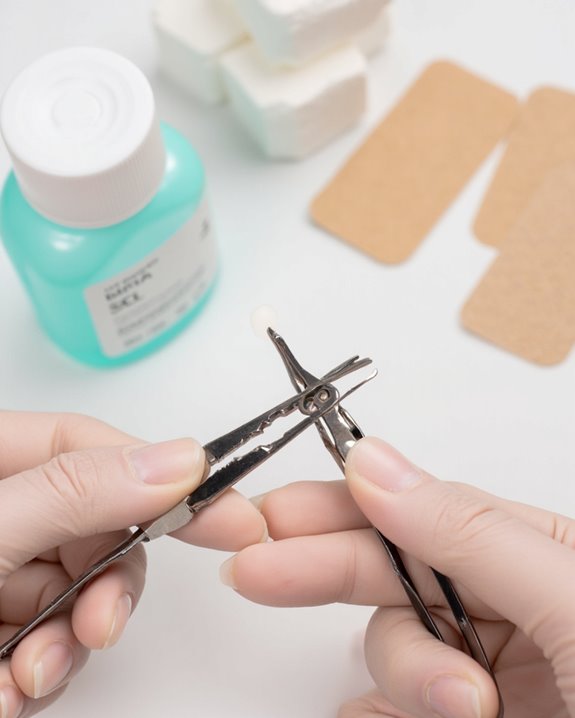
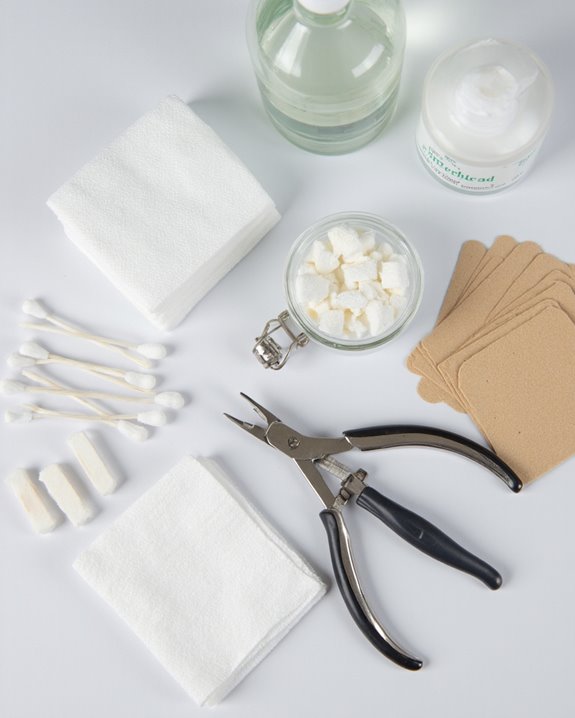
The four essential steps of proper sterilization must be followed before attempting to remove a skin tag with nail clippers. I’ll guide you through these vital sterilization techniques to minimize infection risk. First, thoroughly wash your hands with antibacterial soap for at least 20 seconds to eliminate harmful microorganisms. Next, sterilize your nail clippers by completely submerging them in isopropyl alcohol for a minimum of 10 minutes, which effectively kills bacteria on the cutting surface.
For proper antiseptic use, clean the skin surrounding the tag with hydrogen peroxide or rubbing alcohol using a new, sterile cotton swab to prevent cross-contamination. Finally, allow both your sterilized clippers and the cleaned skin area to air dry completely, ensuring the antiseptic works effectively before proceeding with removal.
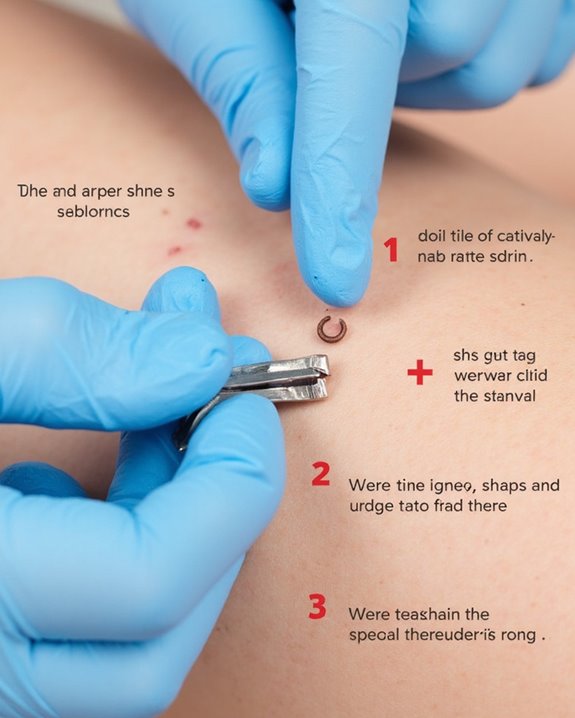
Step-by-Step Skin Tag Self-Removal Process
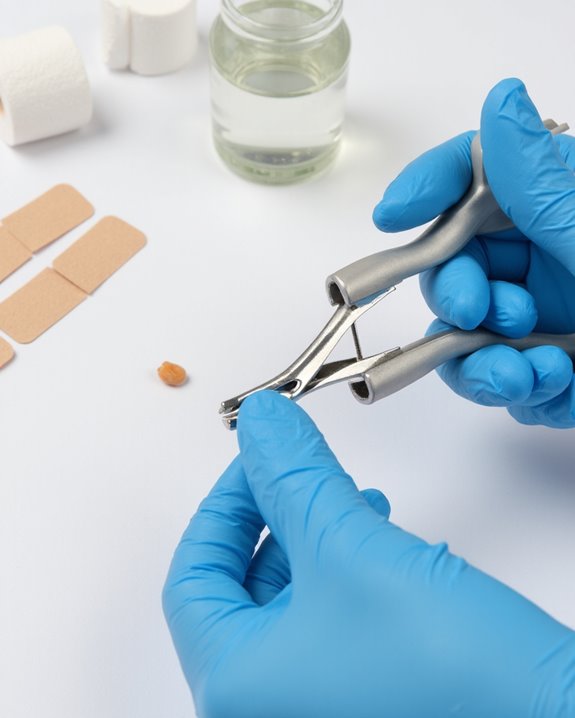
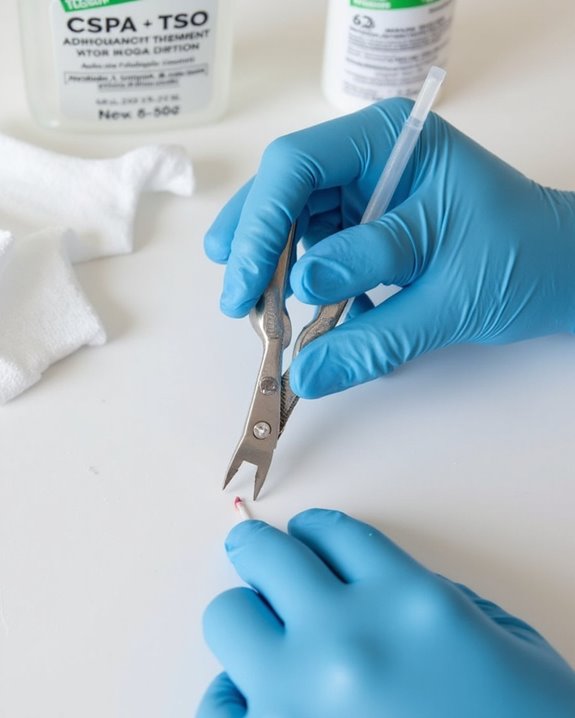
Four critical steps comprise the complete skin tag self-removal process, which I’ll now explain in detail. First, utilize the proper pinching technique by firmly grasping the skin tag at its base between your thumb and index finger, creating tension that makes removal cleaner and less painful. Next, focus on clipper alignment by positioning your sterilized nail clippers directly around the base of the pinched tag, ensuring they’re flush against the skin for complete removal. Then, execute a single, decisive cut to minimize discomfort and bleeding. After cutting, you’ll notice an open wound that requires immediate attention to prevent infection. Finally, inspect the area thoroughly for any remaining tissue fragments, as incomplete removal may lead to regrowth, necessitating a repeat procedure.
Pain Management During Home Removal
Pain management represents a major concern when performing skin tag removal at home, and I’ve found several effective techniques to minimize discomfort throughout the process. I recommend implementing a swift cutting motion with your nail clippers, as this greatly reduces pain by limiting nerve stimulation time. Before cutting, firmly pinch the base of the skin tag to temporarily restrict blood flow, creating a natural numbing effect that diminishes sensitivity.
Distraction Techniques can help redirect your focus from the procedure, while Breathing Exercises promote relaxation by regulating your oxygen intake. I’ve observed that executing the cut in one quick, precise motion is essential, as it minimizes the duration of discomfort. Remember, the emphasis on speed and proper technique directly targets pain reduction, allowing you to complete the removal with considerably less distress.
Aftercare and Wound Healing Essentials
Proper aftercare following skin tag removal isn’t just recommended—it’s essential for preventing infection and ensuring best healing. I always clean the wound immediately with mild soap and water, then apply a thin layer of antibiotic ointment containing bacitracin to create a protective barrier against bacteria. Using antibacterial wipes for nails can be helpful in keeping the surrounding area sanitized if needed, especially during the initial healing phase. For effective scar minimization, cover the area with a sterile adhesive bandage, changing it daily to maintain cleanliness throughout the healing stages. Keep the wound dry for at least 24-48 hours, avoiding water submersion which can compromise the healing process. I’m vigilant about monitoring for infection signs—increased redness, swelling, or pus—which warrant medical attention within 48 hours if they appear. Complete healing typically takes 7-14 days, during which proper aftercare greatly reduces complication risks and promotes healthier tissue regeneration.
When to Seek Professional Medical Assistance
While proper aftercare helps guarantee successful healing, recognizing when to step back and consult a medical professional represents a boundary that’s essential for your safety. I strongly advise against attempting removal if the skin tag appears attached to blood vessels, as this greatly increases Vascular Risks that could lead to complications.
If you notice the skin tag has a wider base or shows signs of pulsation, these indicators suggest possible blood vessel connections that require professional evaluation. Bleeding Concerns should never be dismissed, particularly when the growth is located in sensitive areas like the neck, underarms, or groin. I’ve seen cases where seemingly simple removals resulted in substantial blood loss due to unrecognized vascular attachments. Always prioritize caution – if you’re uncertain about a skin tag’s nature, professional removal remains your safest option.
Frequently Asked Questions
Is It Safe to Remove Skin Tags With Nail Clippers?
I’ve seen patients with serious infections from DIY removals. No, it’s not safe to remove skin tags with nail clippers. Proper tool sterilization can’t eliminate all risks, and aftercare tips won’t prevent potential bleeding complications.
Can You Cut off Skin Tags Yourself?
I wouldn’t recommend cutting off skin tags yourself. If you do, proper hygiene practices are essential before touching the area, and aftercare tips include keeping the wound clean and watching for infection signs.
What Happens if You Cut a Skin Tag off With Scissors?
Imagine this: a tiny snip and a quick sting. If I cut off your skin tag with scissors, you’ll experience moderate pain levels and likely develop scar tissue. It’s risky—bleeding and infection are real concerns.
How Long Does It Take for a Skin Tag to Fall off When Tied With String?
I’ve found that when tied with string, skin tags typically fall off in 7-14 days. The healing time varies based on size—smaller ones at 5-7 days, larger ones up to 2 weeks. Proper string aftercare is essential!