As an Amazon Associate, we earn from qualifying purchases. Some links on this site are affiliate links at no extra cost to you. Our recommendations are based on thorough research and editorial judgment.
10 Steps to Sharpen Dog Nail Clippers for Best Results
To sharpen dog nail clippers effectively, I recommend first cleaning your clippers thoroughly and inspecting for damage. Disassemble the clippers carefully on a stable surface, then hold the blade at a 20-degree angle against a fine grinding stone or diamond file. Apply consistent, light pressure while making smooth strokes along the beveled edge. Clean metal shavings regularly and test on soft wood before reassembling. Finally, lubricate with a drop of oil for best performance. The following steps will guarantee your pet’s nail trims remain safe and precise.
Key Takeaways
- Thoroughly clean and disassemble the clipper blades, separating the components on a stable surface to prevent damage during the sharpening process.
- Hold each blade at a consistent 20-degree angle against a fine grinding stone or diamond file, making smooth strokes to remove nicks.
- Apply light, even pressure while sharpening both blades uniformly, regularly inspecting under good lighting for proper edge formation.
- Reassemble the clippers, then lubricate the blades with a drop of oil to reduce friction and prevent rust formation.
- Test the sharpened clippers on a piece of soft wood before using on your dog’s nails, ensuring clean cuts with minimal pressure.
Why Regular Sharpening Matters for Dog Nail Clippers
When was the last time you examined your dog’s nail clippers for sharpness? I’ve found that many pet owners overlook this essential maintenance step, not realizing how dull blades affect their trimming experience. Regular sharpening prevents nicks from developing on cutting edges, maintaining the precise function these tools were designed for.
Sharp nail clippers create clean, even cuts while reducing the risk of injuring your dog’s quick, a sensitive area that can bleed if nicked. When clippers become dull, you’ll need to apply more pressure, which compromises safety and comfort during the trimming process. I recommend inspecting your clippers before each scheduled trim, which typically occurs every four to six weeks, to guarantee the blades remain in factory-new condition for reliable performance.
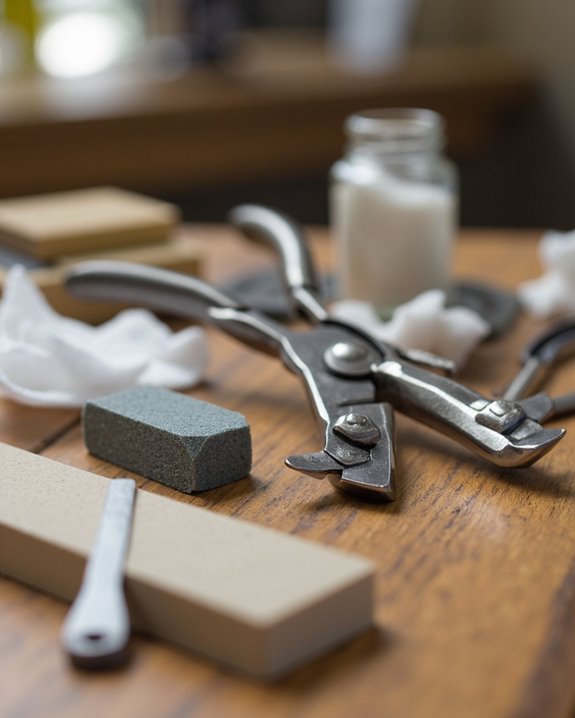
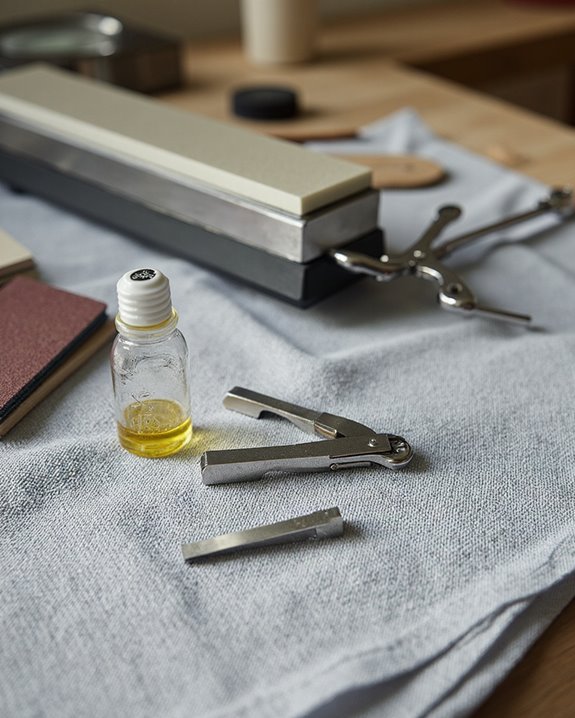
Essential Tools for Sharpening Dog Nail Clippers
Now that you understand why keeping your dog’s nail clippers sharp matters, let’s examine the specific tools you’ll need for proper maintenance. Having the right nail tools is essential for achieving professional-quality results at home. I recommend starting with a fine grinding stone attached to a Dremel tool, which provides the precision needed to sharpen cutting edges evenly and remove any nicks that develop with use. A flat sharpening stone serves as an excellent alternative, offering a consistent surface for blade grinding. Don’t forget a small screw and nut to hold the clipper jaws steady during sharpening, ensuring uniform contact with your abrasive surfaces. Finally, a magnifying glass allows for detailed inspection of the blades, helping you identify dull spots before and after sharpening. To ensure your tools operate smoothly, consider using a low vibration Dremel model that minimizes pet stress during maintenance.
Recommended Products
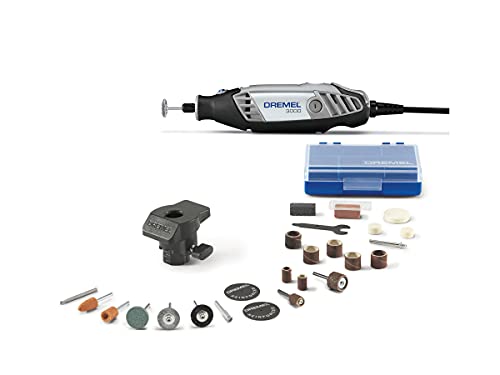
VERSATILE ROTARY TOOL KIT: Includes Dremel 3000 corded rotary tool, 1 attachment, 24 high-quality Dremel accessories, plastic storage case, and accessory case.

VERSATILITY: Dremel tools are able to perform the widest range of applications, including but not limited to cutting, sanding & grinding / sharpening. Fully compatible with all DREMEL Accessories & Attachments

EASY TO USE, NAIL GROOMING KIT SOLUTION: This pet nail grinder for dogs provides a safe & gentle alternative to pet nail clippers or a dog nail file. It includes everything novice & experienced groomers need to trim their pet's claws at home
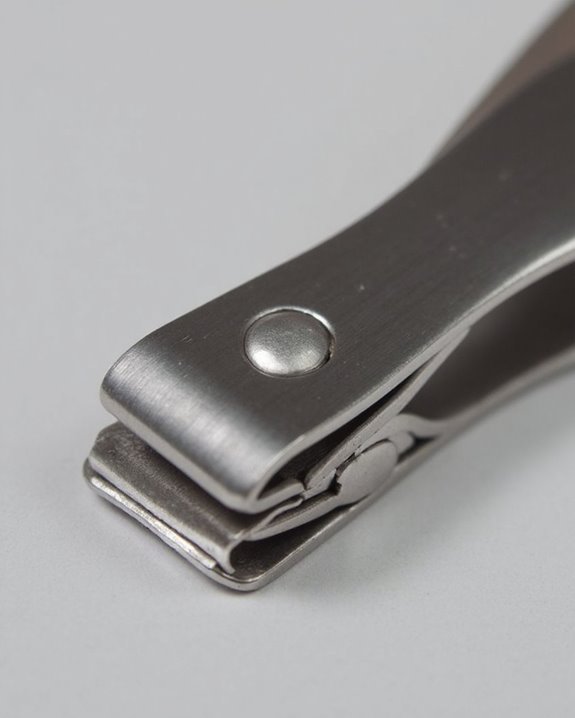
Disassembling Your Dog Nail Clippers Safely

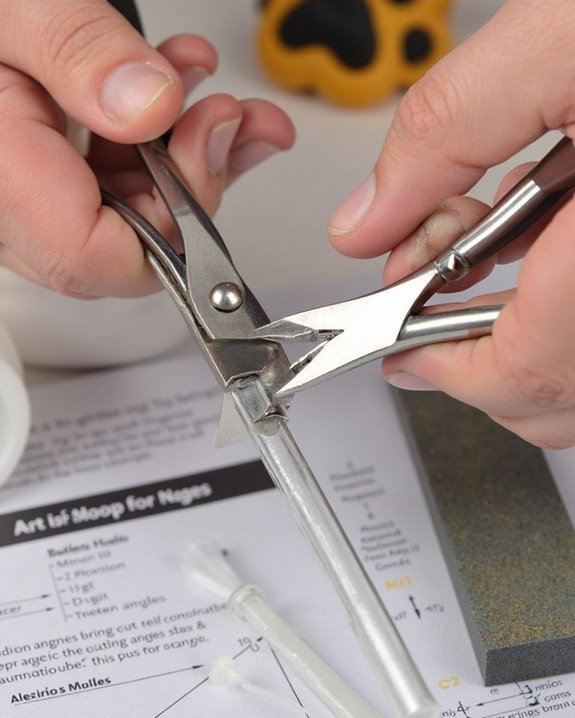
Before applying any sharpening techniques, proper disassembly of your dog’s nail clippers is essential for accessing the cutting surfaces that need attention. I’ve found that working on a stable surface helps guarantee the safety of both you and the tool during this process.
To begin, I gently squeeze the clipper jaws together, which releases the actuating lever from its pin. This careful approach prevents slippage that could damage the clippers or, worse, cause injury. Once the lever is free, I carefully remove the pin, giving me complete access to the cutting edges that need sharpening.
When handling the separated components, I maintain a firm grip to control the now-loosened jaws, which can be awkward to position without the lever. This methodical approach helps you trim your pet’s nails safely in the future.
Recommended Products
【Cordless Freedom & All-in-One Storage】:Say goodbye to tangled cords! Our cordless dog grooming vacuum features wireless charging and a built-in hose storage design, letting you groom anywhere—home, car, or travel—with no setup hassle. The 2.2L dust cup collects 99.99% of pet hair directly, while the compact kit organizes all 5 tools (clippers, nail grinder, brushes) in one sleek unit,no more messy

COMPLETE NAIL GROOMING KIT: Includes our USA-made guillotine nail trimmer, a replacement cutting blade, fast-acting styptic powder to quickly stop minor bleeding, and a finishing file to smooth rough edges.

Product Size (W x D x H): 3.5 x 0.8 x 7.1 inches (9 x 2 x 18
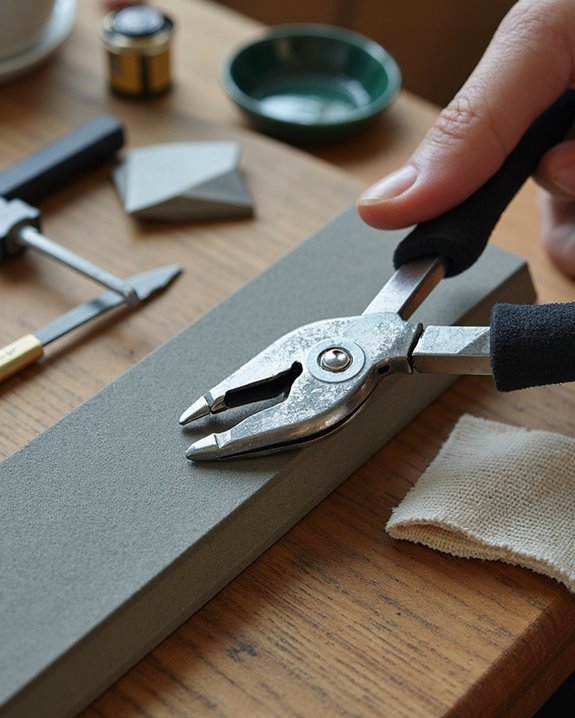
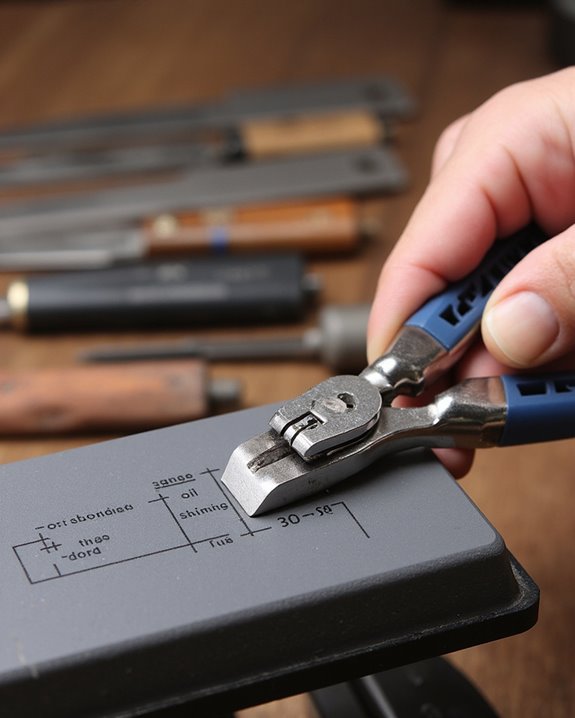
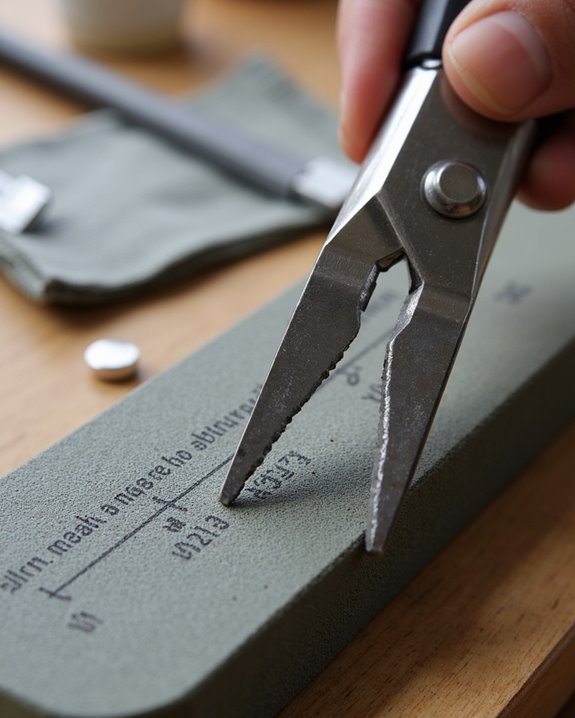
Preparing Your Sharpening Surface and Environment
With your disassembled nail clippers now ready for maintenance, establishing a proper sharpening environment becomes your next focus. I recommend arranging all your tools in a clean, well-lit workspace where you can clearly identify any nicks or damage on the clipper blades. You’ll need a flat, stable sharpening stone or workbench, with a slightly convex surface often providing better contact with the cutting edges. Consider using a rust inhibitor or protective coating after sharpening to prevent corrosion on metal parts rust prevention properties. Select a fine grinding stone for your Dremel tool, which effectively removes blade imperfections without altering their essential shape. Don’t forget to wear protective gloves to minimize injury risks during sharpening. Set up a cleaning station nearby with water and a cloth for immediate grit removal. Regularly cleaning your clippers after sharpening prevents residue buildup that could affect performance and hygiene during future nail trimming sessions.
Proper Angle Techniques for Blade Sharpening
Mastering the correct angle is the foundation of effective clipper sharpening, which determines how efficiently your dog’s nail clippers will perform after maintenance. I recommend grinding the flat face of cutting edges directly against your grinding stone, maintaining consistent pressure to guarantee both blades receive equal treatment. For clippers with mildly convex surfaces, I position the blade at an angle that follows the curve, allowing for uniform removal of nicks. Proper maintenance involves using a fine nail file or Dremel tool with a fine grinding stone, maintaining a consistent angle relative to the blade’s surface. This technique effectively eliminates imperfections while creating a precision cutting edge that makes nail trimming safer and more comfortable and prolongs the lifespan of your tools.
Recommended Products

Extended 4-Hour Runtime with Quick Charging – equipped with an 8V lithium-ion battery and USB-C cable, our rechargeable dog nail grinder delivers up to 4 hours of dog grooming time — perfect for even the longest sessions without frequent recharging.

Pain-Free Nail Trimming: Promotes great health and cleanliness by offering a gentle, safe, and pain-free way to trim nails on dogs and cats.

Step-by-Step Grinding Method for Dull Blades
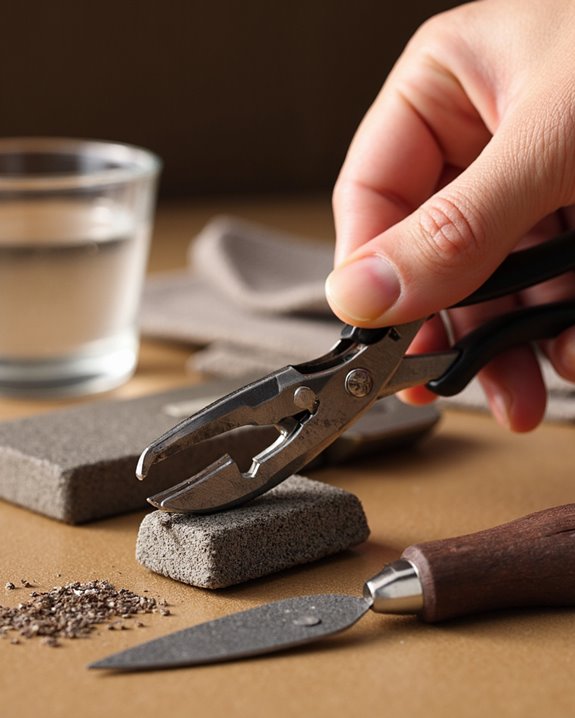
I begin the grinding process by preparing my workspace with proper lighting and a stable surface to guarantee precision when sharpening dog nail clippers. Following these steps guarantees best results: attach a fine grinding stone to your Dremel tool, then secure your clippers firmly in position. Apply light, even pressure when grinding the flat surface of the cutting edges, moving methodically to avoid overheating the metal.
Continue this process until all visible nicks disappear, which typically takes several minutes per edge depending on wear severity. For clippers with slightly convex surfaces, I recommend using a flat stone to maintain uniformity during sharpening. Regularly inspect the blades under good lighting as you work to monitor your progress and guarantee both edges are being sharpened equally, stopping once the blades appear smooth and nick-free.
Recommended Products

FAST AND PRECISE The speed of 12,000 RPM provides easy and consistent control for optimal results.

EASY TO USE, NAIL GROOMING KIT SOLUTION: Provides a safe & gentle alternative to pet nail clippers or a dog nail file. The nail grinding kit includes everything novice & experienced groomers need to trim their pet's claws in the comfort of their home.

Includes Dremel 7350-PET 4V pet nail grinder that is 7% quieter than previous model with 30% more runtime for extended grooming sessions.
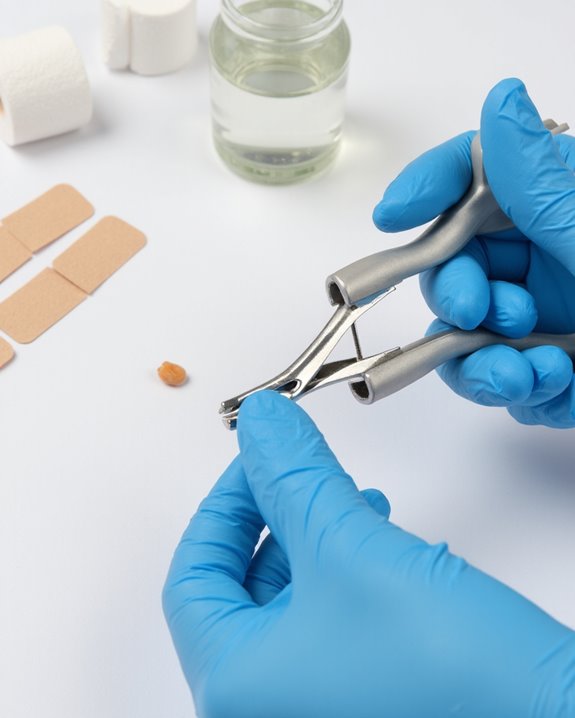
Addressing Nicks and Imperfections in Clipper Blades

Dog nail clipper blades develop nicks and imperfections over time, which can make your trimming sessions uncomfortable for your pet. I’ve found that these defects typically appear after repeated use on tough nails, requiring specific sharpening techniques to restore performance.
To address these imperfections, I secure the clipper jaws together using a screw and nut through the pin hole, creating a stable platform for grinding. Using a fine grinding stone attached to my Dremel tool, I carefully work across the flat face of each blade until nicks disappear. Regular cleaning tools: After each use, I thoroughly wash the blades with water to remove any grinding residue that could cause further damage. This maintenance process effectively restores the blades to near-factory condition, ensuring clean cuts during future nail trims.
Recommended Products

These ergonomically Design Metal Stones fit the Hand Better and Stay More Comfortable for Longer than Traditional Stripping Tools.

Patented Design: With our unique and innovative design, we created the gentlest and quietest electric nail grinder for dogs and cats. At 30 - 45 DBs our dog and cat nail grinder omits half the sound compared to popular competitors at 110 DBs. You and your furry bestie can finally say goodbye to stressful nail trims.
Reassembling Your Freshly Sharpened Clippers
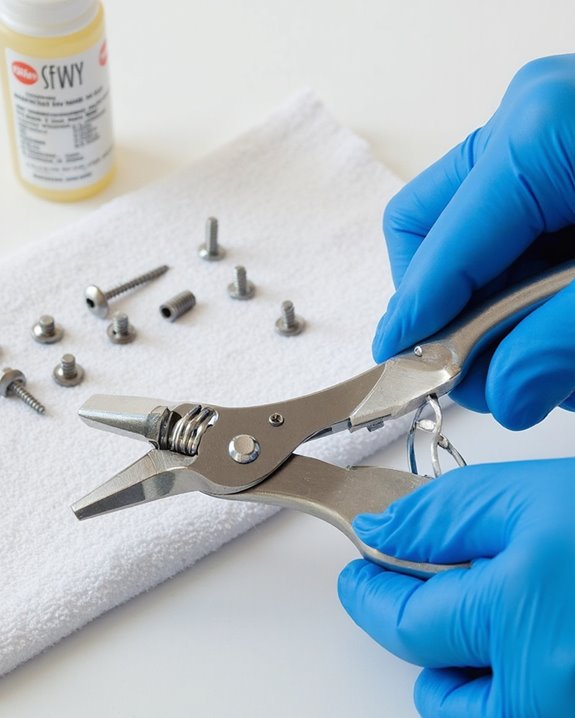
Reassembling your clippers properly guarantees they’ll perform at their best after the sharpening process. I’ll guide you through putting everything back together correctly to guarantee best performance when trimming your pet’s nails.
Begin by inserting the pin back into the clipper’s designated hole, which secures the jaws in their proper position. Next, gently squeeze the jaws together to align them properly, including making sure all cutting edges are perfectly positioned. Once aligned, attach the actuating lever by hooking it onto the pin, creating the mechanism that makes the clippers function effectively. After assembly is complete, rinse the entire unit under running water to wash away any grinding residue or metal particles. This thorough cleaning prevents grit from affecting the clipper’s performance, guaranteeing your newly sharpened clippers will cut your dog’s nails cleanly and efficiently.
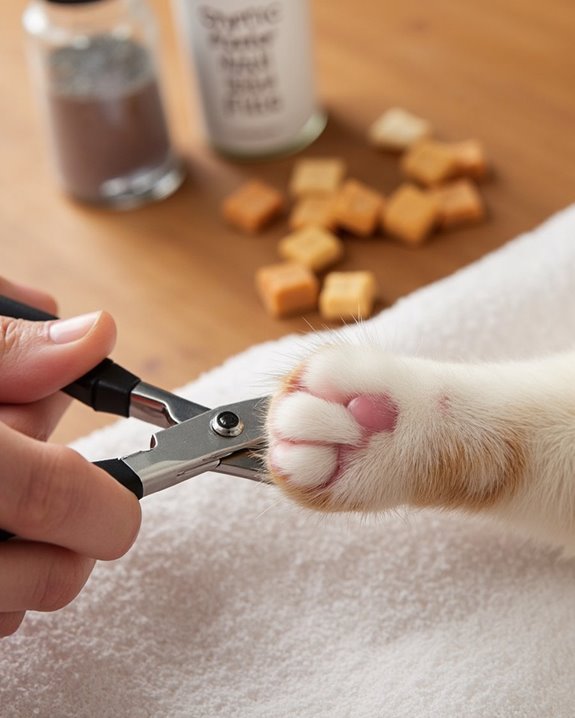
Testing Your Sharpened Clippers for Performance
Testing your freshly sharpened dog nail clippers requires methodical verification to confirm they’re functioning safely and efficiently. I recommend starting with a non-living sample, like a thin piece of soft wood, to evaluate the cut quality without risking your pet’s comfort. When examining the results, look for clean edges without jagged lines, which indicates proper sharpness for safe pets nails maintenance.
Next, verify that the blades meet evenly by observing the semi-circular shape of your test cuts. Your sharpened clippers should require noticeably less pressure than before, making your nail care routine more comfortable for both you and your dog. Finally, test the clippers on your pet’s nail at a 45-degree angle, confirming they cut cleanly without crushing—the ultimate proof your sharpening efforts were successful.
Maintenance Tips to Keep Clippers Sharp Longer
While your dog nail clippers work perfectly after sharpening, they’ll quickly lose their edge without proper maintenance routines. I recommend wiping the blades clean after each use with a cloth to remove debris that accelerates dulling. This simple step is essential for maintaining ideal cutting performance over time.
Periodically lubricating the blades with a drop of oil reduces friction, ensuring smoother operation during future trims. I always inspect my clippers for signs of dullness, addressing any nicks early with a fine grinding stone to restore factory-sharp edges.
Proper storage in a clean, dry place prevents rust formation that compromises blade integrity. When moisture can’t reach the metal surfaces, your clippers remain sharper for months longer, saving you time and ensuring your pet’s comfort during nail maintenance sessions.
Frequently Asked Questions
How to Sharpen Nail Clippers for Dogs?
I’d remove the actuating lever first, then join the jaws with a screw. Use a Dremel to sharpen both cutting edges evenly. Different clipper types need different angles. I’ll reassemble when done.
How Do You Sharpen Dog Clippers?
Dull blades, sharp results. I disassemble my dog clippers first, then use a Dremel with fine grinding stone at the proper blade angle. I maintain sharpening frequency every few months for consistently safe trims.
How to Make Nail Clippers Sharp?
I always disassemble my nail clippers first, then use a fine grinding stone to restore the edges. Regular edge maintenance extends tool longevity greatly. I clean thoroughly before reassembling for that perfect snip every time.
Does Cutting Aluminum Foil Sharpen Nail Clippers?
I’d avoid the foil myths around sharpening nail clippers with aluminum foil—it’s ineffective and presents safety concerns. Proper grinding tools are what you need for actual sharpening, not quick-fix rumors.