As an Amazon Associate, we earn from qualifying purchases. Some links on this site are affiliate links at no extra cost to you. Our recommendations are based on thorough research and editorial judgment.

Nail Tool Hygiene – 7 Steps to Perfectly Sanitize Your Tools
To properly sanitize nail tools, you’ll need to follow seven critical steps. First, wash tools with soap and hot water to remove debris. Next, scrub thoroughly with a brush, then pat dry. Submerge in hospital-grade disinfectant like Barbicide for at least 10 minutes. For maximum sterilization, use an autoclave or boiling water. After disinfection, air dry completely on clean paper towels. Finally, store in sterile bags in a dry environment. These steps will protect you from harmful pathogens lurking on unsanitized implements.
Key Takeaways
- Remove all visible debris by washing tools with soap and hot water before disinfection.
- Immerse non-porous tools in a hospital-grade disinfectant like Barbicide for at least 10 minutes.
- Discard single-use items like emery boards after one client to prevent cross-contamination.
- Store sanitized tools in sterile bags or UV sterilizers to maintain cleanliness between uses.
- Implement a regular cleaning schedule with deep sterilization every 7-10 days for professional standards.
Why Proper Nail Tool Sanitation Matters for Your Health and Safety
How often have you considered what might be lurking on your nail tools between appointments? Proper sanitation of nail tools isn’t just about cleanliness—it’s a critical public health practice. When I fail to sanitize my implements thoroughly, I risk exposing myself to dangerous bacteria, fungi, and viruses that can cause serious infections ranging from athlete’s foot to hepatitis and HIV through cross-contamination.
Unsanitized tools harbor pathogens on porous surfaces like nail files, which can’t be fully disinfected and should be discarded after use. I’ve learned that soaking tools in a 70% disinfectant solution for at least 10 minutes kills 99% of harmful microorganisms, extending tool lifespan while protecting my health. This important practice isn’t optional—it’s essential for preventing the spread of infections and maintaining professional standards required by cosmetology regulations.
Proper disinfection also involves understanding the disinfection time needed for different pathogens, ensuring that tools are submerged for the appropriate duration to achieve effective sterilization.
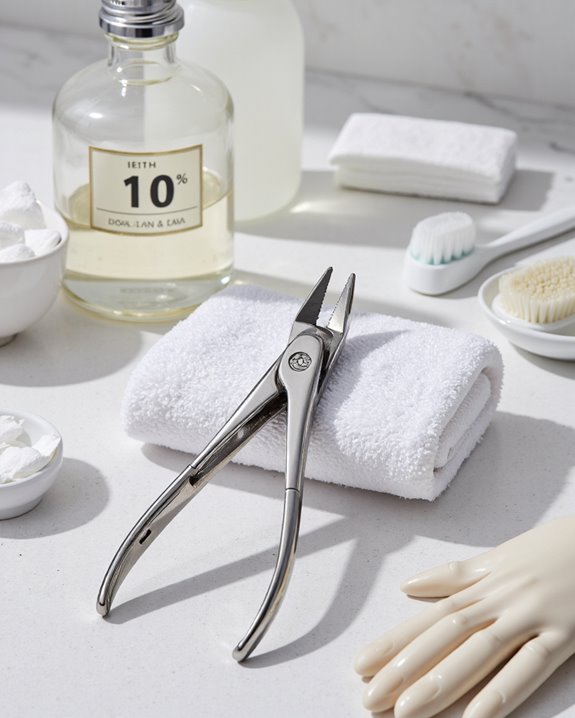
Gather Your Supplies: Everything You Need for Thorough Tool Cleaning
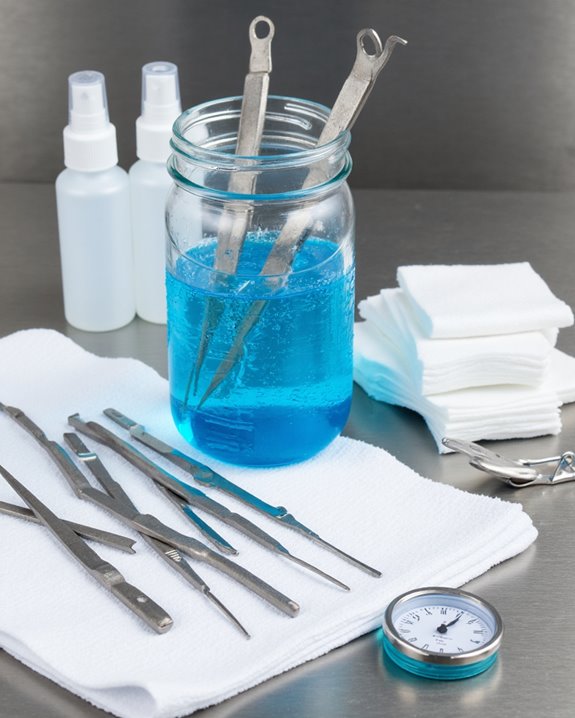
Now that we understand why proper sanitation is non-negotiable, let’s focus on assembling the right supplies for effective nail tool cleaning. I recommend starting with a high-quality disinfectant solution like Barbicide, mixed at 60 ml per liter of water, alongside basic soap and water for initial cleaning. You’ll need a dedicated container, such as a Barbicide jar, for proper immersion of your nail tools during the disinfection process.
Don’t forget to include a durable-bristled brush specifically designed for cleaning tools and supplies, ensuring you can reach all crevices where debris hides. Additional essentials include paper towels for drying clean tools after disinfection, sterile storage bags, and possibly isopropyl alcohol or hydrogen peroxide as alternative disinfectants. UV sterilizers offer a modern solution for maintaining hygiene between full cleanings.
Recommended Products

Hospital Grade Disinfectant: ForPro TOTAL-CIDE is a powerful, hospital grade, EPA registered, broad-spectrum disinfectant, sanitizer, deodorizer and all-purpose cleaner that provides comprehensive protection against a broad range of harmful pathogens.

THE GOLD STANDARD SINCE 1947: Trust the iconic blue formula used by barbers, salons and spas worldwide for over 75 years. This professional disinfectant is the #1 choice for industry experts who prioritize hygiene and client safety.

Premium Durable Glass Sterilizer: Heavy-duty clear glass with thick bottom resists stains, scratches, and chemical corrosion; crystal-transparent for easy monitoring of disinfectant levels and tool cleanliness.
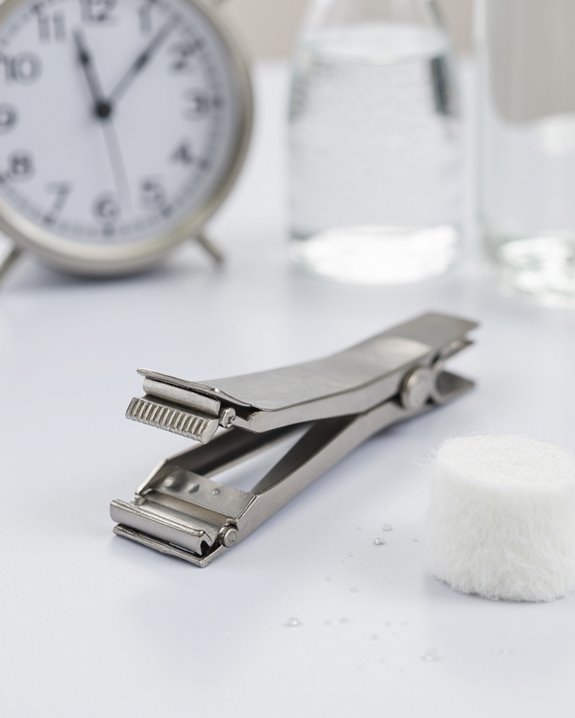
Pre-Cleaning: Remove Visible Debris and Product Residue
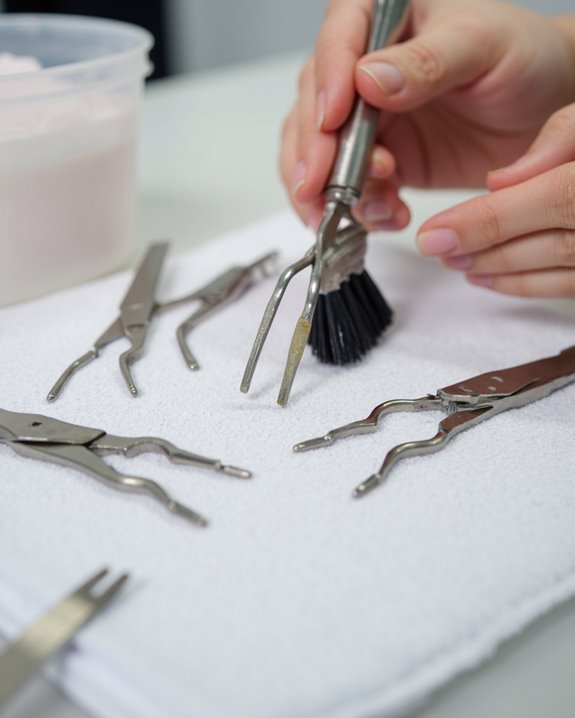
Three critical steps mark the beginning of proper nail tool sanitation, with thorough pre-cleaning serving as the essential foundation. I always start by washing each tool individually with hot water and soap, as this first step involves removing all visible debris from nail clippers, cuticle pushers, and other implements. Using a sponge or brush, I meticulously scrub each tool’s surface, paying special attention to tools like clippers where product residue often accumulates.
For non-porous implements, I recommend soaking them briefly in soapy water before scrubbing. After washing, I pat each tool dry with a clean, single-use towel rather than letting them air dry immediately. This methodical approach prevents cross-contamination between tools and creates the proper baseline for effective cleaning and sanitization in subsequent steps.
Recommended Products

✅ NAIL BRUSH FOR CLEANING FINGERNAILS - These nail brushes' handles are made of sturdy plastic which are not easy to bent. The bristles are made of flexible plastic, not too hard and not too soft which won't scratch your skin. Durable for long-term to use.

【New Design】: We have made some improvements. The Handle fingernail brushes have a larger gripping space, much easier to hold and convenient to use.

This 12-pack of Nail Brushes features sturdy polypropylene bristles that effectively scrub away embedded dirt from under nails and around cuticles.
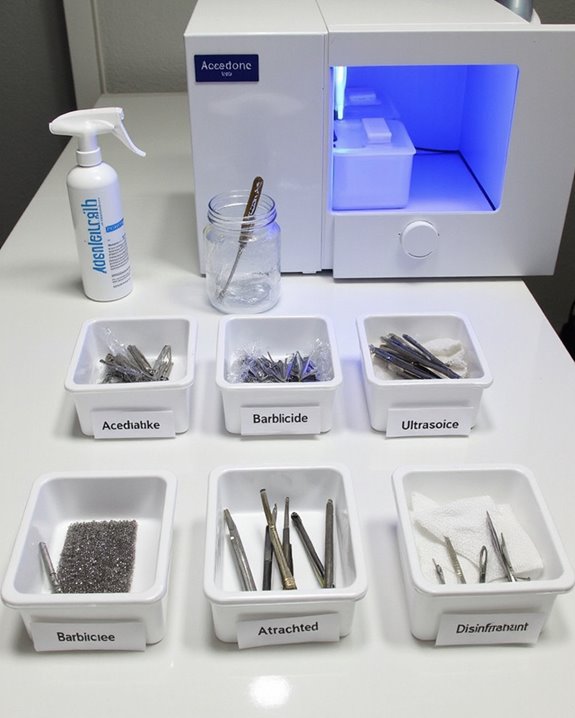
Disinfection Methods: Chemical Solutions for Professional-Grade Hygiene
The effective disinfection of nail tools requires professional-grade chemical solutions that can eliminate pathogens without damaging your implements. I recommend starting with Barbicide, a hospital-grade disinfectant that kills fungus and bacteria when you mix 60ml with 1 liter of water and immerse tools for 10 minutes. To properly sanitize metal implements, 70% isopropyl alcohol provides reliable results when tools are fully submerged according to manufacturer guidelines. For specialized disinfection, consider Peroxill powder (10-20g per liter of 35°C water) or hydrogen peroxide, both requiring tools to be clean and disinfected through a complete 10-30 minute soak. Remember, to effectively disinfect your tools and maintain professional hygiene standards, you must apply a disinfectant at the correct dilution ratio—improper mixing can compromise effectiveness or damage expensive implements that haven’t been properly sanitized. Using disinfectant effectiveness as a key factor ensures your tools are properly sanitized without risking damage or inadequate germ elimination.
Recommended Products

COMPLETE SANITATION STARTER KIT: This essential combo includes one 16oz bottle of Barbicide Concentrate and one 4oz Barbicide Manicure Table Jar. It is the perfect pairing for professionals looking to maintain a sterile work environment or home users wanting hospital-grade cleanliness for personal grooming tools.

Nail Antiseptic: EMMA Beauty Scour Nail Antiseptic Spray preps the natural nail surface for all manicure and pedicure services including nail polish, gel polish, acrylics and dip powder.

【You Will Get】 1pcs white sterilizing box for nail art accessories tools in size of 3.22 x 3.22 x 2.75 inches. Please note only empty box, not included drill bits .
Heat Sterilization: Taking Your Tool Cleaning to the Next Level
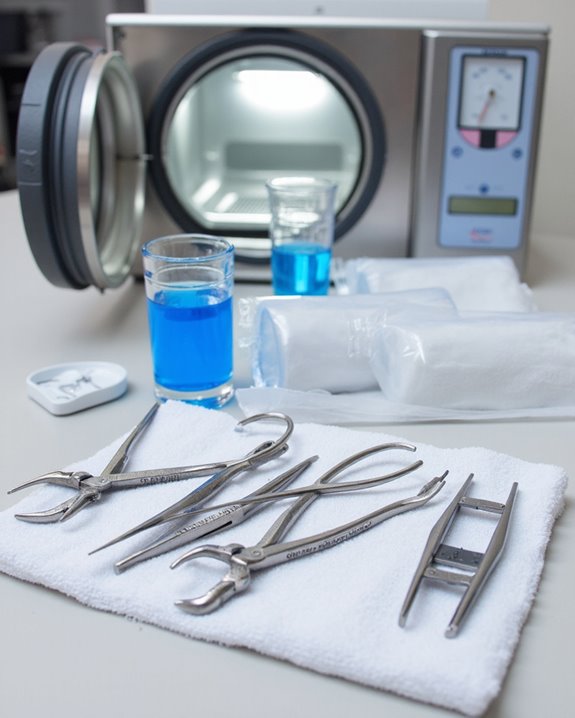
Elevating your nail tool hygiene to professional standards requires heat sterilization, which surpasses chemical disinfection by completely eliminating all microorganisms present on your implements. I recommend using an autoclave for salon hygiene, as it destroys 100% of bacteria and fungi in just fifteen to twenty minutes at 121°C under pressure, creating the cleanest salon environment possible.
For tools at home, boiling water works effectively when you submerge thoroughly cleaned implements for at least thirty minutes, not just ten minutes. It’s important to clean and monitor temperature levels carefully, as excessive heat above 132°C may damage your tools. When using professional equipment, always follow the instructions provided by the manufacturer to guarantee proper sterilization while maintaining tool integrity, especially for home use applications.
Recommended Products

Precise Temperature Control & Timer with Overheat Protection: Adjustable temperature from 0–220℃ and 0–60 minutes rotary timer for customized working cycles; auto shut-off and overheat protection once reaching max temperature, plus clear indicator light to show working status; safe and reliable for daily care of metal tools in nail salons, hairdressing studios, tattoo shops and beauty spas.


Blue Light for Nail Tool Sterilizer:Our nail tool sterilizer is equipped with a blue light inside.It is easy to operate,simply put beauty tool into the box,and then close it and press the coasting button to start.
Proper Drying and Storage to Prevent Contamination
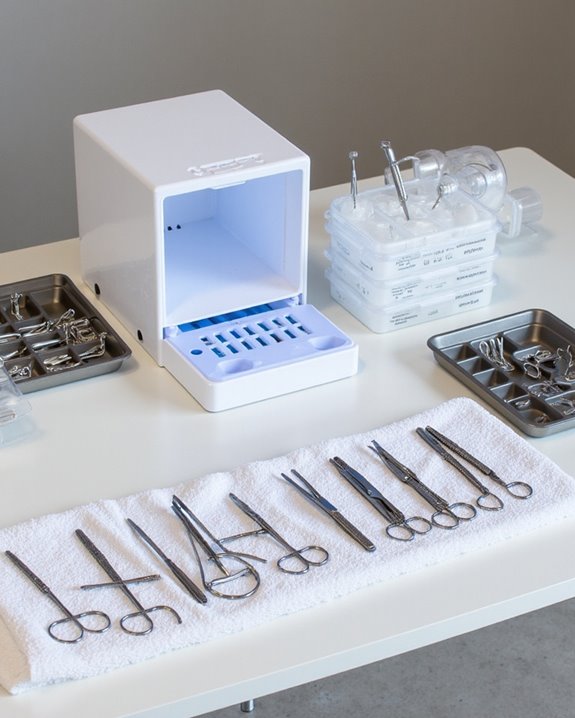
Proper nail tool storage begins after the sterilization process concludes, requiring patience and attention to detail for maximum safety. After rinsing, I always place my tools on a clean paper towel, making sure they air dry completely, which often takes overnight. Properly drying your nail tools is essential to prevent bacteria that thrive in moisture. Using lint-free wipes during cleaning helps ensure no fibers are left behind that could harbor bacteria or interfere with disinfection. To maintain a clean environment, follow these storage practices: Use disposable sterile bags with secure seals, keeping your tools safe and clean until needed. Always write the sterilization date on each bag to track hygiene. Store tools in a clean, dry drawer away from light and humidity. I never open the bags until my client arrives, which demonstrates my commitment to their safety while preventing contamination. This systematic approach guarantees maximum protection.
Recommended Products

SMALL SIZE STERILIZATION POUCHES – PLEASE CHECK DIMENSIONS : Each self sealing sterilization pouch measures 2.25" x 5" (57 x 127 mm). These small sterilization bags are designed for compact instruments such as dental picks, scalers, nail tools, tattoo tips, beauty tools, and other small accessories. Please compare your instrument dimensions before purchasing to ensure proper fit.

Ultimate Container for Nail Supplies: Keep your creativity organized with our transparent nail box for nail supplies! This spacious empty plastic box is perfect for storing your fabulous manicure tools and ensures that everything stays visible and tidy.
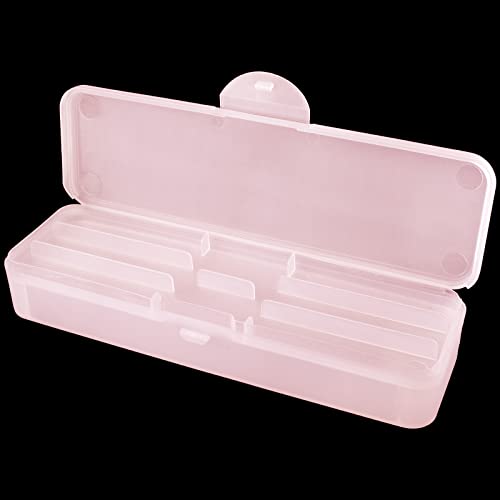
Frosted Double-Layered Plastic Storage Box | Quantity: 1 piece | Color: Pink
Creating a Regular Sanitation Schedule for Consistent Protection
While storing tools properly protects them between uses, implementing a consistent sanitation schedule forms the backbone of your nail hygiene protocol. As a nail technician, I recommend cleaning your tools after every service and performing deep sterilization every 7-10 days, following best practices whether in a nail salon or home setting.
I’ve found that tracking when you Clean Nail implements is essential—try using scheduling apps to log each sterilization event. If you offer nail services professionally, you need to follow stricter protocols, including daily immersion in Barbicide for at least 10 minutes while Using PPE for protection. For home nail enthusiasts, determine how often should you sanitize based on your usage frequency—typically weekly is sufficient. Remember to date sterile bags to make sure tools remain within safe usage timeframes, protecting both yourself and clients.
Frequently Asked Questions
How to Properly Sanitize Nail Tools?
Like Hercules cleansing the Augean stables, I’ll sanitize my tools using DIY methods. I first clean with soapy water, disinfect in Barbicide, rinse, dry, and store properly—a health-benefiting routine I check regularly.
How Do You Disinfect Nail Care Tools?
I disinfect my nail tools with proper safety precautions using Barbicide or 70% isopropyl alcohol. DIY solutions work too, but avoid common mistakes like insufficient soaking time. Professional advice: clean before disinfecting for maximum longevity effects.
How Do You Sanitize Tools?
I sanitize tools differently depending on their purpose. For kitchen sanitizing, I use bleach; medical disinfection requires alcohol; garden hygiene needs soap; workshop sterilization gets special solvents; and I’ve specific routines for automotive cleaning and laboratory tools.
What Is the Process for Disinfecting Tools in a Salon?
When it comes to salon regulations, I’m on the ball! I clean tools with soap, soak in disinfectant for 10 minutes, rinse, dry, and maintain proper tool storage—all ensuring client safety and regulatory compliance.