As an Amazon Associate, we earn from qualifying purchases. Some links on this site are affiliate links at no extra cost to you. Our recommendations are based on thorough research and editorial judgment.

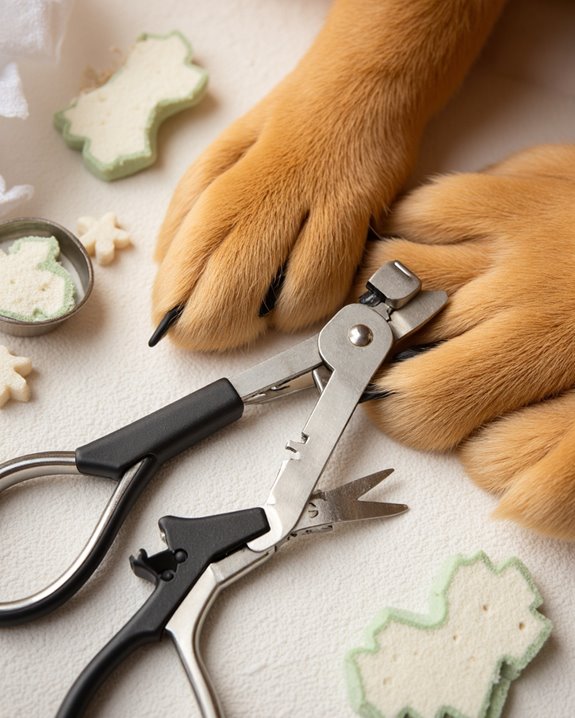
How to Use Dog Nail Trimmers in 10 Simple Steps

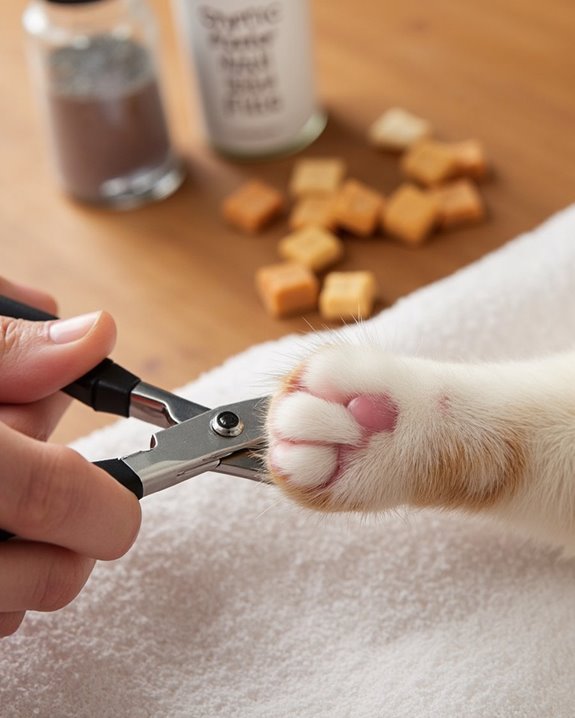
To use dog nail trimmers effectively, I recommend selecting the right clipper style based on your dog’s size (guillotine for medium dogs, scissors for small breeds). Create a calm environment without distractions, then position your dog comfortably with treats nearby. Hold their paw firmly, identify the quick (pink area in light nails), and trim at a 45-degree angle, staying 2-4mm away from the quick. Keep styptic powder handy for accidental bleeding. Regular weekly sessions with positive reinforcement will make future trims less stressful.
Key Takeaways
- Choose appropriate nail trimmer type based on dog size, with guillotine for medium breeds and scissors-style for puppies.
- Position your dog in a calm environment after exercise, holding the paw firmly while keeping their leg in a natural position.
- Identify the quick (pink area in white nails) and trim 2-4mm away from it in one swift stroke at a 45-degree angle.
- For black nails, cut small sections gradually until you see a chalky white interior with a black dot in the center.
- Reward with treats throughout the process and establish a regular trimming schedule every 1-2 weeks based on nail growth.
Select the Right Nail Trimming Tools for Your Dog
When it comes to trimming your dog’s nails, I’ve found that selecting the right tool makes all the difference in guaranteeing a safe, stress-free experience. For dogs with thicker nails, I recommend guillotine-style nail clippers with their sharp blade design, though they require some skill to use effectively. If you have a small dog or puppy, scissors-style dog nail trimmers offer better control with their precise blade indentations. Medium to large breeds benefit from pliers-style clippers, which feature a helpful spring mechanism that makes handling thicker nails easier. For dogs with black nails where the quick is difficult to see, a nail grinder can be your safest option. When selecting any trimming tool, prioritize stainless steel construction and non-slip grips to guarantee durability and control during the trimming process. Additionally, some models feature low vibration technology that helps keep your pet calm during grooming.
Recommended Products
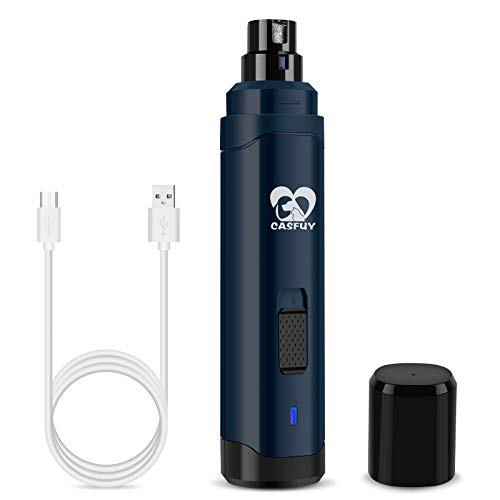
【Powerful 2-Speed Grinding up to 8000 RPM】Adjustable low and high speeds with a 7000–8000 RPM motor deliver precised, strong grinding. Start gentle for puppies or delicate nails, then switch to high speed for thicker nails. This Casfuy dog nail grinder is powerful enough to grind every nail efficiently.
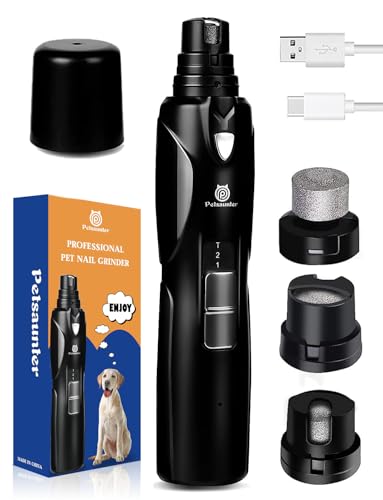
【Safe, Effective & Precise Trimming】: This dog nail grinder is friendly to beginners to deliver the safest, most comfortable pet claw grinding anywhere. It has 3 switches and led light. It is concise, effective and smart. Led light allows you to check the blood vessel clearly to avoid over-grinding.Note: Before purchasing, please read the product detail page carefully to ensure that you are not looking at the wrong.
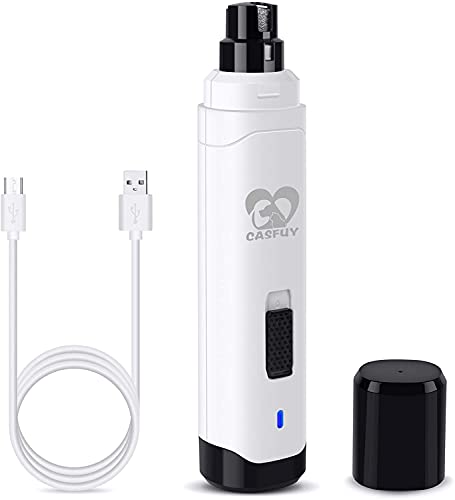
【Powerful 2-Speed Grinding up to 8000 RPM】Adjustable low and high speeds with a 7000–8000 RPM motor deliver precised, strong grinding. Start gentle for puppies or delicate nails, then switch to high speed for thicker nails. This Casfuy dog nail grinder is powerful enough to grind every nail efficiently.
Create a Calm Environment for Nail Trimming
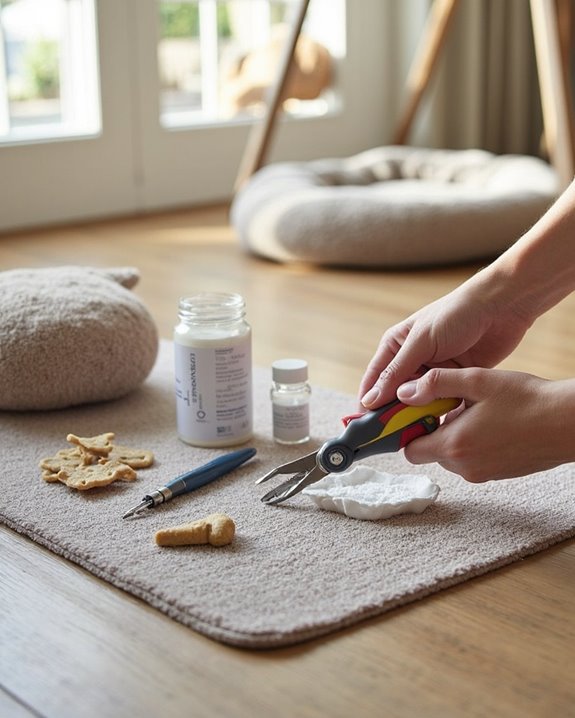
Creating a peaceful environment stands as one of the most critical steps in successful dog nail trimming, as your furry friend can sense tension and react accordingly. I recommend choosing a quiet, distraction-free room where your dog can feel confident during nail trims. Select a time when your pet is naturally relaxed, such as after exercise, to minimize resistance.
Position comfort items nearby, like their favorite blanket or toy, to help maintain calmness throughout the process. For dogs with previous negative experiences, teaching them to lie on their side can provide security and stability, helping you avoid cutting too deeply. Always offer treats while gently handling their paws before trimming begins, creating positive associations with the experience. This preparation greatly reduces anxiety, allowing for more precise trimming and a stress-free experience for both you and your canine companion.
Recommended Products

Veterinarian Recommended: As a pet owner, you want your pet to feel comfortable in their own skin; veterinarians recommend VetIQ Calming dog anxiety relief chews to provide your pet with the calming care they need to get through their playful day

Anxiety Control: Calm down your pet in chaotic moments, like fireworks, storms, vet visits, car rides, and separation, with our calming chews for dogs' anxiety. Now in a travel-friendly size.

CALMING SUPPORT FOR YOUR FURRY FRIEND: Petnc Calming Aid Soft Chews gently ease your dog and encourage relaxation with soothing ingredients like chamomile & L-tryptophan, helping to promote daily well-being and calmness
Position Your Dog Comfortably for the Procedure
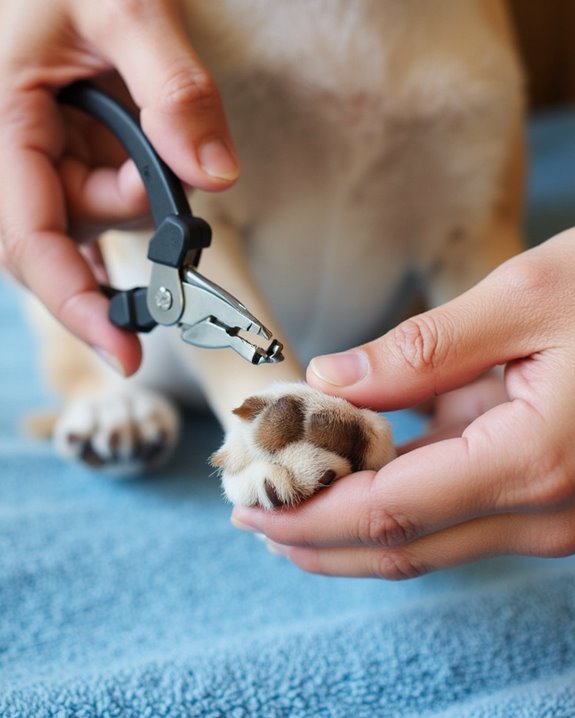
Positioning your dog correctly forms the foundation of successful nail trimming, ensuring both safety and efficiency throughout the procedure. I recommend sitting beside your dog in a quiet space where they’re already relaxed, which helps minimize stress before trimming your dog’s nails. To maintain control, I gently reach under my arm to hold their paw with one hand while keeping the trimmers in my other hand.
For dogs with previous negative experiences, teaching them to lie on their side can make handling their paws greatly easier. I always keep my dog’s leg in its natural position while holding the paw, preventing unnecessary discomfort during the process. Immediately after positioning their paw correctly, I offer a treat, creating positive associations with Dog Nails trimming sessions and encouraging their cooperation throughout the procedure.
Recommended Products

New Design Dog Grooming Hammock with Thick Neck Support. Compared with others, the Kkiimatt new generation Dog Hammock for Grooming adopts a multi-layer thickened soft support design which makes the Dog Hanging Harness is more in line with the stress on the dog's neck when being hoisted. Dogs in our Dog Grooming Sling feels more comfortable and relaxed during Grooming/Nail Clipping.

New Design Dog Grooming Hammock with Thick Neck Support. Compared with others, the Kkiimatt new generation Dog Hammock for Grooming adopts a multi-layer thickened soft support design which makes the Dog Hanging Harness is more in line with the stress on the dog's neck when being hoisted. Dogs in our Dog Grooming Sling feels more comfortable and relaxed during Grooming/Nail Clipping.

New Design Dog Grooming Hammock with Thick Neck Support. Compared with others, the Kkiimatt new generation Dog Hammock for Grooming adopts a multi-layer thickened soft support design which makes the Dog Hanging Harness is more in line with the stress on the dog's neck when being hoisted. Dogs in our Dog Grooming Sling feels more comfortable and relaxed during Grooming/Nail Clipping.
Properly Hold Your Dog’s Paw During Trimming
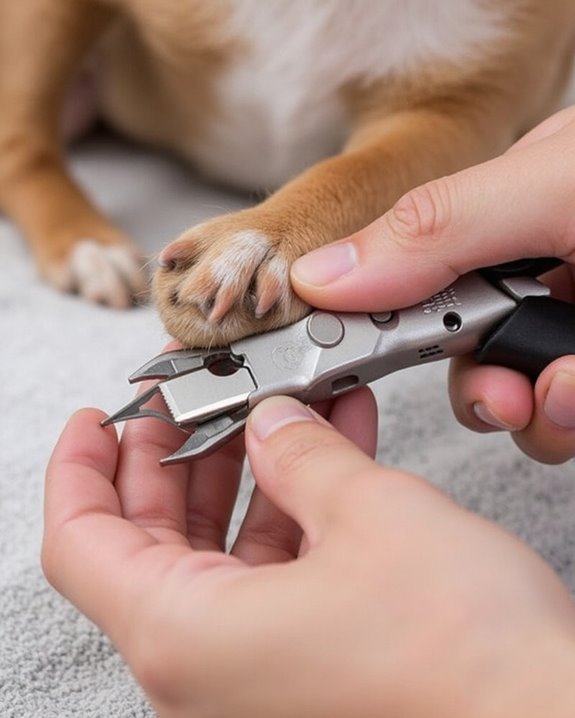
The proper hold on your dog’s paw makes all the difference between a stressful nail trimming session and a smooth one. I recommend sitting beside your dog and reaching under its arm to grasp the paw firmly with one hand, which leaves your other hand free to operate the clippers with precision. Alternatively, position yourself behind your pet and gently flip the paw backward to clearly see each nail you’re about to trim.
When holding your dog’s paw, maintain its leg in a natural position to prevent discomfort that could cause struggling. Apply firm but gentle pressure to extend the nail properly, reducing the risk of causing pain during the process. For squirmy dogs, I find using my elbow and arm to provide gentle restraint while they’re lying down creates stability for safer nail trimming.
Recommended Products

【Dog Hammock for Nail Trim】dog hanging harness for nail trimming helps you easier accomplish grooming your cute pet at home such as trimming nails, grooming, bathing, eye & ear health care, injections, checking various body indicators, etc. This restraint dog grooming bag can also help you bathe and clean your dog when dogs after traveling. It's so comfortable and relaxing which makes your pet love it. Grooming hammock for small Dogs is also a good helper for vets.

🐶[for X-Large Dogs] ATESON dog sling for nail clipping is made of mesh textile material and the sling is designed with a special craft sewing technique, no need to worry about tearing and falling off.

New Design Dog Grooming Hammock with Thick Neck Support. Compared with others, the Kkiimatt new generation Dog Hammock for Grooming adopts a multi-layer thickened soft support design which makes the Dog Hanging Harness is more in line with the stress on the dog's neck when being hoisted. Dogs in our Dog Grooming Sling feels more comfortable and relaxed during Grooming/Nail Clipping.
Identify the Quick to Avoid Painful Cuts
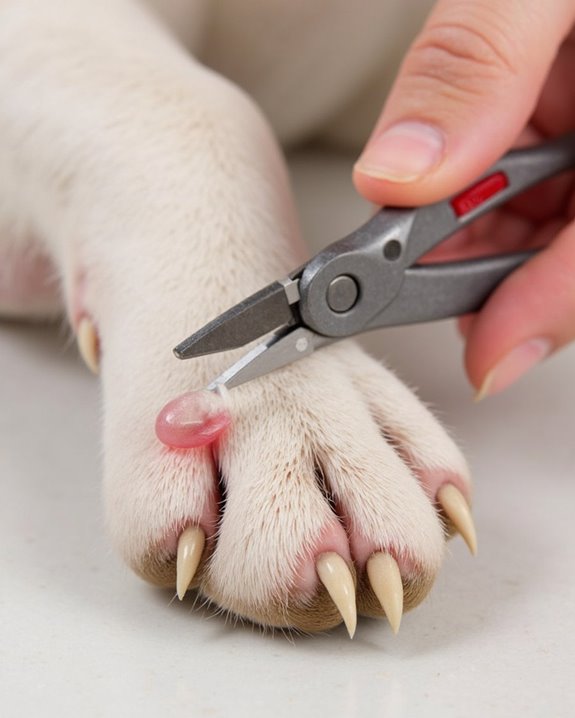
Why does identifying the quick matter so much when trimming your dog’s nails? The quick contains a blood vessel inside the nail that, when cut, causes pain and bleeding for your furry friend.
For dogs with white nails, I can easily spot the quick as a pink area within the transparent nail. I always leave 2-4 millimeters of space between my cut and this sensitive area. With dark nails, identification becomes trickier, requiring a different approach. I trim small sections gradually, stopping immediately when I see either a chalky white interior with a black dot or a translucent circle at the center of the nail. This indicates I’m approaching the quick. Through regular trimming sessions, I can help the quick recede over time, making future nail maintenance safer and easier.
Master the Correct Trimming Technique
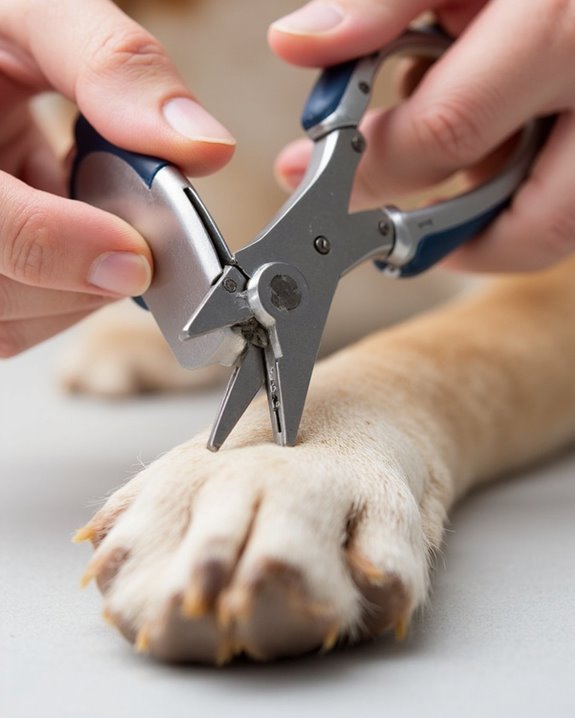
How do professionals achieve those perfect nail trims for their canine clients? I’ve found that proper positioning is the foundation of a successful trim. I hold the dog’s paw firmly with one hand while positioning the trimmer with the safety stop facing me, which gives me clear visibility and control.
When trimming, I cut the tip of the nail in one swift, confident stroke, stopping 2-4 millimeters short of the vein inside to prevent discomfort. For black nails, I take special precaution by removing small sections at a time, watching for the chalky white center with a black dot that signals I’m approaching the quick. I apply gentle pressure to extend the nail fully, using my thumb and forefinger to manipulate the paw pad, which reduces the risk I’ll accidentally cut too deep.
Handle Black Nails With Special Consideration
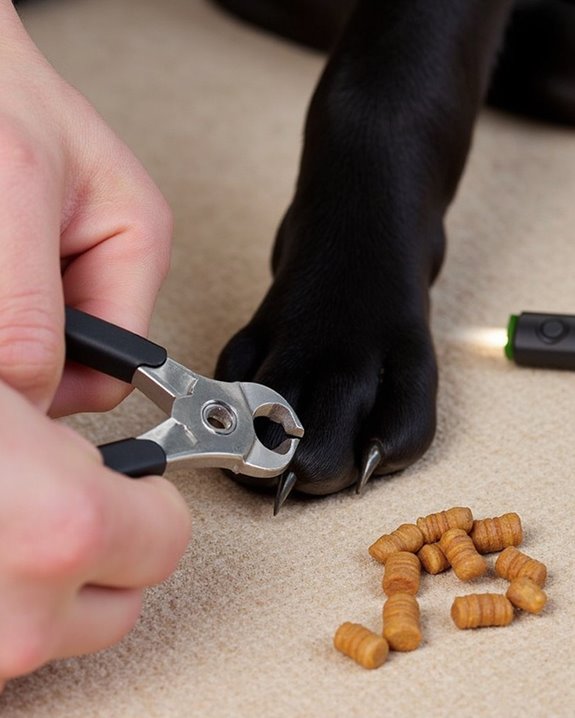
Dark-colored canine nails present unique challenges that require extra attention and precision while trimming. Unlike lighter nails, you can’t see the quick inside the nail, increasing the risk of cutting too deeply and causing bleeding. I recommend trimming just 2-3 millimeters at a time, working gradually from the tip inward while watching for a chalky white appearance with a small black dot in the center—this signals you’re approaching the quick.
Long nails with black coloration need more frequent attention, ideally every 7-10 days, which allows the quick to naturally recede over time. Always work in bright lighting and hold your dog’s paw firmly to better observe subtle changes in nail texture. Should you accidentally cut too far, keep styptic powder nearby to stop bleeding immediately.
Recommended Products

𝐖𝐡𝐢𝐬𝐩𝐞𝐫 𝐐𝐮𝐢𝐞𝐭 & 𝐒𝐭𝐫𝐞𝐬𝐬-𝐅𝐫𝐞𝐞 𝐆𝐫𝐨𝐨𝐦𝐢𝐧𝐠: Ultra-quiet and low-vibration design keeps sensitive dogs Cats calm. No more fear, shaking, or struggling during nail care
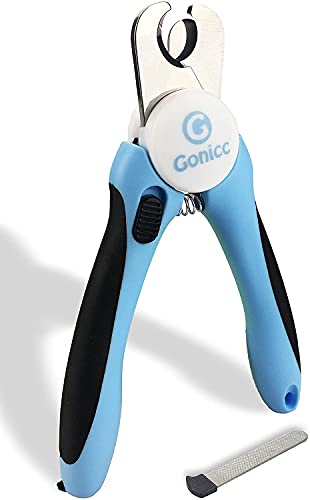
Vet & Groomer Recommended Professional Design: Preferred by veterinarians, trainers and groomers, these clippers deliver fast, safe and precise trimming for medium and large dogs, ideal for at-home daily grooming.

LED light: Illuminates light-colored nail's quick or claws for easier and safer cutting experience! *Note that the LED light may not work well on dark nails.
Respond to Bleeding if You Cut the Quick
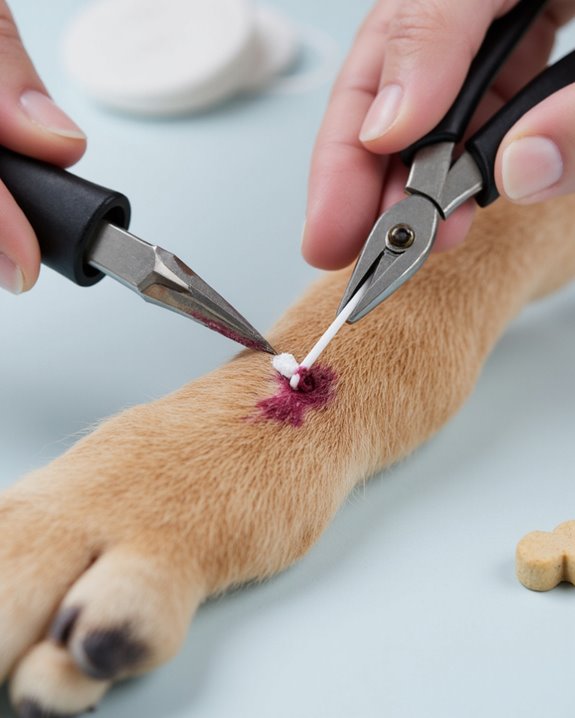
Despite your careful technique, accidents can happen when you’re trimming your dog’s nails, and when you cut the quick, you’ll notice immediate bleeding that requires prompt attention. When you’ve accidentally cut inside one nail, immediately apply styptic powder, flour, or cornstarch directly to the injured area to stop the bleeding. Keep your dog calm while applying gentle pressure with a clean cloth until the blood coagulates.
For enhanced healing, consider using clinoptilolite powder, such as Tauro Pro Line, which offers antibacterial protection. If your dog’s fur becomes stained, clean the area with hydrogen peroxide on a cotton ball. Should bleeding persist beyond a few minutes after getting your dog’s nails trimmed, or if your pet shows signs of discomfort, don’t hesitate to contact your veterinarian for professional guidance.
Establish a Regular Nail Trimming Schedule
Consistently maintaining a regular nail trimming schedule provides the foundation for your dog’s paw health, preventing painful complications and mobility issues. I recommend trimming your dog’s nails every couple of weeks as a baseline practice, but your specific schedule should adapt to your dog’s lifestyle and environment.
For dogs who frequently walk on hard surfaces like concrete, schedule trims every 3-4 weeks, as these surfaces naturally file nails. However, indoor dogs or those who primarily walk on grass need more frequent attention—aim for weekly sessions to prevent overgrowth.
If your dog’s nails are currently too long, begin with trims every 7-10 days until reaching appropriate length. Regular nail maintenance not only keeps your pet comfortable but also gradually forces the quick to recede, making future trimming sessions safer and less stressful.
Use Positive Reinforcement to Build Confidence
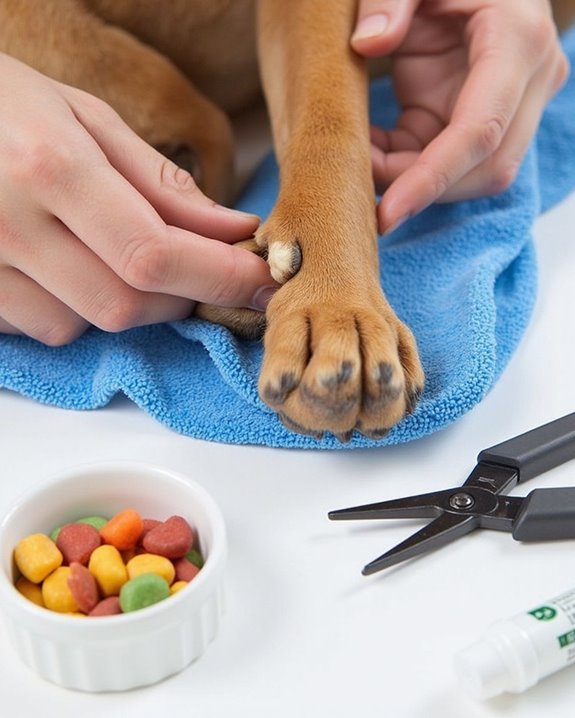
Why do many dogs resist nail trims? Dogs often associate the experience with discomfort or past negative experiences, creating anxiety around the entire process. I’ve found that using treats strategically helps transform this perception. When you first introduce nail trimmers, reward your dog immediately after they sniff the tool, creating a positive connection. During early sessions, focus on handling the paws before you attempt to trim a dog’s nails, giving treats after each successful touch.
As your dog becomes more comfortable, gradually introduce the nail file, rewarding calm behavior when they allow you to file the nails. Remember to trim just one nail per session initially, following with enthusiastic praise and a treat. These short, reward-focused sessions build confidence over time, helping your nervous pet associate nail trimming with positive outcomes rather than stress.
Frequently Asked Questions
How to Trim Your Dog’s Nails Step by Step?
I’ll restrain my dog gently, considering breed differences, and hold each paw firmly. I’ll trim the nail tips carefully, using safety measures to avoid the quick. Afterward, I’ll reward and apply aftercare tips.
How to Use Dog Nail Trimmers?
Time flies when proper trimmer maintenance becomes routine! I’ll hold my dog’s paw firmly while using quality trimmers with reliable safety features. For best results, I recommend researching brand selection before purchasing your clippers.
How to Use a Nail Cutter Step by Step?
I hold my nail cutter with safety stop facing me for nail safety. I grasp the paw firmly, clip with one swift motion, and avoid the quick. Regular cutter maintenance guarantees proper technique basics for trimming.
Is It Better to Clip Dog’s Nails Wet or Dry?
I’d suggest clipping your dog’s nails when wet for best results. Nail moisture softens them, making trimming easier and safer. Wet effects include less splitting, while dry advantages are minimal in comparison.