As an Amazon Associate, we earn from qualifying purchases. Some links on this site are affiliate links at no extra cost to you. Our recommendations are based on thorough research and editorial judgment.
How to Fix Nail Clippers in 3 Easy Steps
To fix nail clippers in three easy steps, I recommend first cleaning the mechanism thoroughly, removing any debris that might be causing friction. Next, gather a pair of pliers or tweezers to realign the components, particularly focusing on the pivot point where failure commonly occurs. Finally, reassemble by inserting the rod through both holes, compressing the clipper body to expose the notch, and securing the lever in place. Proper maintenance will extend your clippers’ lifespan and prevent future breakdowns.
Key Takeaways
- Clean the clipper thoroughly by removing debris buildup with tweezers or a small brush before attempting repairs.
- Compress the clipper body to expose the rod’s notch, then realign any misaligned components.
- Apply a drop of machine oil to the pivot points to reduce friction and restore smooth operation.
- Reassemble by inserting the rod with notched side first, then place the lever onto the exposed notch.
- Test functionality after reassembly by clipping paper, ensuring the blades align properly and move smoothly.
Understanding Common Nail Clipper Problems
The humble nail clipper, despite its seemingly simple design, can fall victim to numerous issues that affect its performance over time. I’ve found that most nail clippers fail due to a combination of mechanical wear from frequent use, which loosens pivotal components, and poor-quality materials that simply can’t withstand regular clipping pressure. If you’ve dropped your nail clippers, you’ve likely experienced sudden disassembly or misalignment, rendering them frustratingly ineffective. Additionally, bathroom storage exposes your nail clippers to humidity, accelerating rust formation and compromising structural integrity. The metal weakens, leading to unexpected breakage during use. Perhaps most overlooked is basic maintenance, as accumulated debris between the blade edges increases friction and resistance. This debris buildup not only makes clipping more difficult but also creates additional stress on all components. Regular cleaning and proper storage are crucial to maintaining their sharpness and structural integrity material quality, ensuring they function effectively over time.
Recommended Products

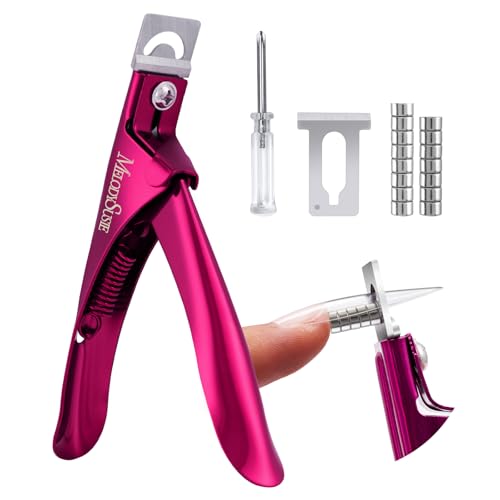
Best Nail Trimmer:The nail clippers sets use comfortable ergonomic shape to lever, and the curved edge follows the natural shape of the nail. Make every use smooth and simple, suitable for all kinds of nails.

【Perfect Pedicure Kit】: Are you plagued by pain from ingrown and thick nails? This toenail clipper set easily solves the problem. No need to spend a fortune visiting a podiatrist!

Precision Cutting for Healthy Toe nails - Safeguard your foot health with BALUCA's heavy-duty nail clippers with catcher. The straight cutting edge ensures a clean, precise cut, reducing the risk of ingrown toenails. Maintain proper grooming habits in the comfort of your home.
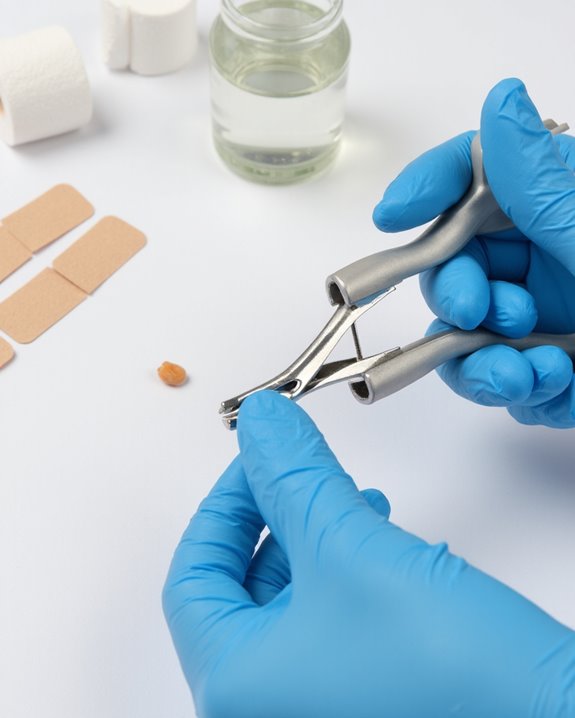
Essential Tools for Nail Clipper Repair
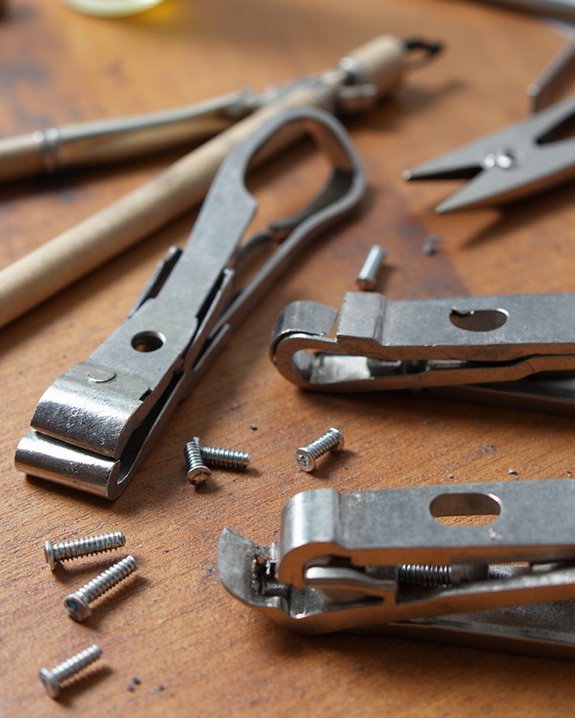
Successful nail clipper repair requires a strategic approach and the right set of tools, which I’ve found makes all the difference between frustration and satisfaction. When restoring your nail care implements, I recommend needle-nosed pliers or tweezers for their precision in manipulating tiny components, allowing you to grip and adjust parts with minimal effort. Using high-quality materials like stainless steel tweezers ensures better durability and a more precise grip during repair. A quality machine oil or specialized lubricant is essential for reducing friction in moving parts, which extends the lifespan of your clippers. I always perform a thorough examination before beginning repairs, checking for debris or imperfections that might impede functionality. Standard pliers also prove invaluable during reassembly, particularly when securing the pin and ensuring proper alignment of all components. Remember to apply lubricant specifically to the pin and lever areas for smooth operation.
Recommended Products

Nail Clipper Set: HAWATOUR Nail Clipper Set contains fingernail and toenail clippers, small fingernail clipper with curved edge to fit your finger nail and big toenail clipper with sharp edge for your thick toenail
Acrylic Nail Clippers with Adjustable Sizers: Comes with 15pcs magnetic sizers, this nail clipper effortlessly creates your desired length and shape, particularly for long acrylic gel nails. Do one quick clean cut to your nail tips, enhances your polishing efficiency and reduces filing time
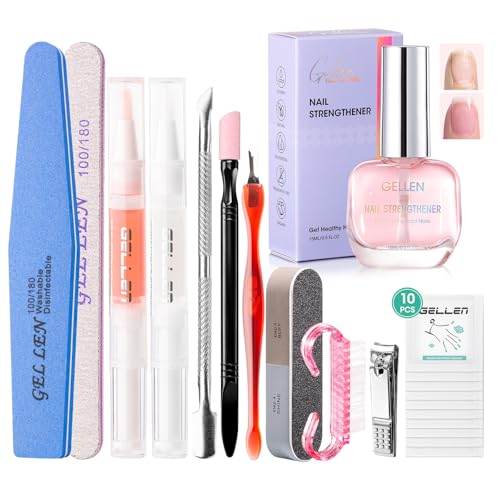
【8-in-1 Nail Strengthener & Growth Nourishment】This daily treatment uses multi-polymer technology to repair and strengthen thin, brittle, or damaged nails. Infused with sakura scent, it smooths ridges, prevents splitting, and reduces discoloration. Enriched with vitamin E, keratin, calcium, and plant extracts, it deeply hydrates, soothes sensitivity, and promotes healthy growth—all in a quick-dry, lightweight formula. Nails become visibly healthier, harder, and longer with a natural, salon-quality glow after weeks of care.
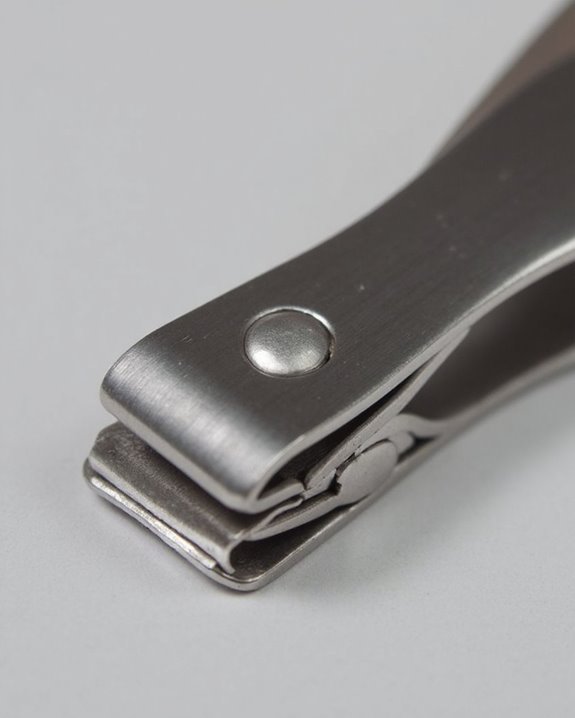
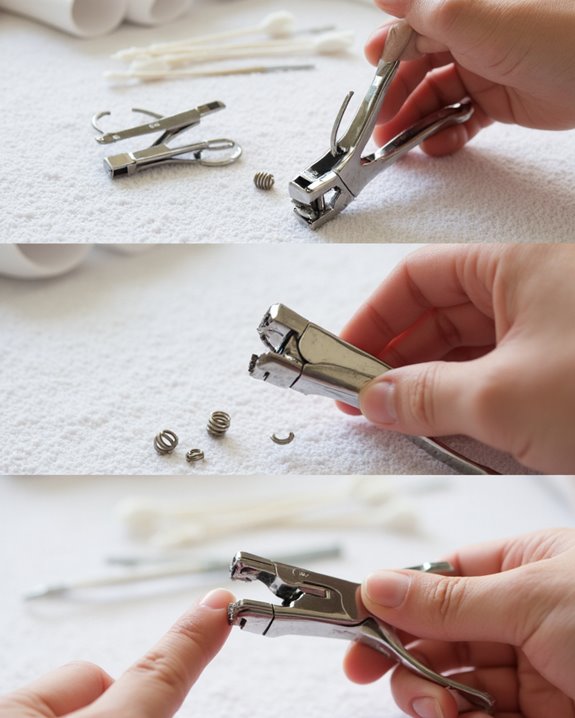
Step-by-Step Reassembly Process
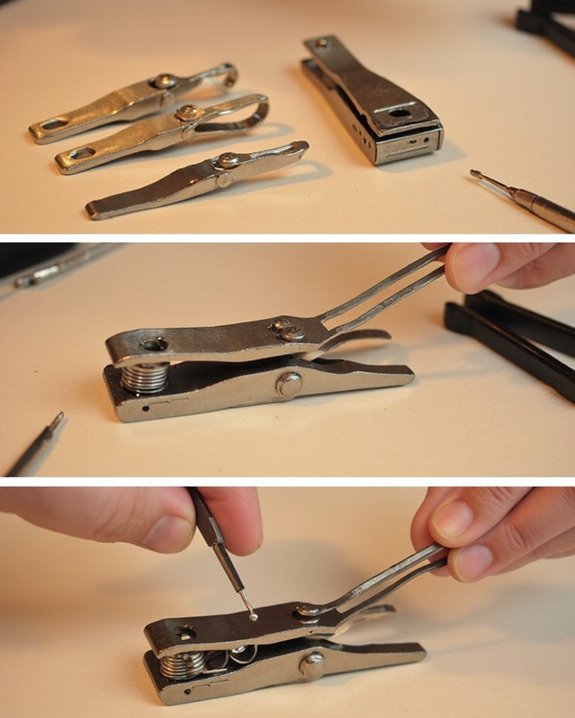
Reassembling your nail clippers follows five critical steps that, when executed properly, will restore full functionality to your grooming tool.
First, insert the rod through the bottom hole and up through the top, guaranteeing the notched side enters first for proper alignment. Next, compress the clipper body to expose the rod’s notch, which may have a pick or file attached to the top. For smooth DIY reassembly, rotate the rod until its notch faces away from the body, making it more accessible. Then, place the lever’s hole onto the exposed notch and release the compressed body to secure the connection. Finally, swivel the lever into its operating position and test the clippers to confirm they’re working correctly. This methodical approach guarantees your clippers will function as reliably as when first purchased.
Recommended Products


Ample quantity: the package includes totally 24 pieces baby nail file pads in 4 different colors; Among them, 6 pieces are in pink, suitable for 0 - 3 months baby; 6 Pieces in light blue, suitable for 3 - 6 months baby; 6 Pieces in green, suitable for 6 - 12 months baby; 6 Pieces in orange, suitable for baby over 12 months

Product size: The total length of the product is 40mm, the upper width is 5mm, and the opening width is 9mm. Manual measurements, please allow slight errors
Frequently Asked Questions
How to Make Nail Clippers Work?
I always fix my clippers by threading the rod through both clipper body holes, placing the lever into the notch, and applying oil. Proper clipper maintenance guarantees they work perfectly every time.
Why Is My Nail Cutter Not Cutting?
My clippers have become dull as a butter knife! Your nail cutter’s not cutting likely because of mechanical wear, rust, misalignment, or nail thickness. Regular maintenance can prevent debris buildup that hinders performance.
How to Make Nail Clippers Sharp Again?
I’ll sharpen your clippers by cleaning debris, applying specialized oil to moving parts, and realigning the blades. If these don’t work, consider blade replacement – it’s the surest way to restore that perfect cutting edge.
Does Cutting Aluminum Foil Sharpen Nail Clippers?
Imagine this: blades slicing through shimmering foil. Yes, I’ve tried this urban legend myself! Cutting aluminum foil can temporarily realign your clipper’s edge, making them feel sharper, but it’s not true professional sharpening—just a quick fix.