As an Amazon Associate, we earn from qualifying purchases. Some links on this site are affiliate links at no extra cost to you. Our recommendations are based on thorough research and editorial judgment.
Nail Clipper Sharpening Made Easy in 5 Steps

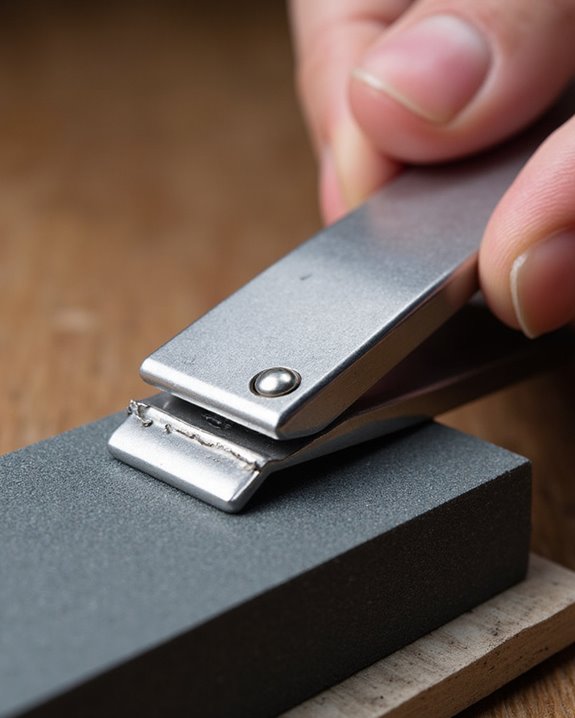
To sharpen nail clippers, first disassemble by squeezing the jaws together to remove the actuating lever and central pin. Next, secure the jaws with a small screw and nut through the empty pin hole. Then, use a fine grinding stone for flat surfaces and maintain the original edge angle while applying even pressure. After sharpening, rinse thoroughly to remove grit, reassemble the components, and test by cutting fine material. The following steps will transform your dull clippers into precision cutting tools.
Key Takeaways
- Disassemble the clipper by squeezing jaws together to remove the actuating lever and central pin for better access.
- Secure the jaws using a small screw through the pin hole with a nut to stabilize during sharpening.
- Apply fine grinding stone on flat faces of cutting edges, maintaining the original angle and geometry.
- Use light, even strokes with consistent pressure to remove nicks without changing the edge profile.
- Reassemble by reinserting the pin, securing the lever, and testing sharpness after thoroughly rinsing away debris.
Understanding Your Nail Clipper’s Anatomy
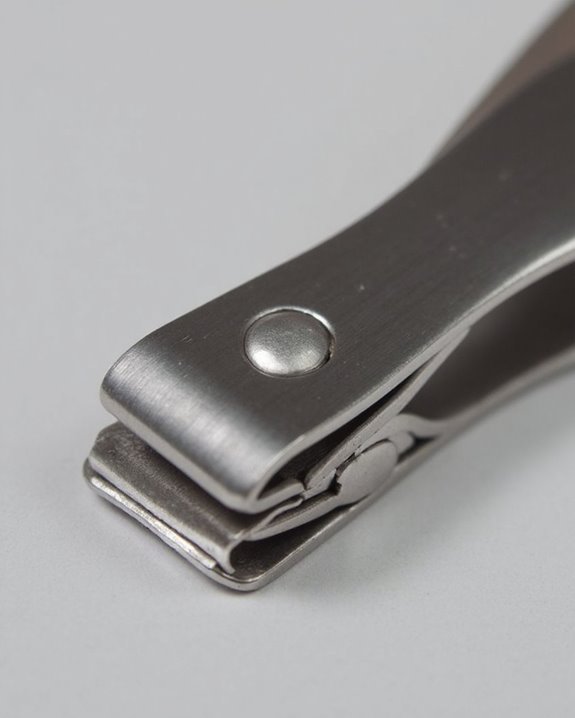
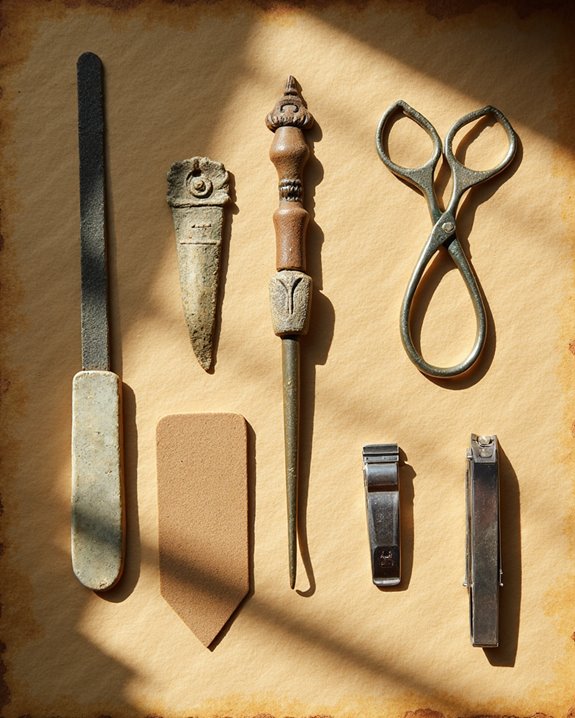
Familiarity with your nail clipper’s structure is essential before attempting any sharpening procedure. Modern nail clippers feature two pivoting jaws connected by a central pin, a design that has seen minimal changes throughout its Historical Evolution despite numerous Ergonomic Features being added over time. The cutting edges, which meet when you squeeze the actuating lever, are the components you’ll be focusing on during sharpening. I’ve found that most quality clippers have a flat face along these edges, making them relatively straightforward to sharpen with a fine grinding stone. The lever attaches to the jaws via a removable pin, which you’ll need to take out before beginning the sharpening process. Pay special attention to clippers with concave front jaws, as these require careful technique to maintain their original curvature.
Recommended Products

Includes 8 stone nail files for polishing skin around nails and smoothing nail edges.

Authentic "Yimart" Brand.SProfessional Grade :These nail files are designed for professional use, ensuring high-quality results every time.

Disassembling the Actuating Lever and Pin
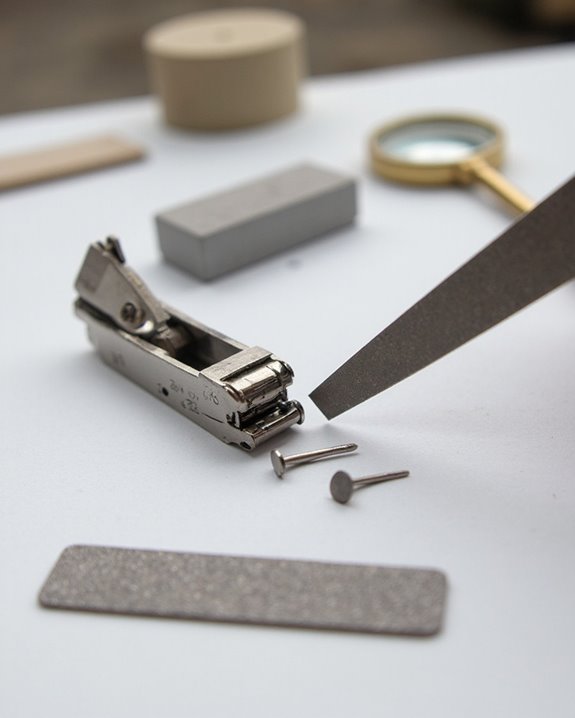
Begin the disassembly process by firmly squeezing the jaws of your nail clipper together, which creates the necessary tension to detach the actuating lever from its connecting pin. This Lever Detachment step is essential because maintaining precision during the sharpening process becomes virtually impossible with the lever still attached. When you squeeze the jaws properly, you’ll notice the lever easily separates from its securing mechanism.
After removing the lever, proceed with Pin Extraction by carefully pulling out the metal pin that previously held the lever in place. This gives you complete access to the clipper’s cutting edges and internal components. With both the actuating lever and pin removed, you’ll now be able to hold the jaws securely in position without any interference, creating ideal conditions for the sharpening process that follows.
Recommended Products

Nail Clipper Set: HAWATOUR Nail Clipper Set contains fingernail and toenail clippers, small fingernail clipper with curved edge to fit your finger nail and big toenail clipper with sharp edge for your thick toenail
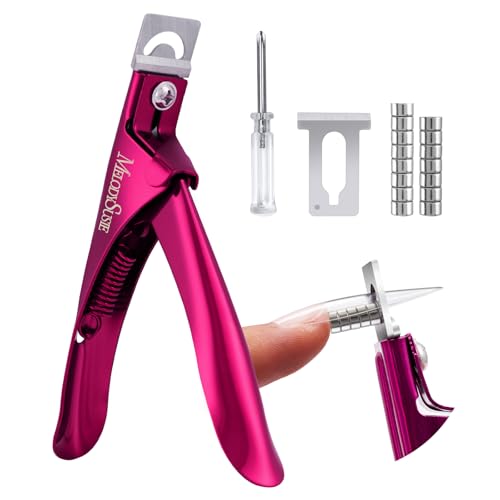
Acrylic Nail Clippers with Adjustable Sizers: Comes with 15pcs magnetic sizers, this nail clipper effortlessly creates your desired length and shape, particularly for long acrylic gel nails. Do one quick clean cut to your nail tips, enhances your polishing efficiency and reduces filing time

Best Nail Trimmer:The nail clippers sets use comfortable ergonomic shape to lever, and the curved edge follows the natural shape of the nail. Make every use smooth and simple, suitable for all kinds of nails.
Securing the Clipper Jaws for Sharpening
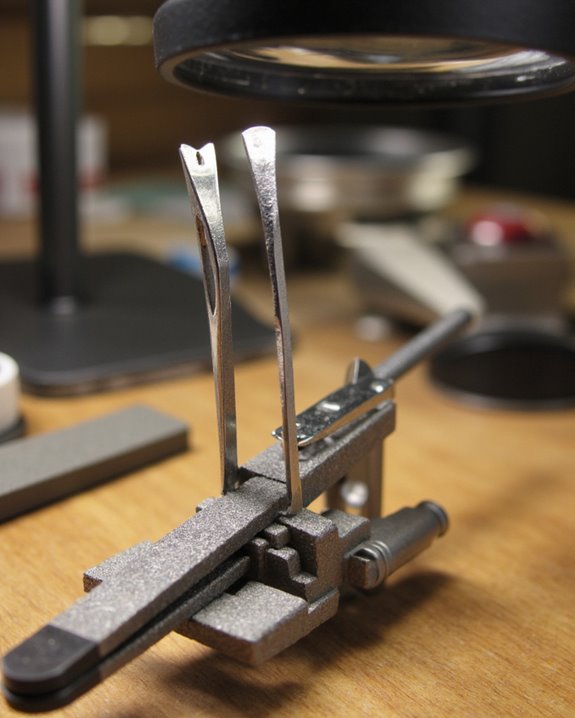
Guaranteeing proper jaw stability forms the foundation of successful nail clipper sharpening, as unstable jaws will compromise your entire sharpening effort. I’ve found that effective fastening techniques begin by squeezing the clipper jaws together to remove the actuating lever from its pin, creating better access to the cutting surfaces.
Next, I insert a small screw through the empty pin hole, which serves as my primary jaw stability mechanism. I then thread a nut onto the screw, carefully tightening until the cutting edges make light contact with each other. For best results, I sometimes adjust the screw-nut assembly to bring the edges even closer together, particularly when addressing nicked areas that require precise sharpening. This simple but critical setup guarantees the clipper remains properly positioned throughout the entire sharpening process.
Recommended Products

SHARP - Curved stainless steel edge is twice sharpened for a smooth effortless cut

Superior Nail Tool; Features A Curved Stainless Steel Blade With A Zinc Alloy Die Cast Lever; Leaving You With A Precise And Clean Cut; No More Ripping Or Tearing Or Even Jagged Nails; Slice Through Nails With Ease

Premium Material: The diamond knife sharpener is made of superior diamond material, which has excellent wear resistance, corrosion resistance, high temperature resistance, high strength and impact resistance, durable for long time use.
Applying Proper Sharpening Technique
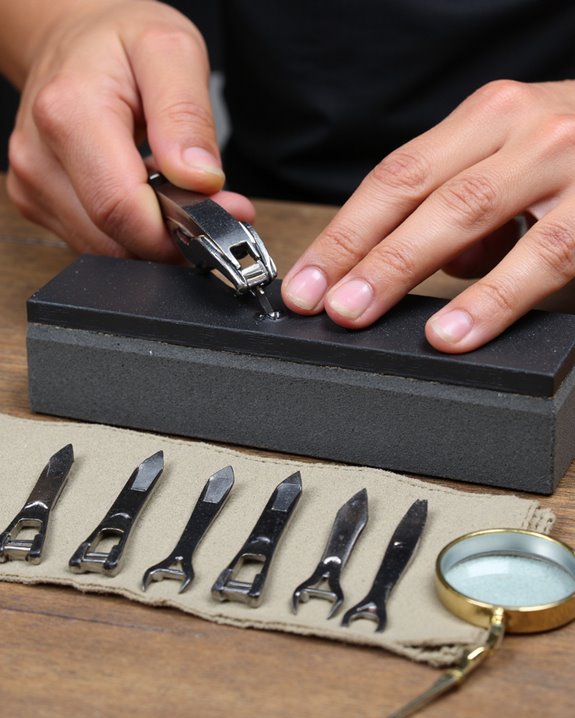
Three critical elements form the foundation of proper nail clipper sharpening technique: tool selection, angle maintenance, and consistent pressure application. I’ve found that stone choice greatly impacts your results, with a fine grinding stone in a Dremel tool being ideal for the flat faces, while a Lansky ceramic rod works perfectly for curved surfaces.
When sharpening, I squeeze the clipper together to secure the jaws in position, allowing for controlled, even strokes along the edges. Pressure control is essential—apply enough force to remove nicks, but not so much that you alter the original geometry. I maintain the exact same angle as the factory edge, working toward a slightly convex surface on the cutting edges. This careful approach guarantees your clippers will perform better and last longer after sharpening.
Recommended Products

WHETSTONE KNIFE SHARPENER — NO SKILL, NO GUESSWORK Most people avoid whetstones because holding the correct angle is intimidating. The included angle guide locks your blade position automatically — making professional knife sharpening practically idiot-proof, even on your first try. No oil needed, no mess, no guesswork.

V-shaped blade - safely and quickly trims excess cuticles and hangnails

Beginner-Safe Angle Control (No Guesswork): This whetstone knife sharpener features built-in adjustable angle guides (15° / 17° / 20° / 22°) to help beginners maintain a consistent sharpening angle. Reduces uneven edges and protects expensive knives — unlike cheap sharpening stones that rely on freehand skill.
Reassembling and Testing Your Renewed Clipper
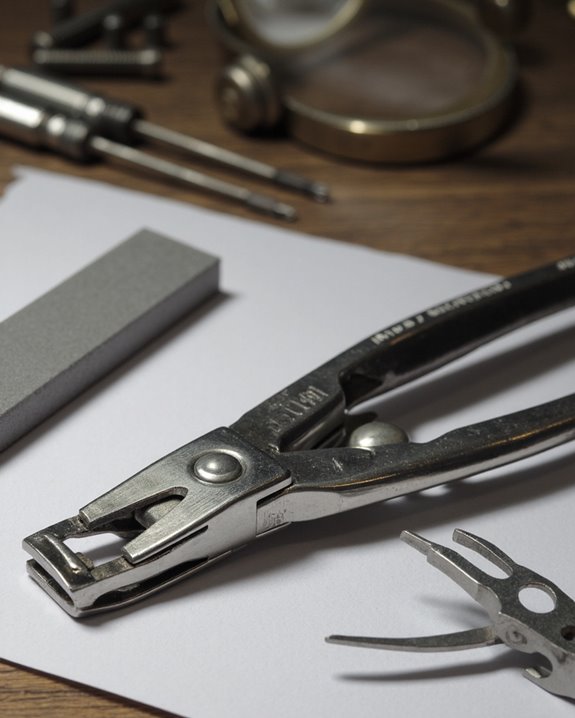
Carefully reinserting the pin marks the beginning of transforming your sharpened components back into a functional nail clipper. During the reassembly process, squeeze the jaws together to guarantee proper alignment before securing the actuating lever, which should hook onto the pin with smooth detachment and reattachment capability. To ensure optimal performance, check that the cutting edges are properly aligned and free of debris before final assembly. Once your clipper is reassembled, rinse it thoroughly with water to eliminate any remaining grinding grit that could compromise your cutting performance. The final step involves testing your handiwork—try cutting fine copper wires to evaluate the sharpness and evenness of your newly refreshed cutting edges. If the clipper slices through with minimal resistance and without catching, you’ve successfully restored your tool to its ideal functionality, ensuring clean cuts every time you trim your nails.
Recommended Products

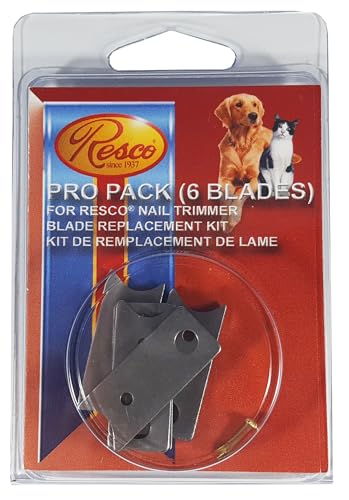
Fits all Resco guillotine nail trimmers

Product size: The total length of the product is 40mm, the upper width is 5mm, and the opening width is 9mm. Manual measurements, please allow slight errors
Frequently Asked Questions
What Is the Best Way to Sharpen Nail Clippers?
A stitch in time saves nine! I’d recommend manual sharpening using a Lansky ceramic rod system on your nail clippers’ front edges. Remove the lever, position jaws together, and apply strokes for proper tool maintenance.
Does Cutting Aluminum Foil Sharpen Nail Clippers?
I’ve tested the Foil Experiment myself, and I can confirm it’s mostly a Myth Verification failure. Aluminum foil doesn’t actually sharpen nail clippers—it may clean them but won’t restore a proper cutting edge.
How to Sharpen Nail Scissors at Home?
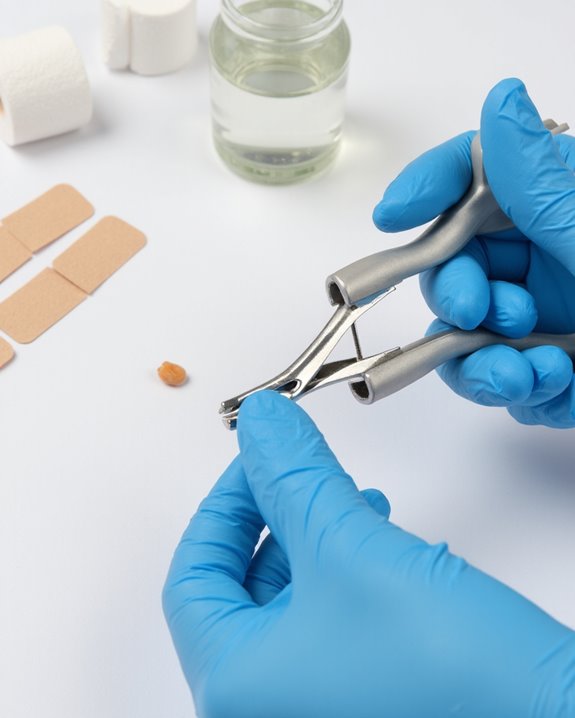
Like breathing new life into dull blades, I’ll show you how. To sharpen your nail scissors at home, I’d focus on proper Scissors Techniques using a fine grinding stone. Always prioritize Safety Measures by wearing gloves!
How to Take Apart a Nail Clipper?
To take apart a nail clipper, I squeeze the jaws together to slip off the actuating lever from the pin. For safety precautions, I recommend wearing gloves. No special disassembly tools are required for this simple task.