As an Amazon Associate, we earn from qualifying purchases. Some links on this site are affiliate links at no extra cost to you. Our recommendations are based on thorough research and editorial judgment.
10 Simple Steps to Use a Nail Trimmer

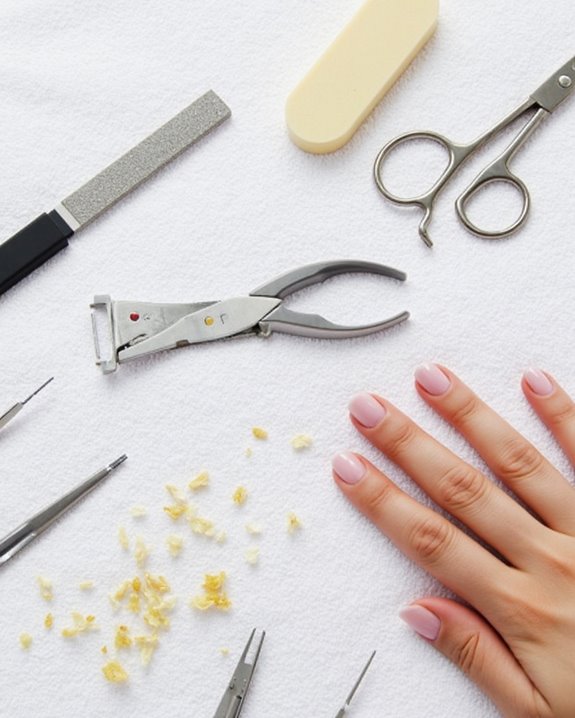
To properly use a nail trimmer, first select the right clipper—curved for fingernails, straight for toenails. Soften nails by soaking in warm water for a few minutes. Clean your clippers with alcohol before use. Position the clipper at the nail’s edge, following its natural curve. Cut in small, controlled snips from side to center. File any rough edges afterward and apply moisturizer to cuticles. Proper technique prevents ingrown nails and splitting while promoting healthier nail growth.
Key Takeaways
- Prepare nails by soaking in lukewarm water for a few minutes to soften them for easier trimming.
- Choose the right nail trimmer—curved blades for fingernails and straight blades for toenails.
- Hold the trimmer firmly and clip nails straight across, starting from one side to the center.
- File rough edges in one direction after trimming to prevent splitting and tears.
- Clean and disinfect nail trimmers with 70-90% isopropyl alcohol before and after each use.
Choose the Right Nail Clippers for Your Needs
The foundation of proper nail care begins with selecting the appropriate nail trimmer for your specific grooming needs. I recommend curved blade clippers for fingernails, as they follow the natural contour of your nails, reducing the risk of splitting while ensuring precise cuts. For toenails, I always use flat edge blade clippers to cut straight across, which helps prevent ingrown nails and tearing. Choosing a high-quality cuticle cutter with sharp blades and ergonomic handles can also make a significant difference in achieving salon-quality results at home. High-quality stainless steel nail clippers provide superior durability and sharp cutting edges that won’t crush or damage your nails. When shopping for clippers, look for professional-grade options with features like double-spring action, which offers enhanced control during trimming. Matching the correct clipper type to each nail—curved for fingers, flat for toes—will greatly improve your results and minimize potential injuries.
Recommended Products

Professional Toenail & Fingernail Kit: Includes 4 large 3.15-inch nail clippers (2 straight edge, 2 curved edge) each with a built-in nail file. This nail clippers set meets all your needs for both fingernails and toenails trimming

Nail Clipper Set: HAWATOUR Nail Clipper Set contains fingernail and toenail clippers, small fingernail clipper with curved edge to fit your finger nail and big toenail clipper with sharp edge for your thick toenail

THE ULTIMATE NAIL CLIPPERS SET: Elevate your nail grooming experience with the BEZOX Toe Nail Clippers Set. Crafted with precision in mind, this set includes two clippers - one with straight blades for a classic cut and another with curved blades for enhanced control and accuracy. Achieve perfectly manicured nails effortlessly!
Prepare Your Nails by Softening Them
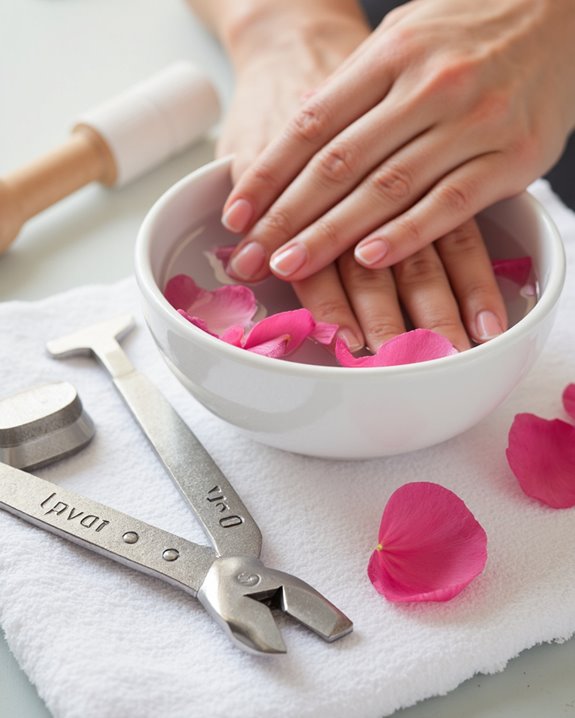
While selecting the right nail clipper provides the foundation for successful nail care, proper preparation will greatly enhance your trimming experience. I’ve found that the ideal time to trim your nails is immediately after bathing or showering, when they’re naturally softened by warm water.
If you’re not fresh from the shower, I recommend soaking your nails in lukewarm water for just a few minutes. This simple step makes your nails more pliable, creating less resistance during cutting and helping to reduce the risk of splitting or creating jagged edges. The lukewarm temperature is essential, as extreme temperatures can damage nail structure over time. Remember, properly softened nails require less force to trim, resulting in cleaner cuts and more precise shaping with minimal effort.
Recommended Products

Teenitor Nail Soaking Bowl Kit Meet all Your Needs:Nail polish removers tools kit come with 2* hand Soaking Bowl Acetone Proof, 1* cuticle oil, 1* cuticle pusher, 1* cuticle peeler, 2* nail files, 2*nail buffers, 1*nail brush 10pcs in total. The nail soaking bowl provides with a more convenient nail polish remover and cuticle oil can moisturize hands before and after nail polish remover, taking care of your hands

Gel Nail Polish Remover Tool Kit: What you will get: 1 x nail soaking bowl, 5 x nail files 100/180 in small size, 2 x polishing files 1000/4000 in small size, 1 x nail cuticle nippers, 1 x nail cuticle pusher, 1 x triangular cuticle peeler, 1 x cuticle fork, 1 x nail brush

【Nail Polish Removers Tools Kit】: you will get 1pcs hand soak bowl, 1pcs cuticle peeler,1pcs pusher cutter,totally 3 pcs nail art tool. There nail remover bowl to provide you professional nail polish remover experience.
Clean and Sterilize Your Clippers Before Use
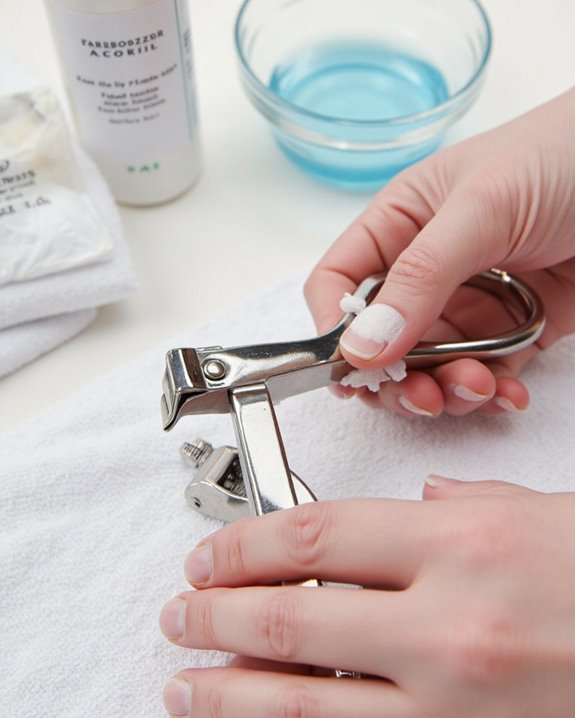
Before trimming your nails, making sure your clippers are thoroughly cleaned and sanitized isn’t just good practice, it’s essential for preventing potential infections. I always make it a priority to wipe down my clippers with 70-90% isopropyl alcohol before each nail clipping session, as this eliminates bacteria and fungus that might be lurking on the blades. To ensure effective disinfection, it’s important to follow the recommended disinfection time and use a disinfectant with rust inhibitors to protect your metal tools. After cleaning, I dry the tool completely with a clean cloth to prevent moisture buildup that could compromise future use. If you’ve stored your clippers with your nail file in a manicure kit, don’t assume they’re clean—still take a moment to sanitize them with an alcohol wipe. This simple step, which takes less than a minute, protects your nail health and guarantees your grooming routine remains hygienic and effective.
Recommended Products

ELECTRONIC SANITIZING WIPES: One canister of 75 CloroxPro Clorox Screen+ Sanitizing Wipes, a safe way to clean and sanitize screens and more without damaging sensitive electronics (3)
![The Pharma-C Company - 70% Isopropyl Alcohol Wipes [6 pack]](https://m.media-amazon.com/images/I/51kPwmH0BzL._SL500_.jpg)
TOPICAL ANTISEPTIC: 40 pre-moistened wipes with 70% Isopropyl Alcohol solution. Topical first-aid antiseptic to help prevent the risk of infection in minor cuts, scrapes, and burn

INDIVIDUALLY WRAPPED MEDICAL ALCOHOL PREP PADS: Our CURAD Alcohol Prep Pads are individually sealed in easy-to-open foil-lined packets. This keeps them sterile and saturated until you need to use them.
Position the Clipper Correctly on Your Nail
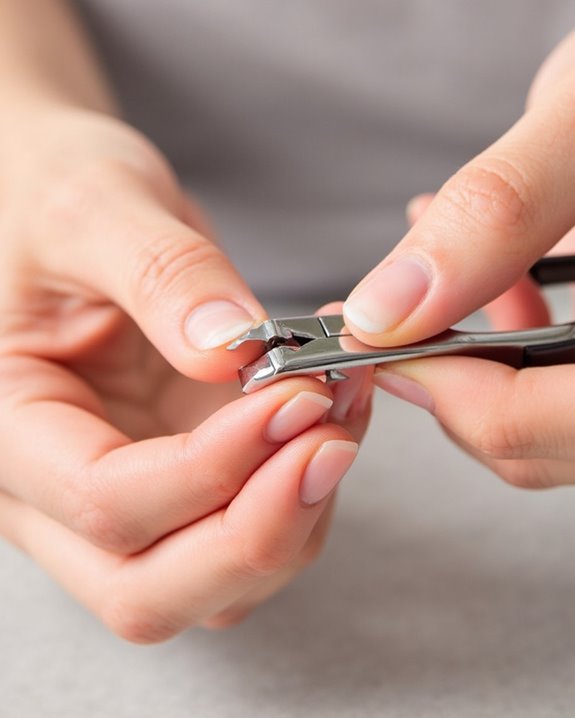
Positioning your clipper correctly creates the foundation for a clean, professional-looking nail trim that prevents damage and splitting. I recommend holding the clippers firmly in your dominant hand while gently opening the blades wide enough to accommodate your natural nail without forcing them.
For fingernails, align the curved clipper edge with your nail’s natural curve, starting from one side and working toward the center. This technique guarantees even cutting while reducing the risk of tears. When trimming toenails, position the clipper straight across the nail using the flat edge of the blades to minimize ingrown nail development.
Always maintain a secure grip on your tool while positioning it, as this prevents slipping that could lead to jagged edges or potential skin injuries.
Master the Proper Clipping Technique
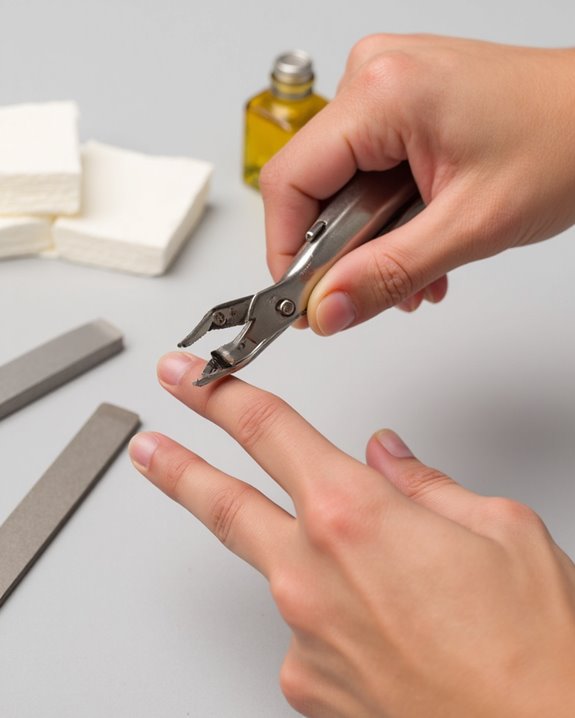
Once you’ve positioned your clipper correctly, mastering the actual trimming technique will guarantee clean, even results every time. I recommend starting with one side of the nail, then moving to the opposite side before finishing with the center. This three-part approach distributes pressure evenly across the nail, preventing those frustrating tears or splits.
Always clip in one direction, moving from the side toward the center of the nail. Avoid any back-and-forth motion, which creates micro-tears that weaken your nails over time. For fingernails, follow the natural curve using curved-blade trimmers; for toenails, cut straight across with flat-edge clippers to prevent ingrown nails. Throughout the process, maintain a firm, controlled grip on your trimmer to guarantee precision cuts and avoid accidental nicks or uneven edges.
File Away Rough Edges After Trimming
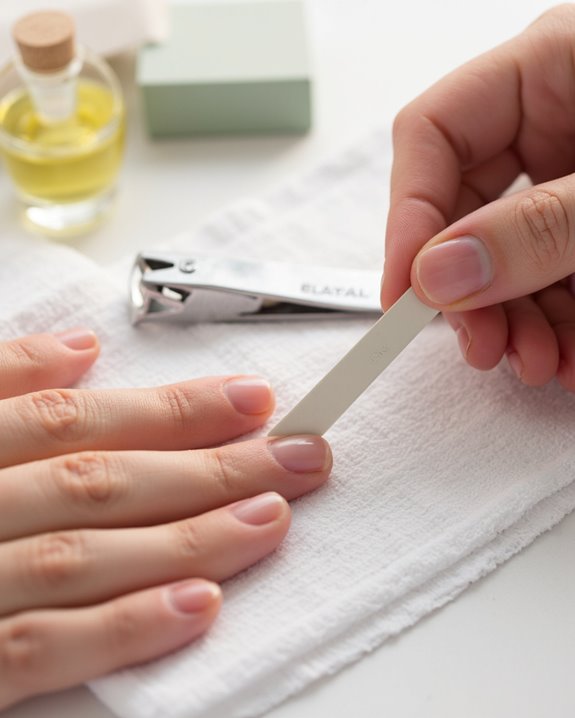
Immediately after you’ve finished trimming your nails, it’s crucial to address those jagged edges that could lead to snagging, splitting, or unwanted tears. I recommend using a professional nail file from your Manicure Kit to smooth out any rough edges left behind from nail trimming.
When filing, always move in one direction rather than back and forth, as this prevents creating ridges or weakening the nail structure. This single-direction technique maintains your nail’s integrity while effectively removing any uneven surfaces. After filing, utilize the four-sided buffer from your kit to polish and shine the nail beds for ideal results.
This proper aftercare not only enhances the appearance of your nails but also greatly reduces the risk of infections and hangnails by eliminating rough surfaces where bacteria could potentially accumulate.
Recommended Products

What A Professional Nail File Set: Teenitor 6pcs Nail File and Buffer Set contains up to 9 different grits files, more choice, more professional. Compare with 4 side buffing block, our nail files set will fine smoothing your nail and provide you excellent salon experience, sturdy and can last for a long time use

Package Included: 3PCS 100/180 grit double sided nail files, 2PCS white and green nail polishing buffer, 1PCS pink rectangular nail buffer block, 1PCS cuticle nipper, 1PCS cuticle pusher, 1PCS cuticle peeler scraper, 1PCS 12ml/0.42oz rose nail cuticle oil and 1PCS nail dust brush. Professional manicure tools kit for daily nail care use and salon.

Value Manicure Tools Kit: 2pcs 100/180 grit half moon nail files, 2pcs nail polishing buffer, 2pcs rectangular nail buffer block,1pcs 7-Way Nail File and Buffer Block, 1pcs cuticle nipper, 1pcs cuticle pusher, 1pcs cuticle fork and 1pcs 15ml/0.52oz rose nail cuticle oil. Professional manicure tools kit to DIY yourself freely as like at salon, save money and time from nail's shop. Make your daily nail care easy and convenient at home
Give Special Attention to Cuticle Care
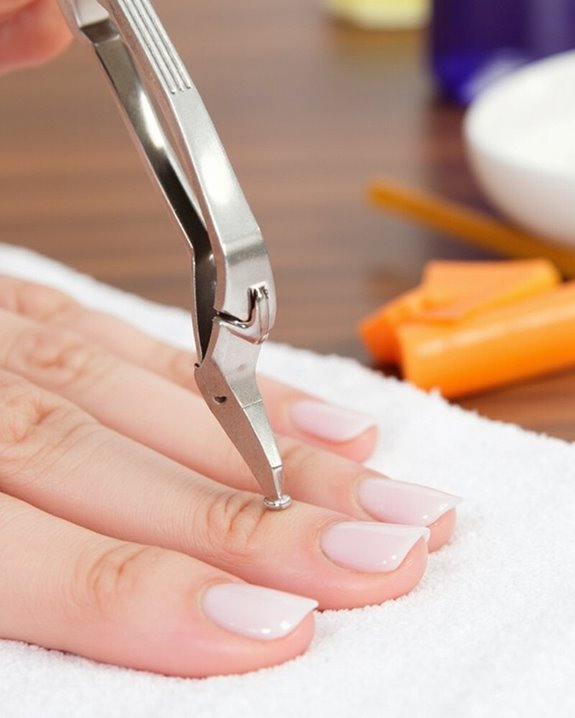
Properly caring for your cuticles isn’t just about aesthetics; it’s an essential step that protects your nail bed from potential infections and promotes overall nail health. After you trim your nails, I recommend using the Rockhard Cuticle Nipper to remove excess cuticles by placing its blades flat against the surface, ensuring precise control. When clipping your nails, don’t forget to gently push back cuticles in soft circular motions, which stimulates healthy nail growth and protects the nail root. Using high-quality cuticle scissors, like those crafted from surgical-grade stainless steel, can make this process more effective and safer. Avoid cutting live skin by focusing only on dry or jagged areas. For quick maintenance, I find the Mini Cuticle Nipper perfect for hangnails with its compact design and sharp tips. Always trim cuticles fully before pulling away to prevent irritation—your nail beds will thank you.
Shape Your Nails According to Your Preference
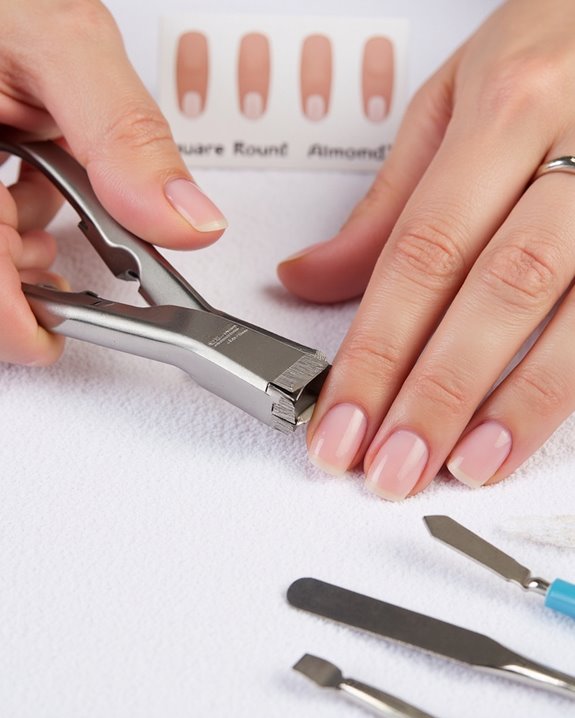
Shaping your nails transforms a basic trim into a personalized grooming statement that complements your style and lifestyle needs. I recommend using the curved blades of your Combo Clipper Set to follow your fingernails’ natural curve, working first on one side, then the other, and finishing with the center for an even trim.
For rounded fingernails, cut almost straight across with your nail’s cutting edges, then gently round the corners with a professional-quality file, moving in one direction only to prevent damage. If you prefer straight toenails, which helps minimize ingrown risks, use the flat edge blades to trim these nails straight across. Remember, consistent directional filing preserves your nails’ health and flexibility while customizing their shape. The four-sided buffer from your Manicure Kit can help perfect your chosen shape with a professional finish.
Maintain Proper Hygiene After Trimming
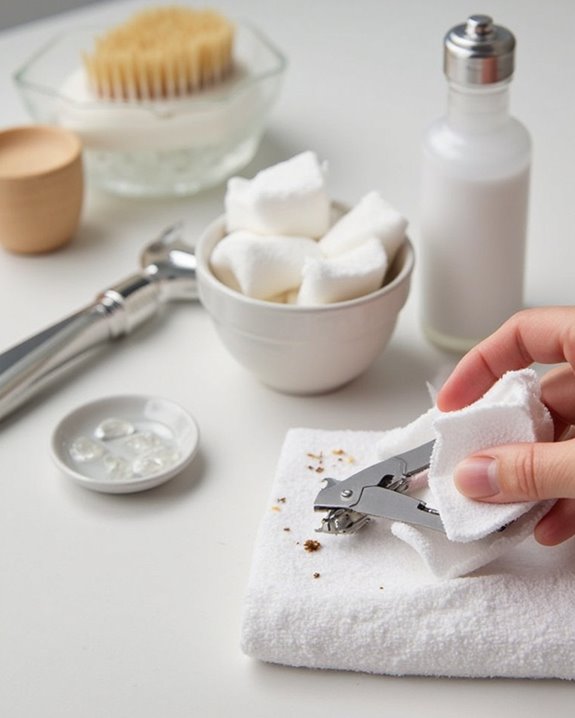
The cleanliness of your nail trimmer directly impacts your health, making post-trimming hygiene a non-negotiable part of your nail care routine. Once I’ve finished trimming, I immediately wipe away any nail clippings from the blades with a dry cloth, preventing bacteria and fungus from establishing themselves and potentially causing painful ingrown nails or infections.
For best overall health, I disinfect the blades after each use with an antiseptic solution or 70-90% isopropyl alcohol, which eliminates microorganisms that could compromise nail health. Monthly, I perform a deeper cleaning by thoroughly scrubbing the entire tool with alcohol, rinsing it, and ensuring it’s completely dry before storage. These maintenance practices help keep your nails healthy and reduce infection risks, which is especially important if you share nail care tools with family members.
Keep Your Nail Clippers in Good Condition
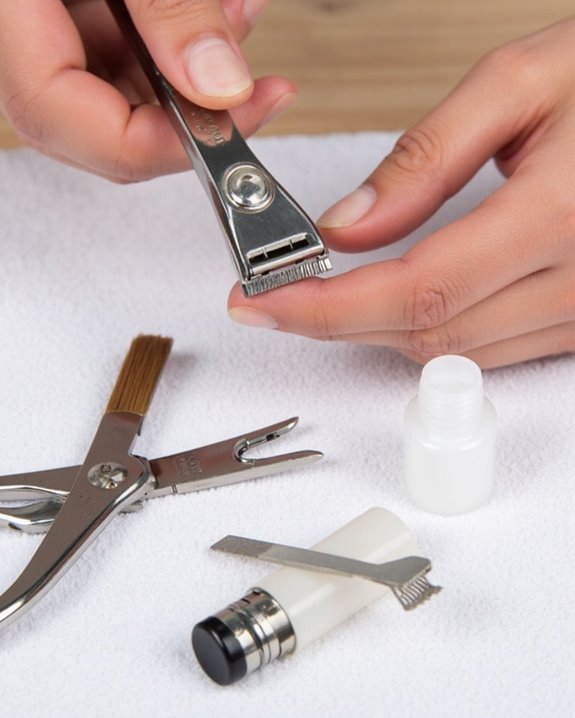
Maintaining your nail clippers in ideal condition guarantees they’ll deliver precise cuts for years to come. After each time I trim my nails, I clean excess clippings from the blades using a dry cloth or antiseptic solution, preventing bacteria and fungus growth that could cause infections when I need to trim again.
Monthly disinfection is vital—I scrub my clippers with 70-90% isopropyl alcohol, rinse, and dry thoroughly. For convenience, I make certain to keep alcohol wipes nearby for quick sanitization, especially when my clippers are part of a manicure kit. When blades become dull, I utilize professional sharpening services for tools like Rockhard Nippers to maintain their cutting efficiency.
Regular maintenance guarantees my clippers remain hygienic and effective every time I trim, minimizing risks of bacterial or fungal complications during grooming.
Recommended Products

Sufficient Quantity:There are a total of 600pcs of glue wipes in the package. The sufficient quantity is very suitable for personal nail use

Lint Free Nail Wipes: 540pcs lint free wipes are good enough for both personal nail care and nail technicians. This will give you plenty of nail wipes to use for regular nail polish application, removal and other nail care tasks
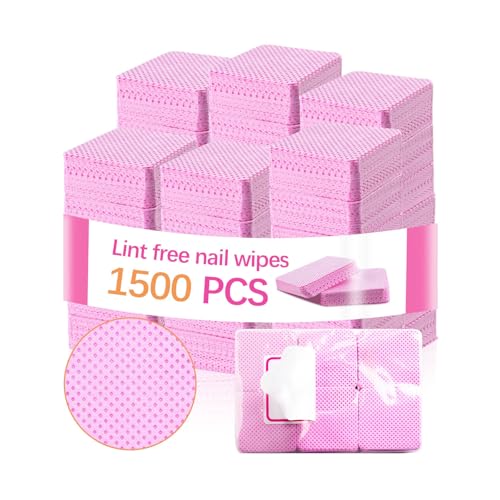
【Non lint nail wipes】Our nail wipes will not leave any lint after use, ensuring the cleanliness, beauty, and integrity of the manicure. They are a nail supply that is perfect for your nail art projects (Tips: Lint free wipes works better when used wet; it is recommended to use with acetone.)
Frequently Asked Questions
How to Use a Nail Trimmer?
I’ll clean my trimmer first, then I’ll open it gently to insert my nail. I cut following the natural curve for safety. After use, I store it in a dry place. Its safety features prevent accidents.
How to Trim Nails Step by Step?
Just as I’m trimming my nails, let me share my routine. I start with Nail Prep by gently opening the clippers, trim in one direction towards center, file edges, and follow Safety Measures and Maintenance Tips afterwards.
How to Use Nail Nipper Step by Step?
I’ll share how to use nail nippers step by step. First, select from various nipper types based on your needs. Position flat against cuticles, squeeze gently, clean with alcohol after use, and store in a dry place.
How to Use Nail Scissors for Beginners?
I’ll teach you scissors safety first: disinfect with alcohol monthly. Use proper grip techniques—hold firmly and cut straight across. Avoid common beginner errors by trimming after showers when nails are soft, then gently file corners.